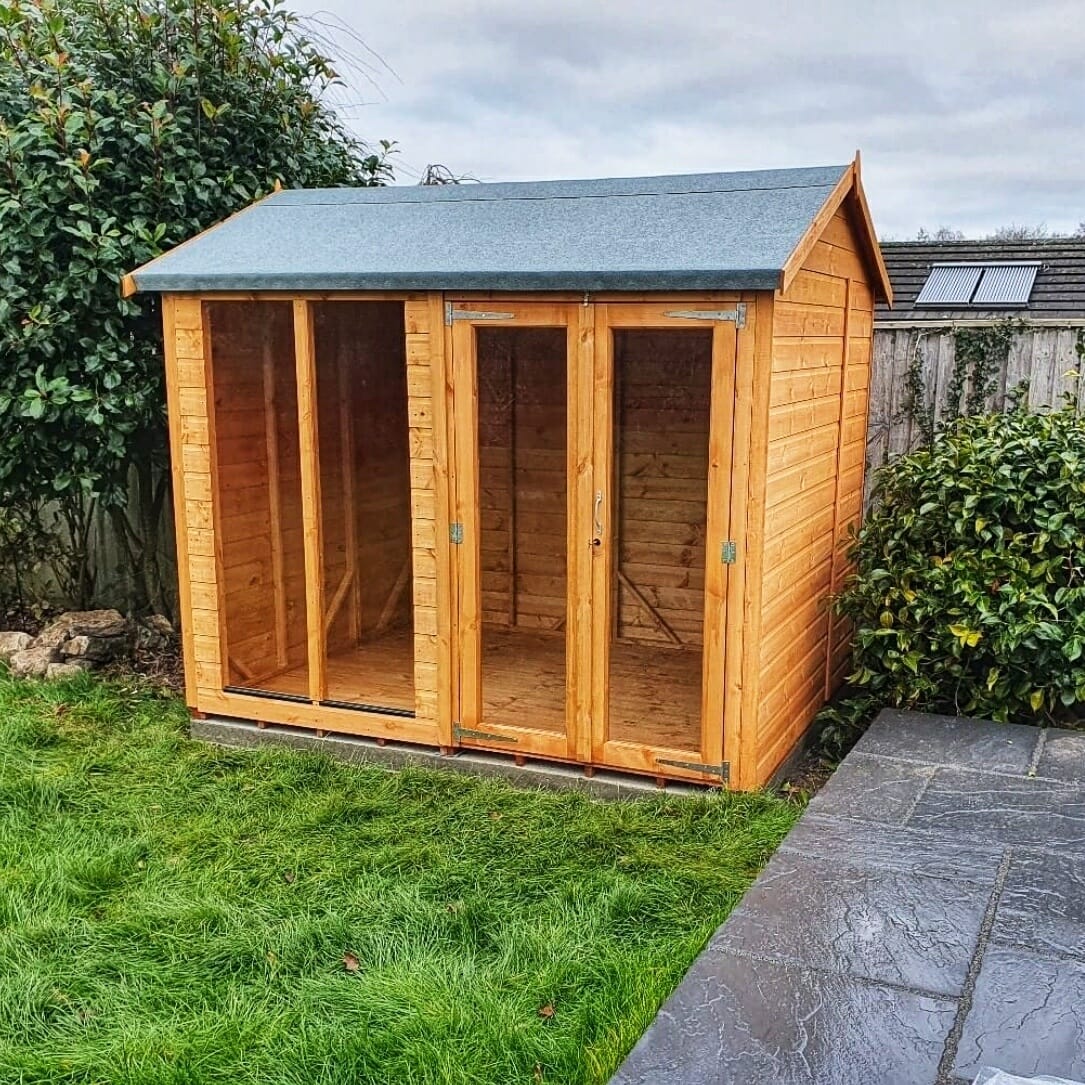
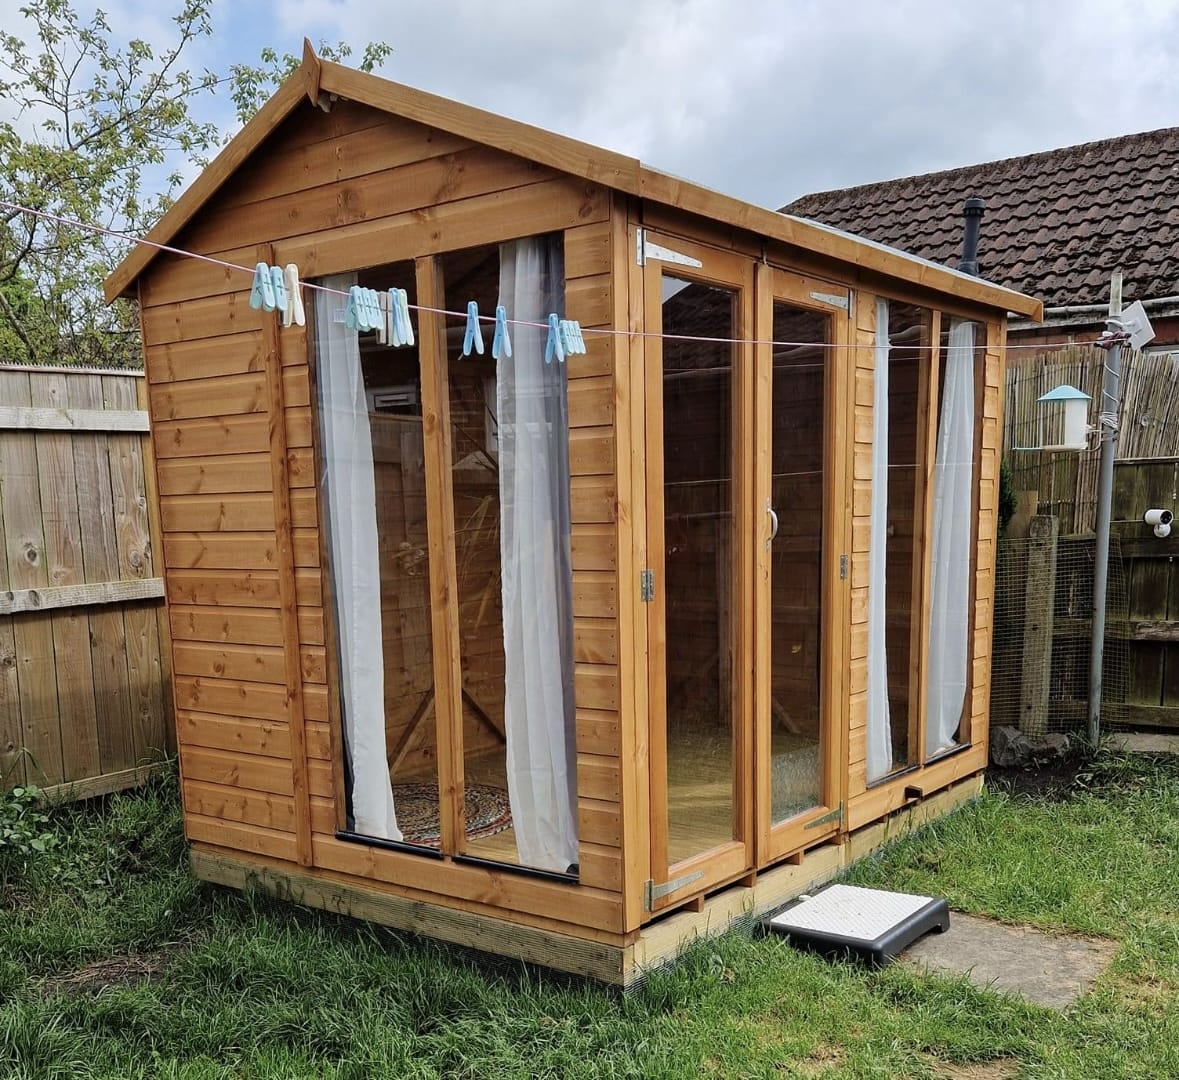
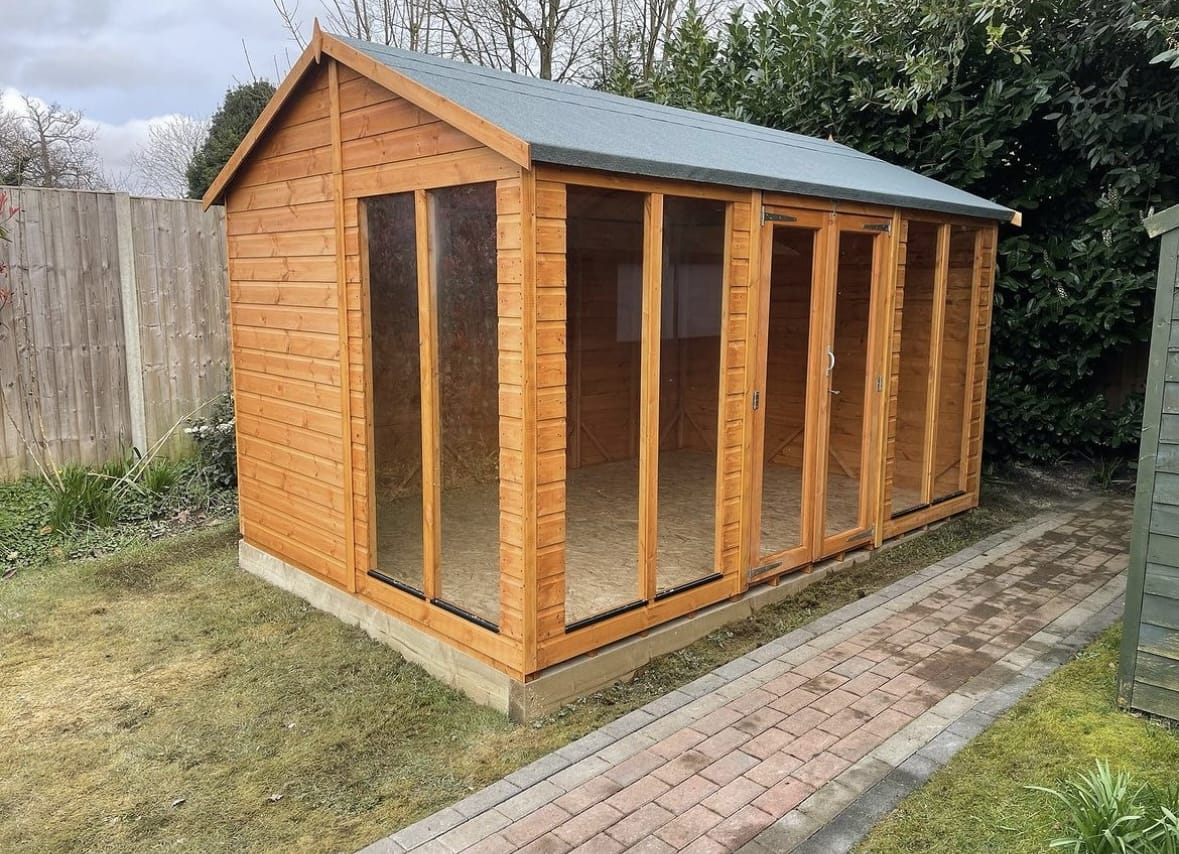
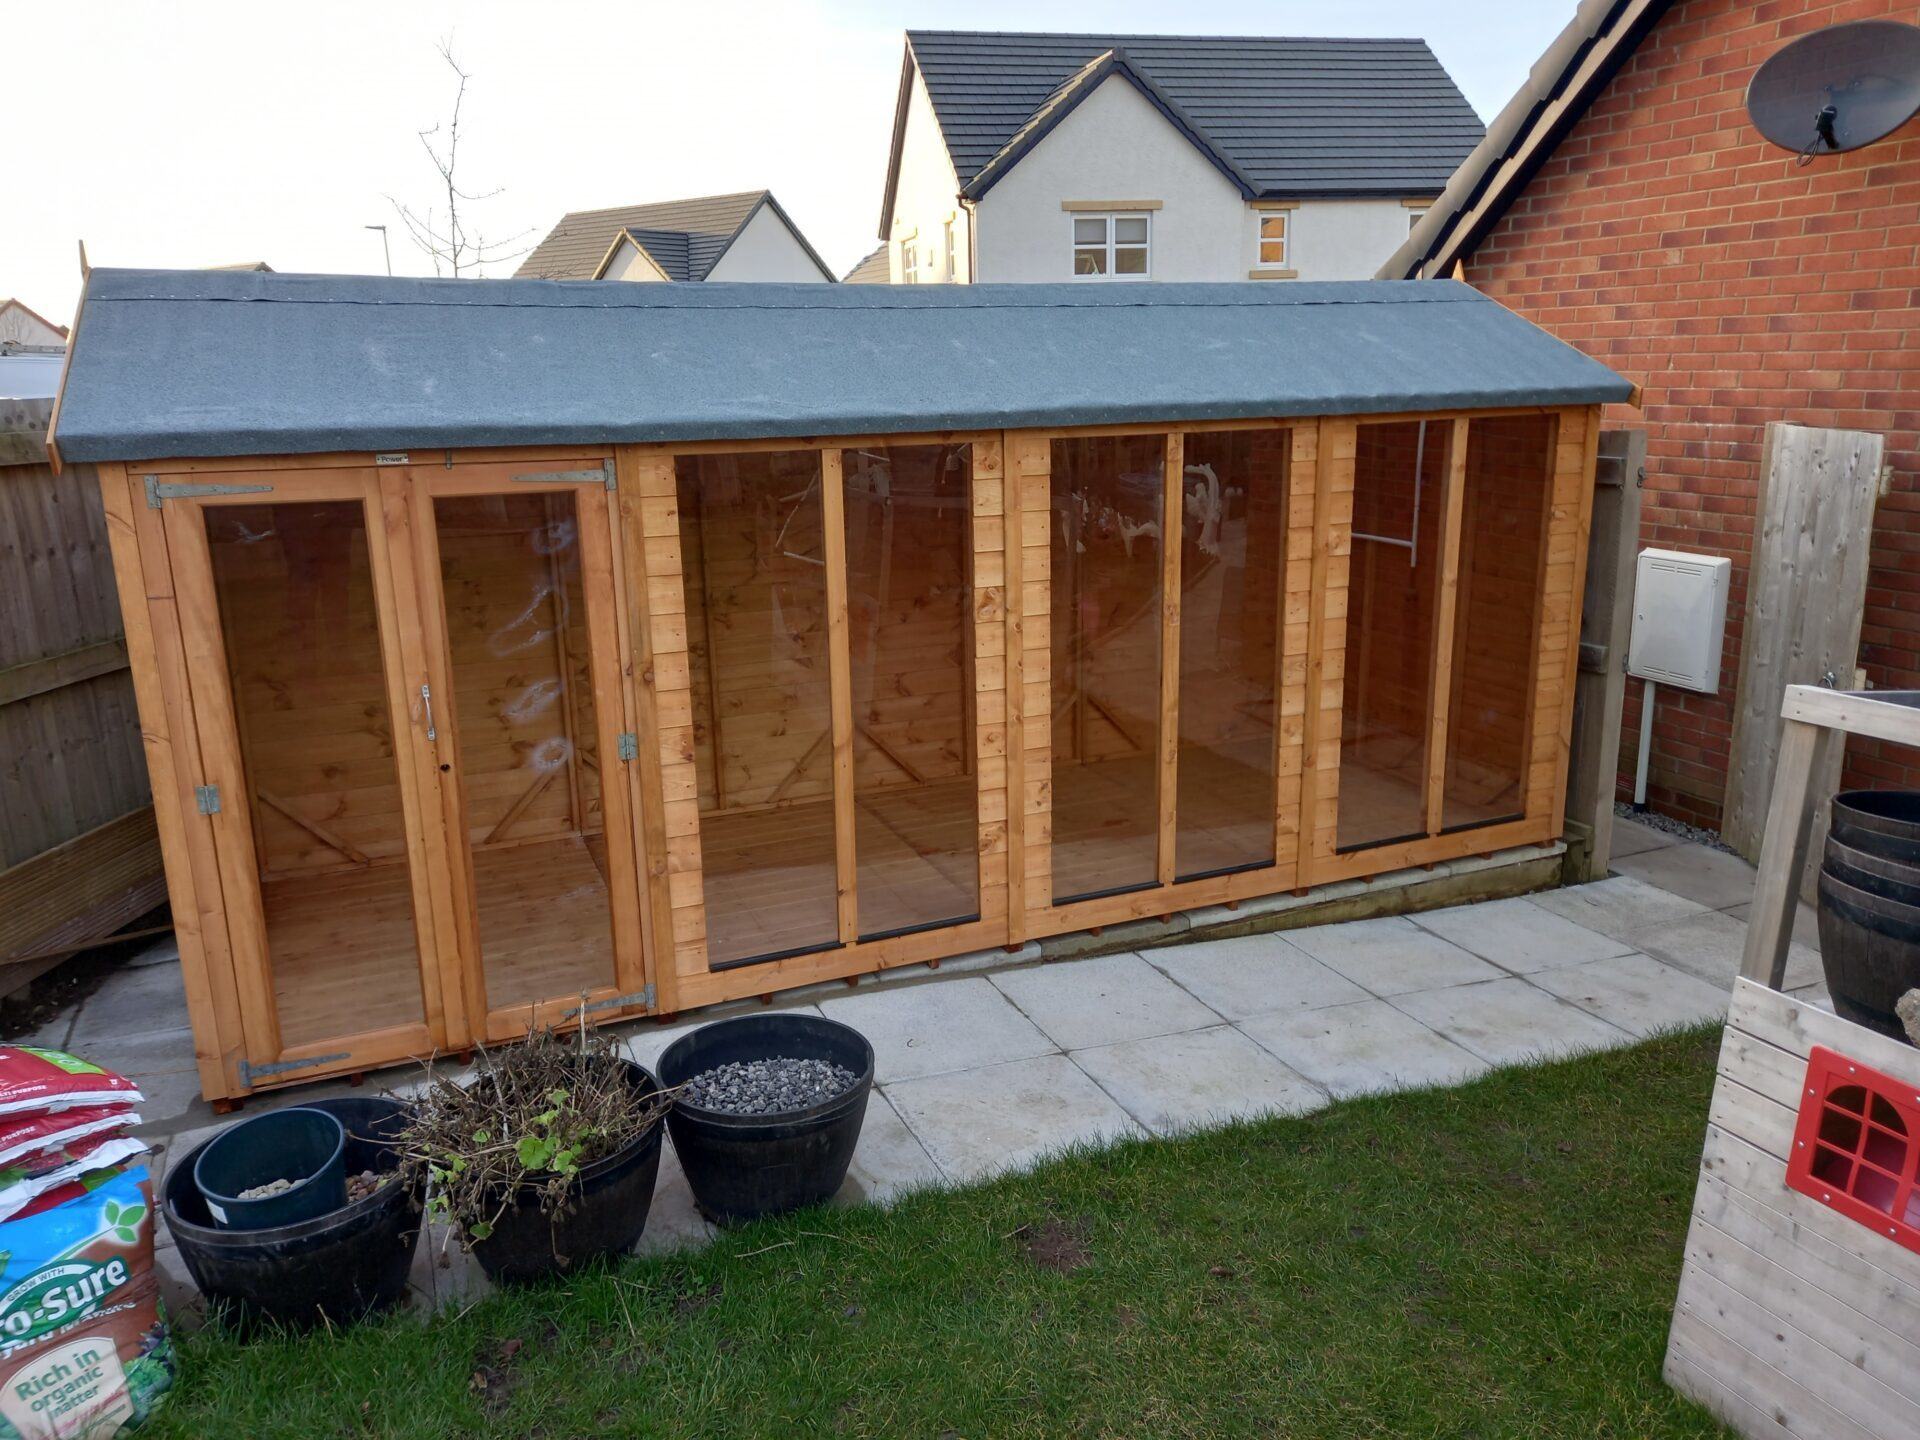
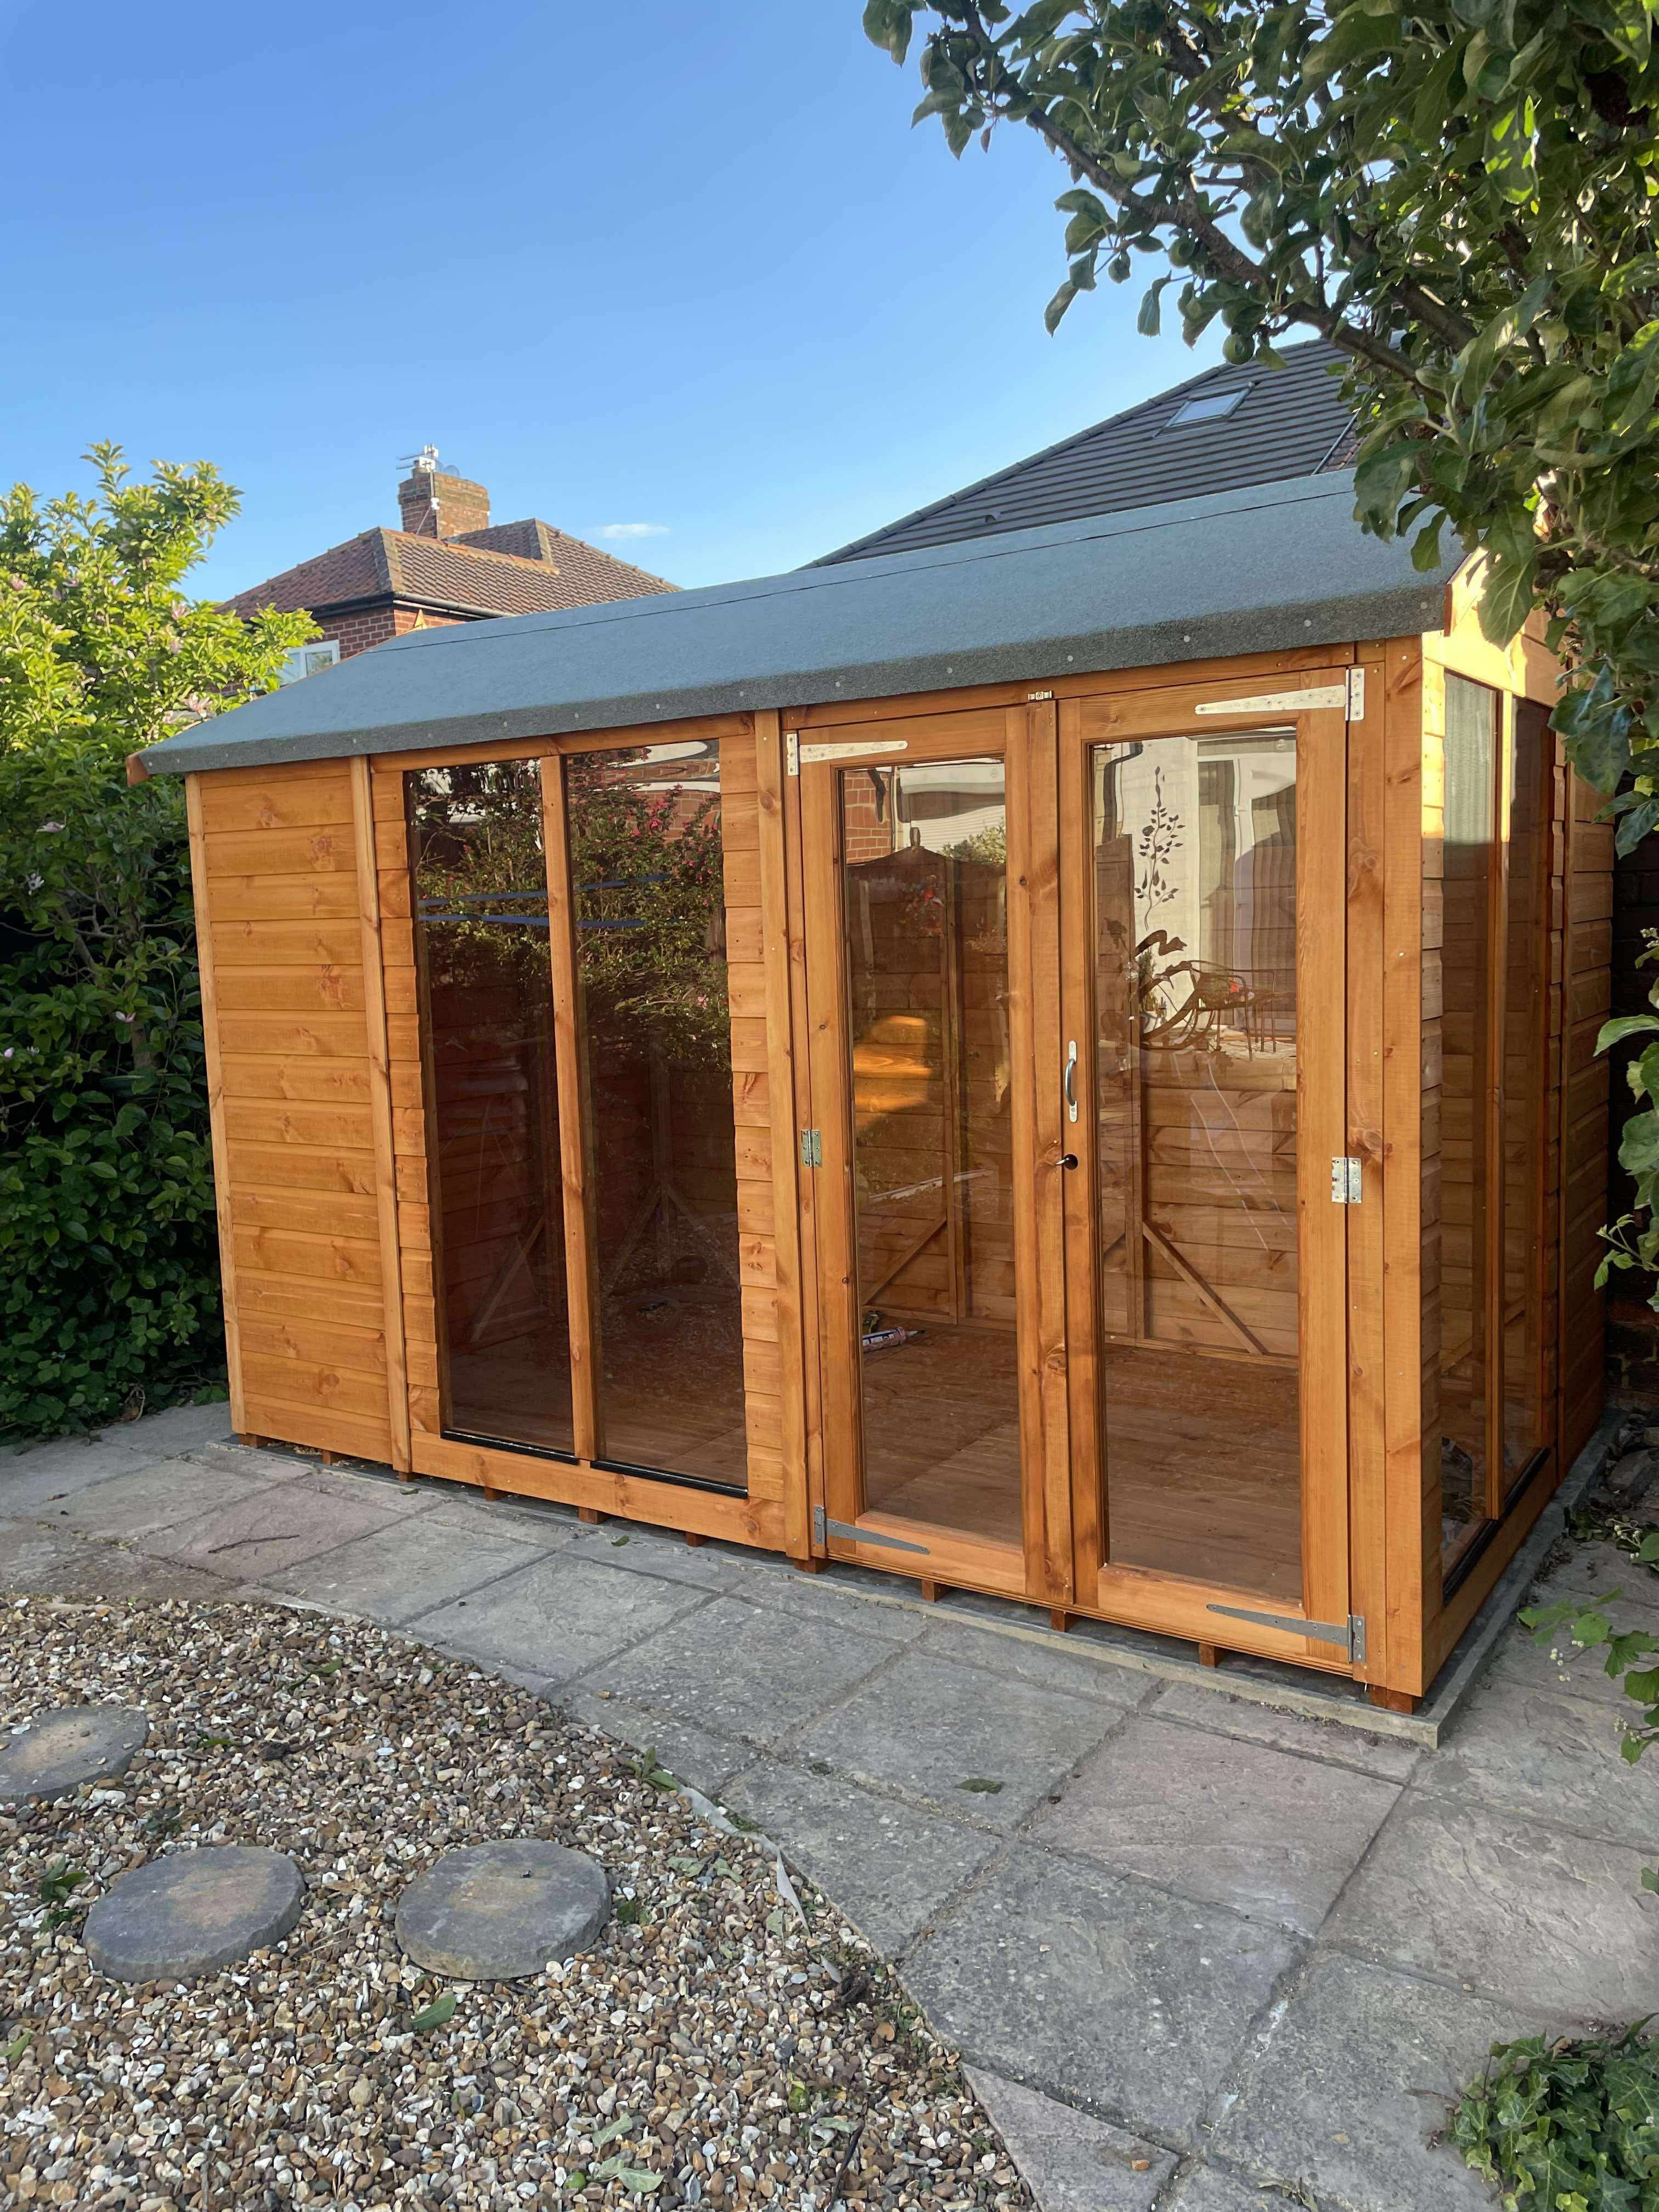
Apex Summerhouse


Apex Summerhouse
From

- 10-year guarantee
- Special formula enhanced preserver
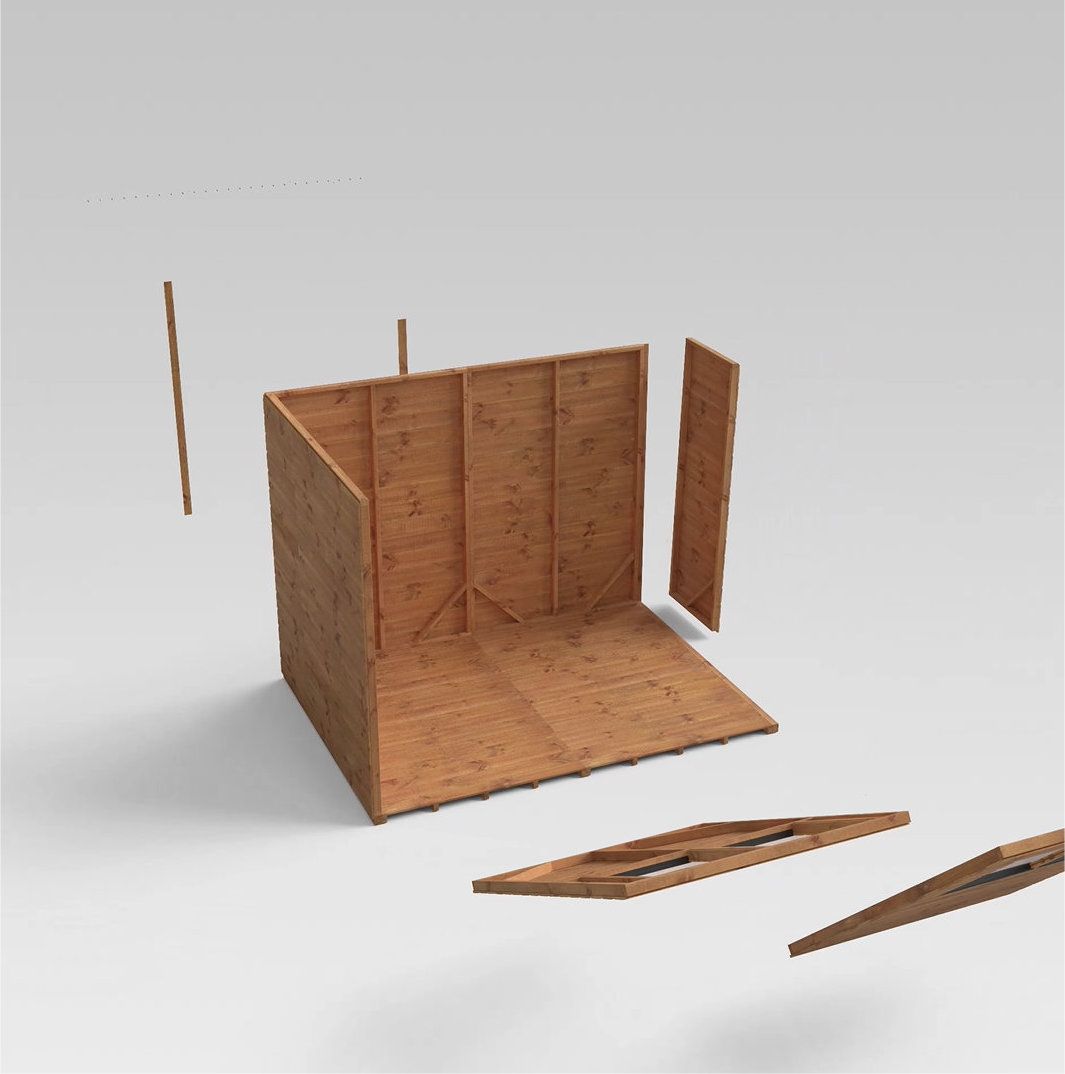
- High grade Scandinavian tongue and groove timber
- Heavy duty framing at 44x28mm
- Pre-fitted toughened glazing
Configure & Buy
Size
Choose delivery within 3-5 working days
From
Experience the full power of outdoor living.


Simple to put up. Tough to knock down.


High-grade Scandinavian timber
All garden buildings and accessories are made from high-quality, sustainably sourced timber.

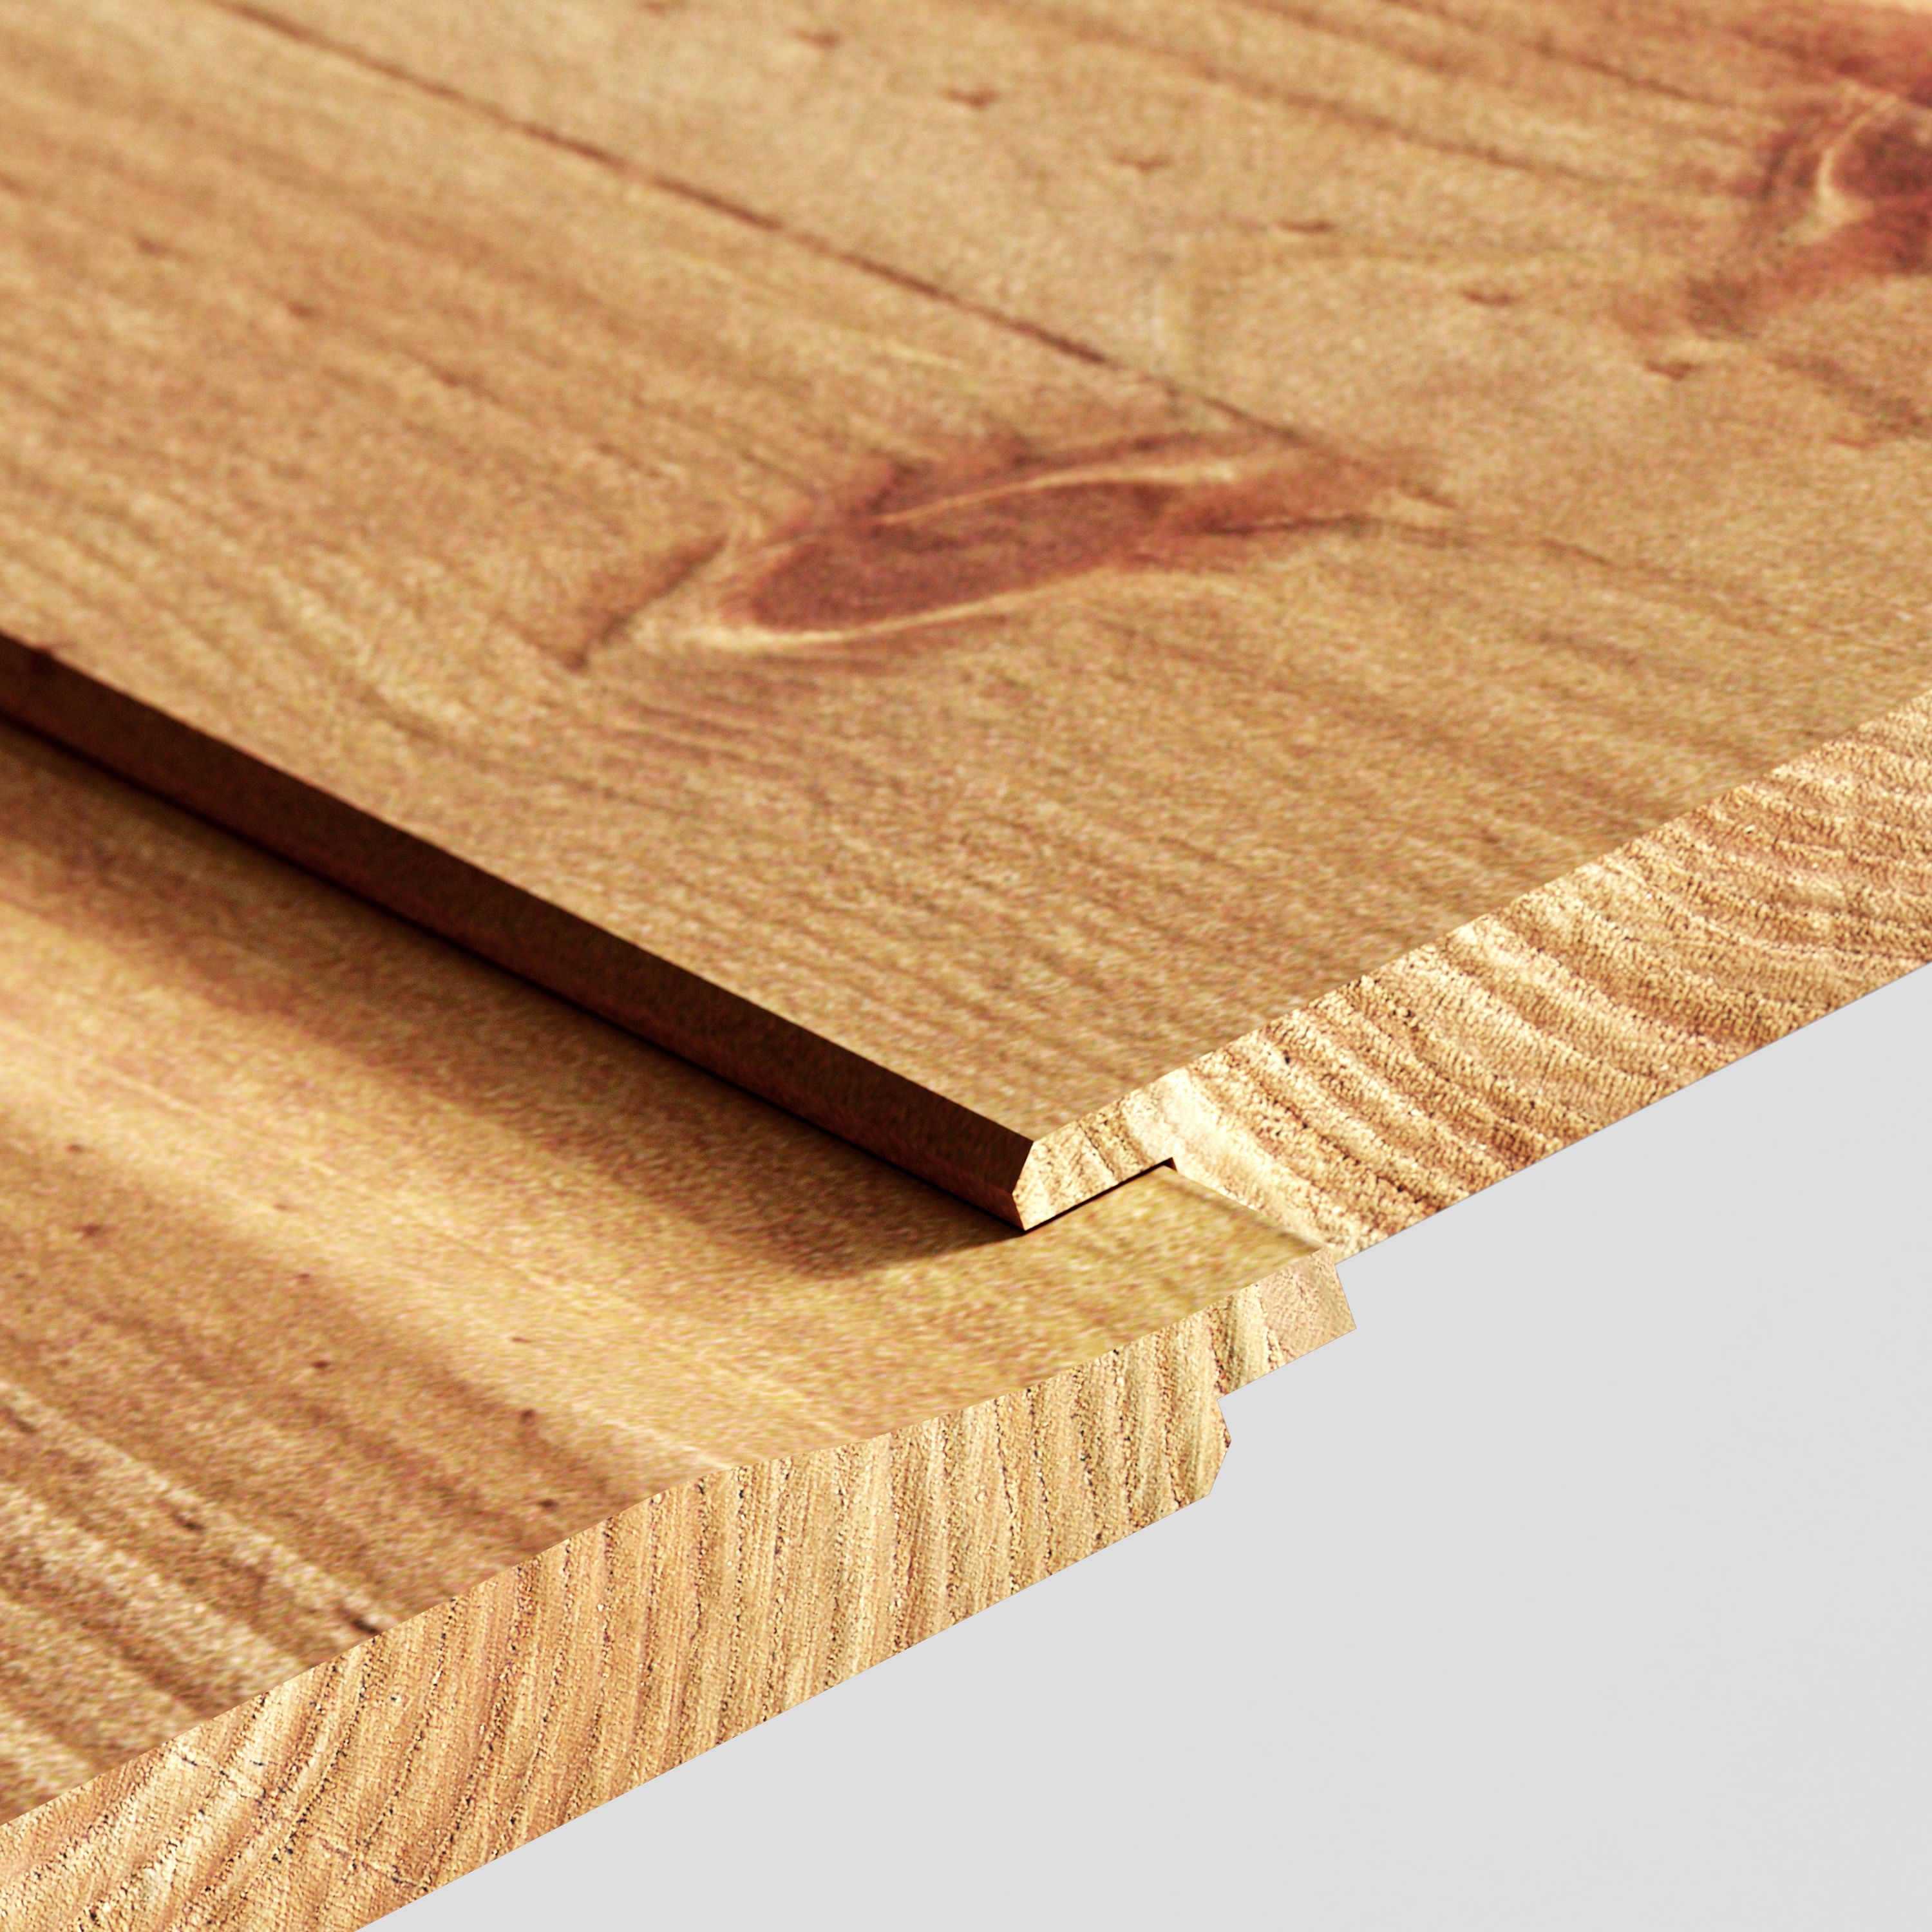
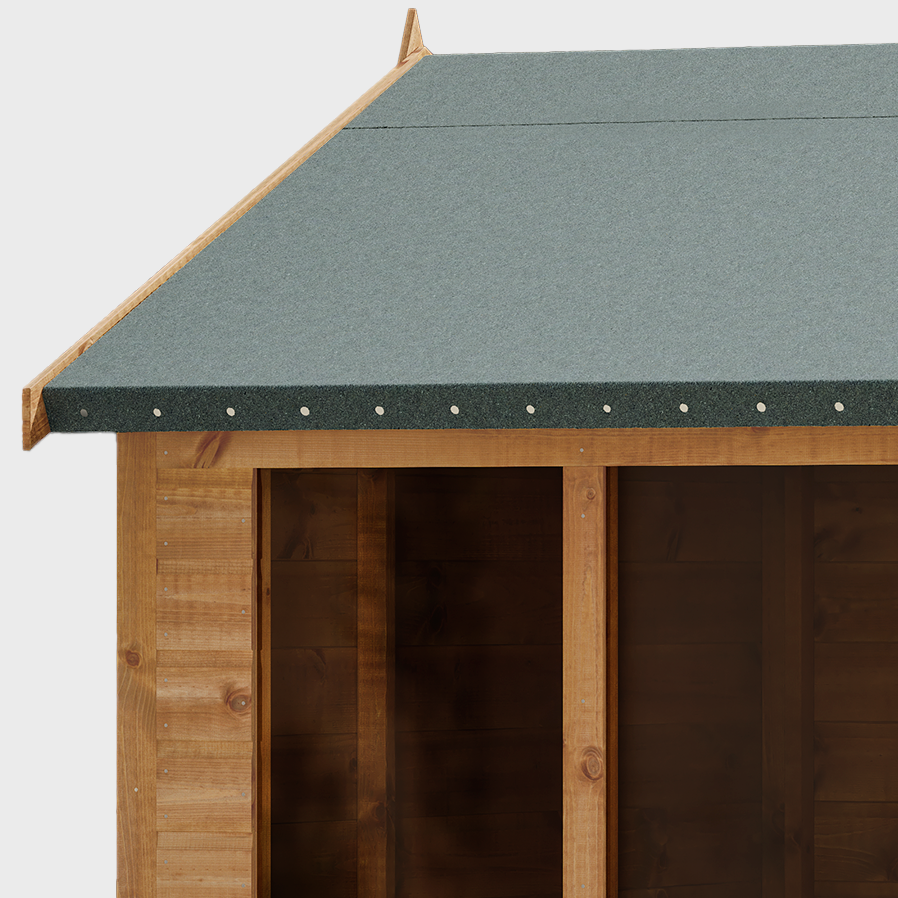
Tongue and groove cladding
Strong and sturdy 12mm tongue and groove throughout, including the roof and floor.

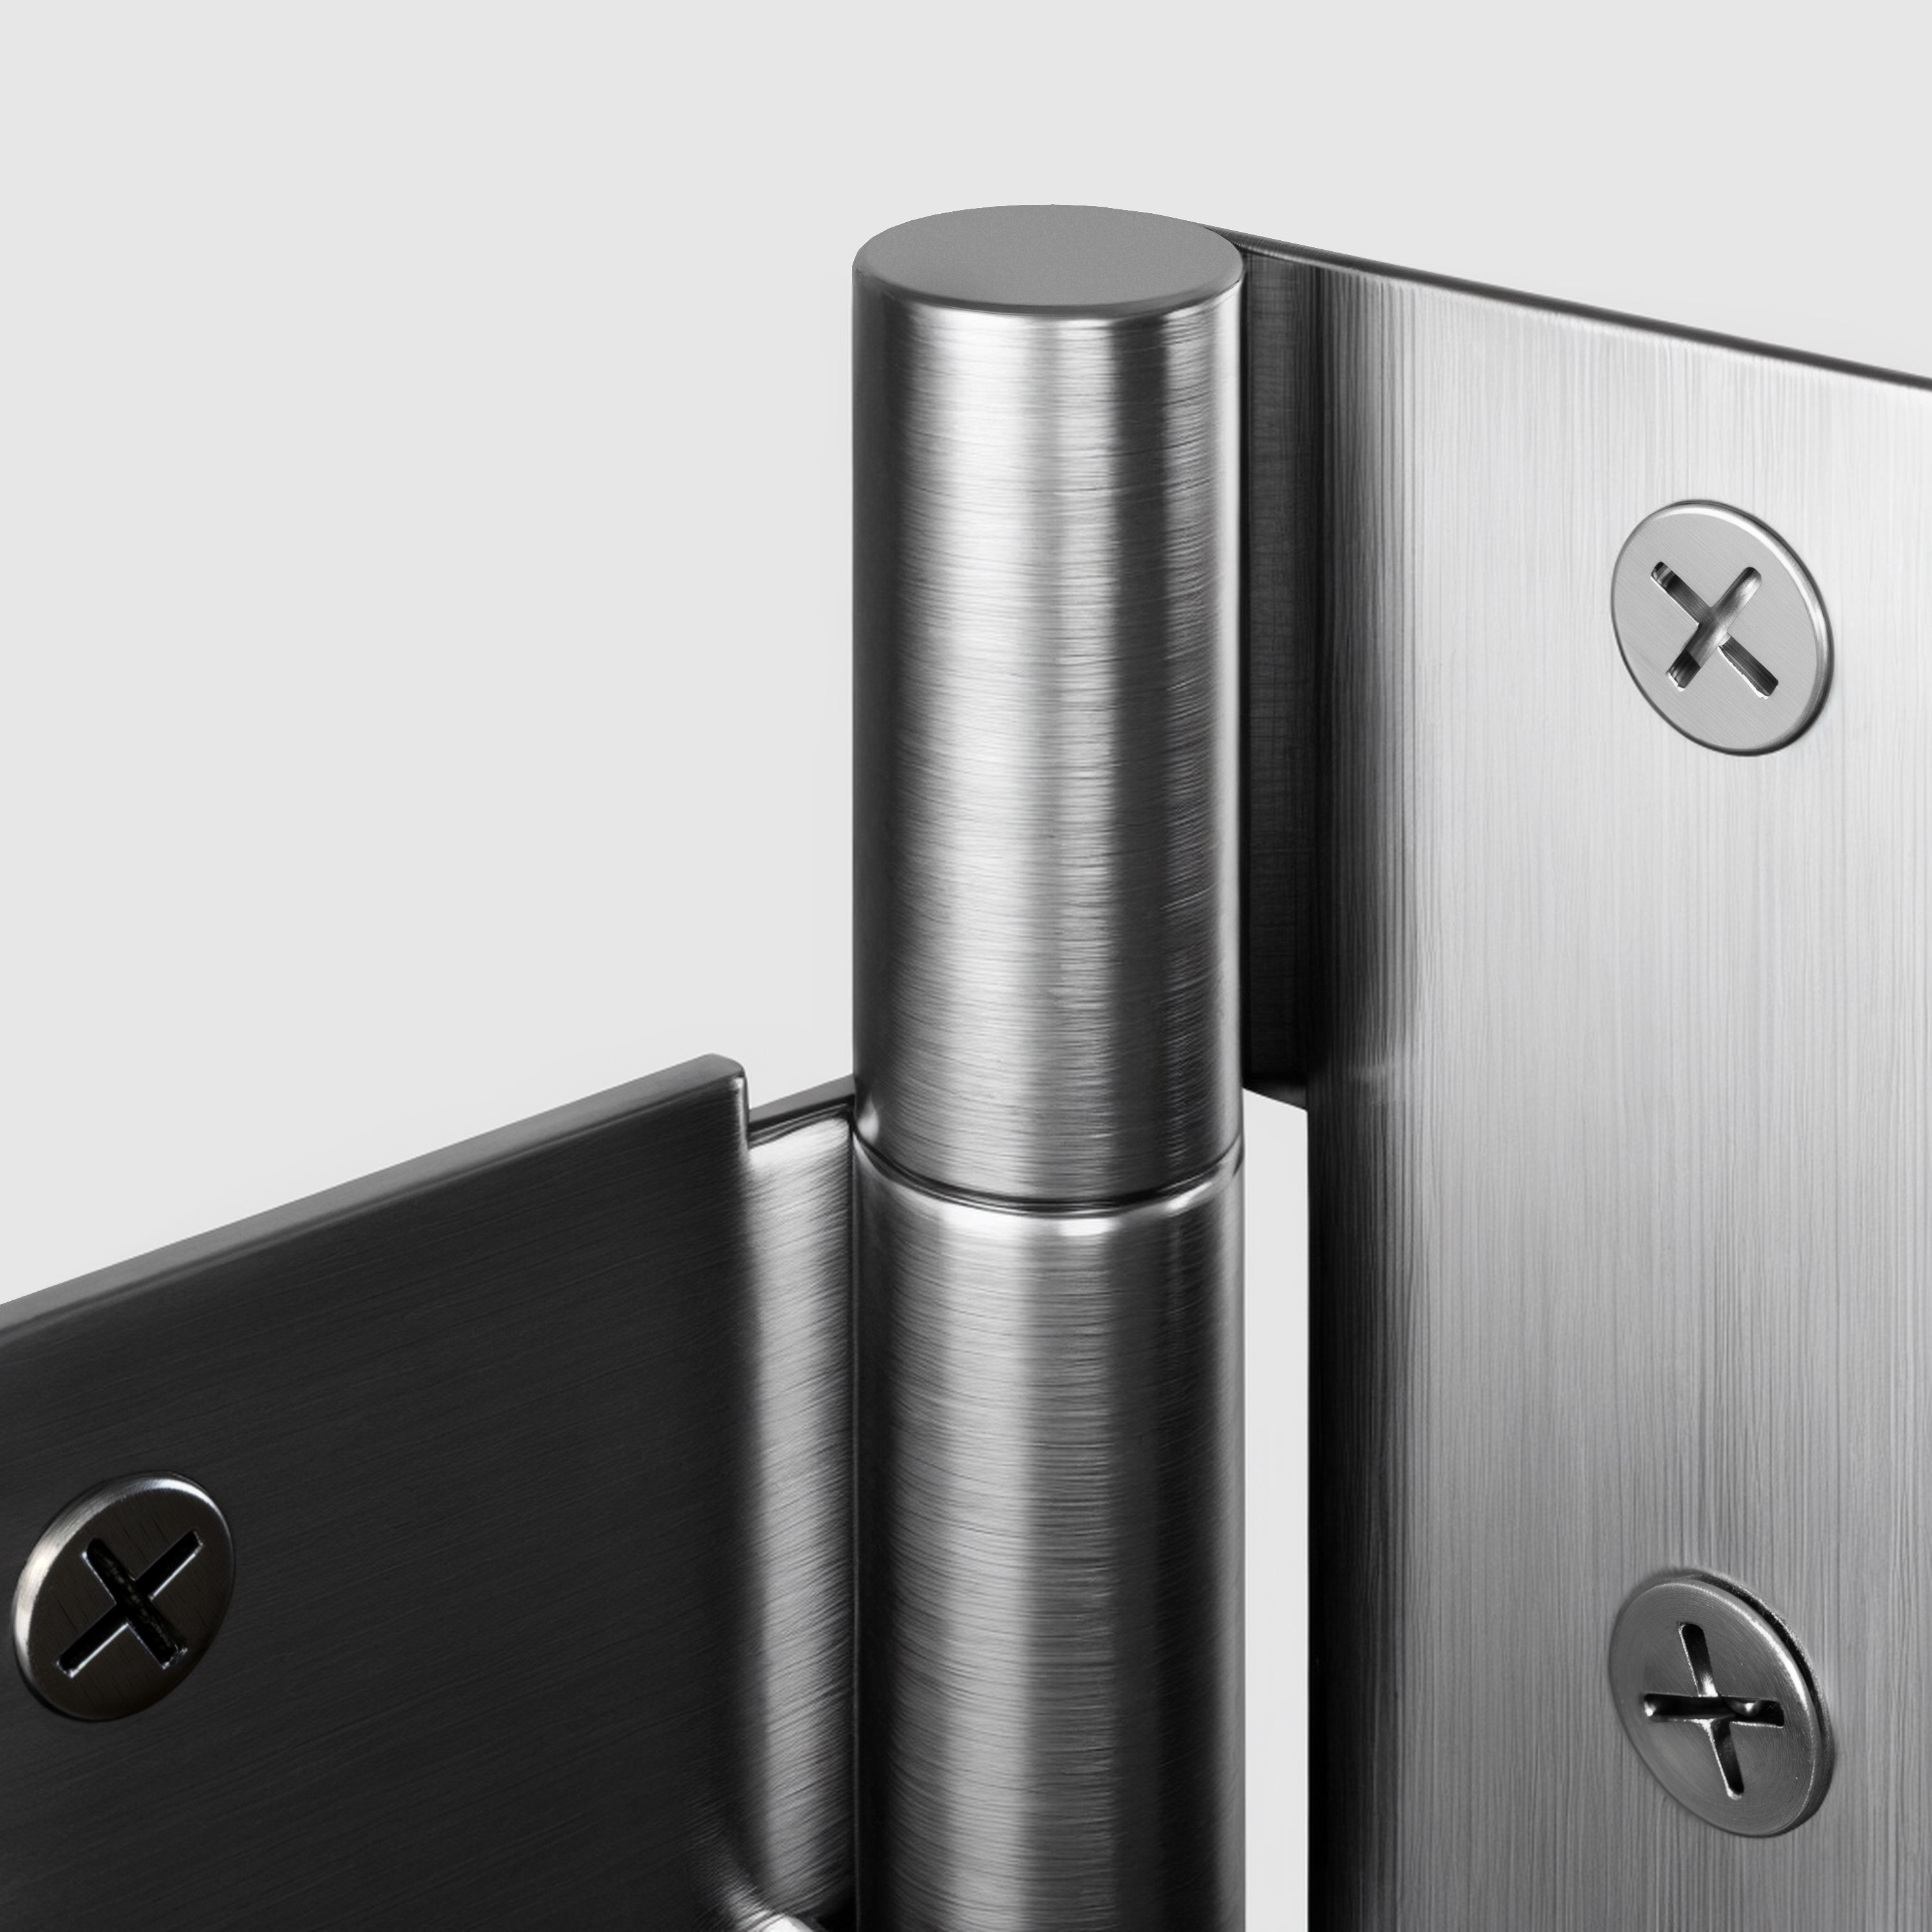
Galvanised Ironmongery
Protected from rust and other damage to make your shed last longer.

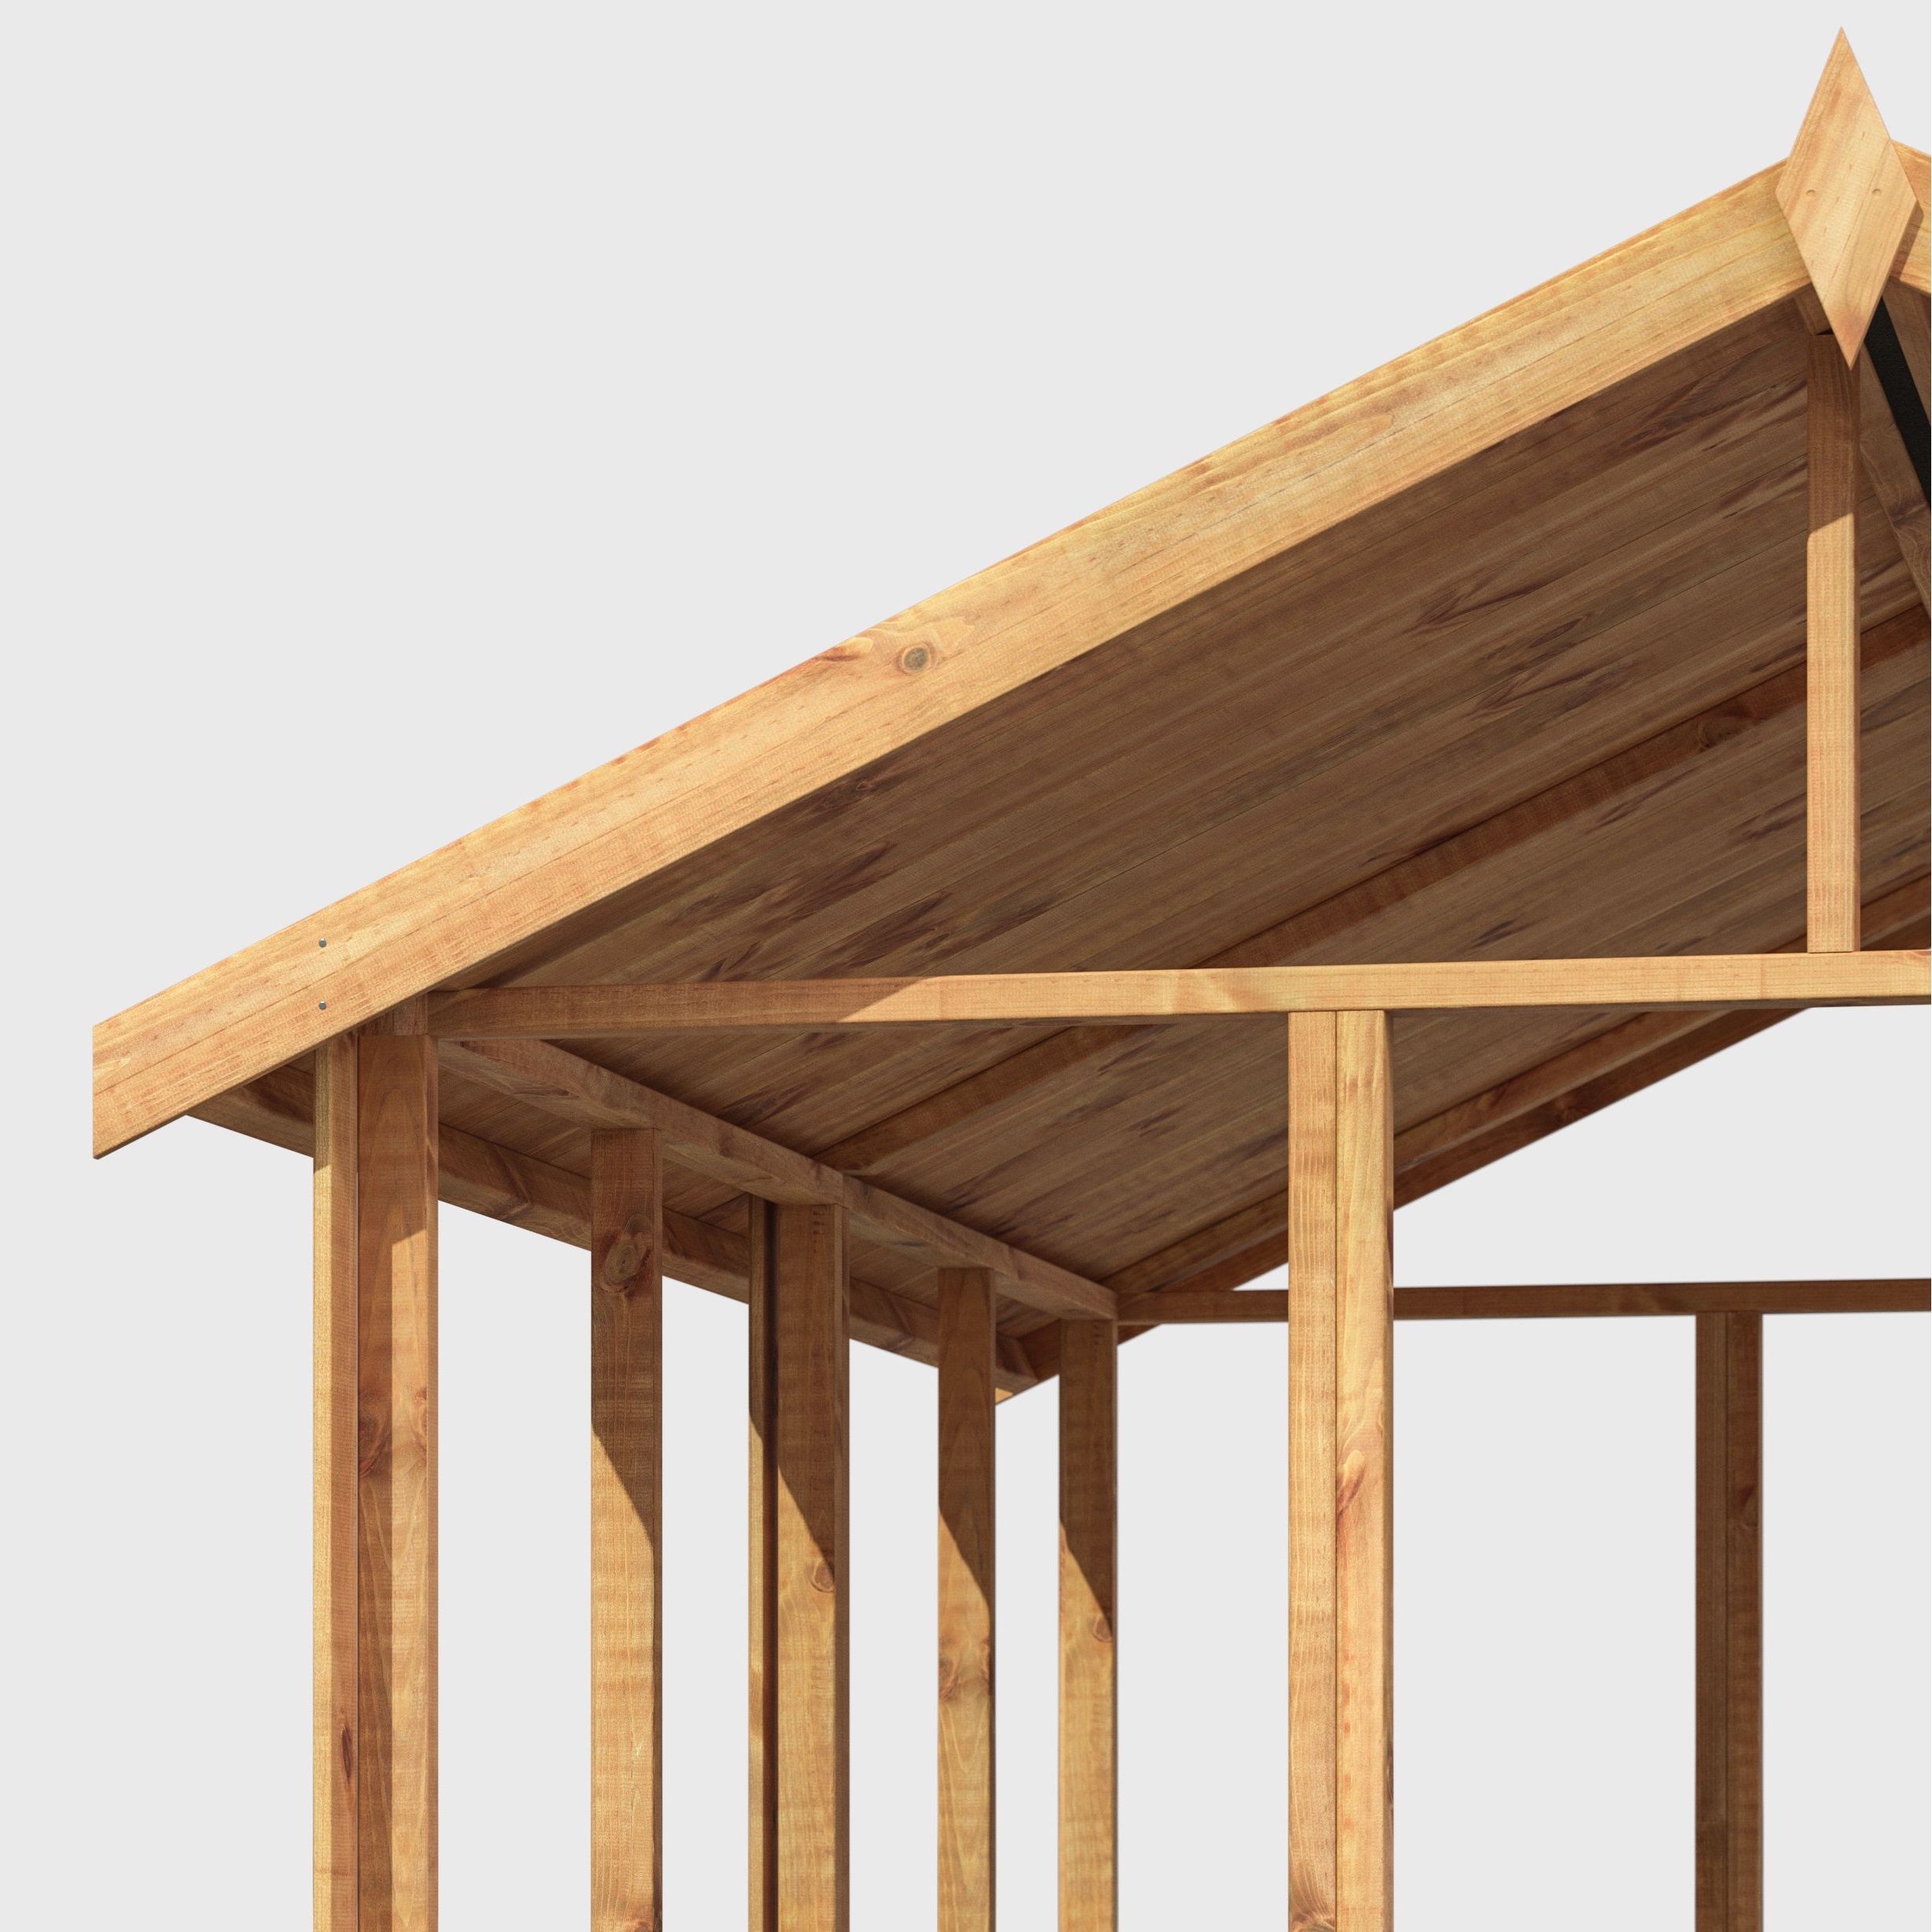
Structurally solid
Extra thick 44x28mm framing, doubled up in key areas, provides maximum strength and lasting durability.

Advanced preserver
Special formula with wax additive, for year-long timber protection.

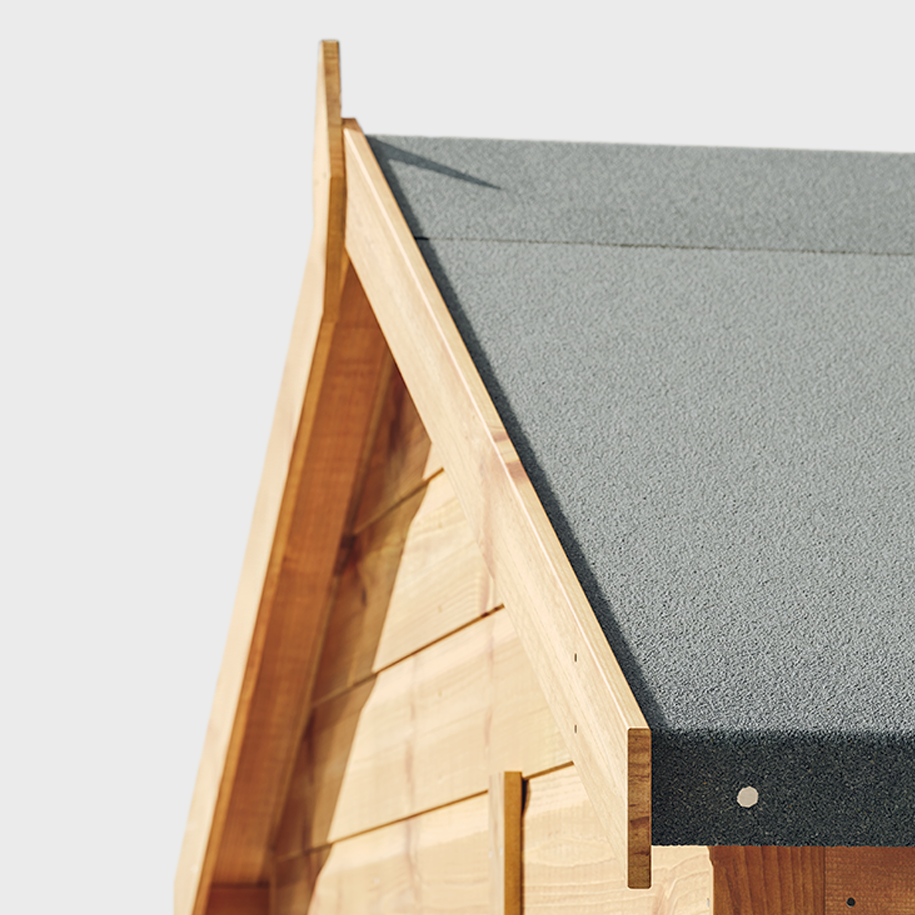
High-performance felt
Advanced, tear-proof and water resistant polyester, head and shoulders above standard felt.


Extra height
Taller sheds give you ample headroom inside.


Toughened glass with PVC sills
500% more resistant to heat and shock than ordinary glass.

Adaptable configuration
Assemble doors and windows wherever you want them, as you build it.

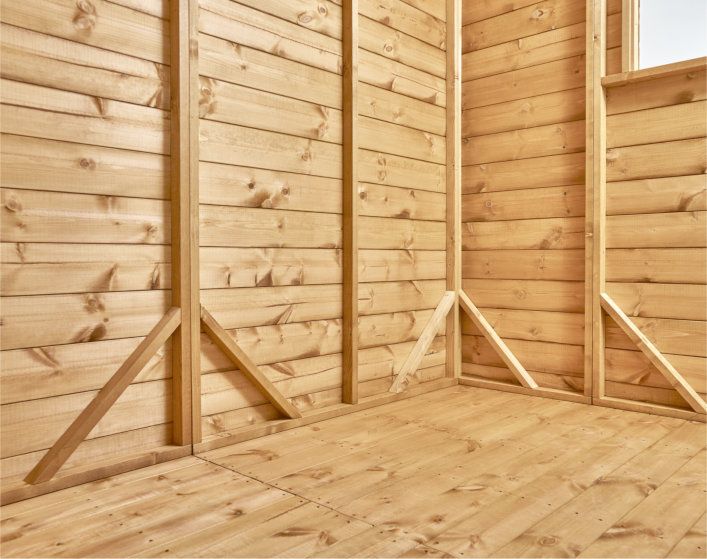
Corner bracing
Added to every internal wall panel to maximise strength.

Quality guaranteed.
Every summerhouse is guaranteed for 10 years against timber rot, decay or insect infestation. But expect it to last 25.
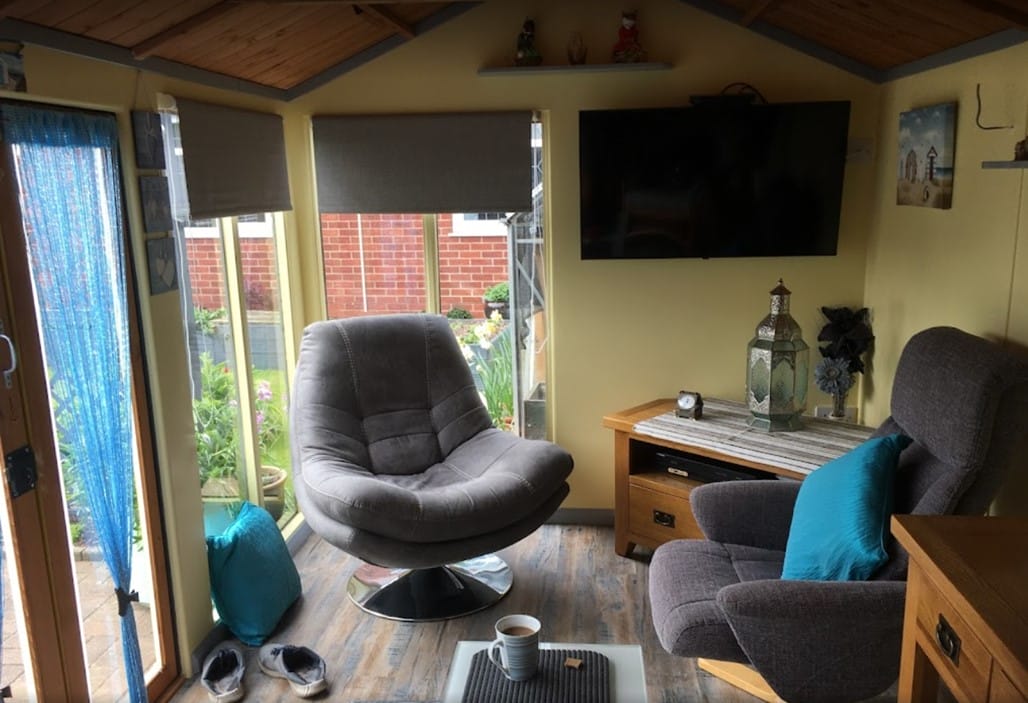
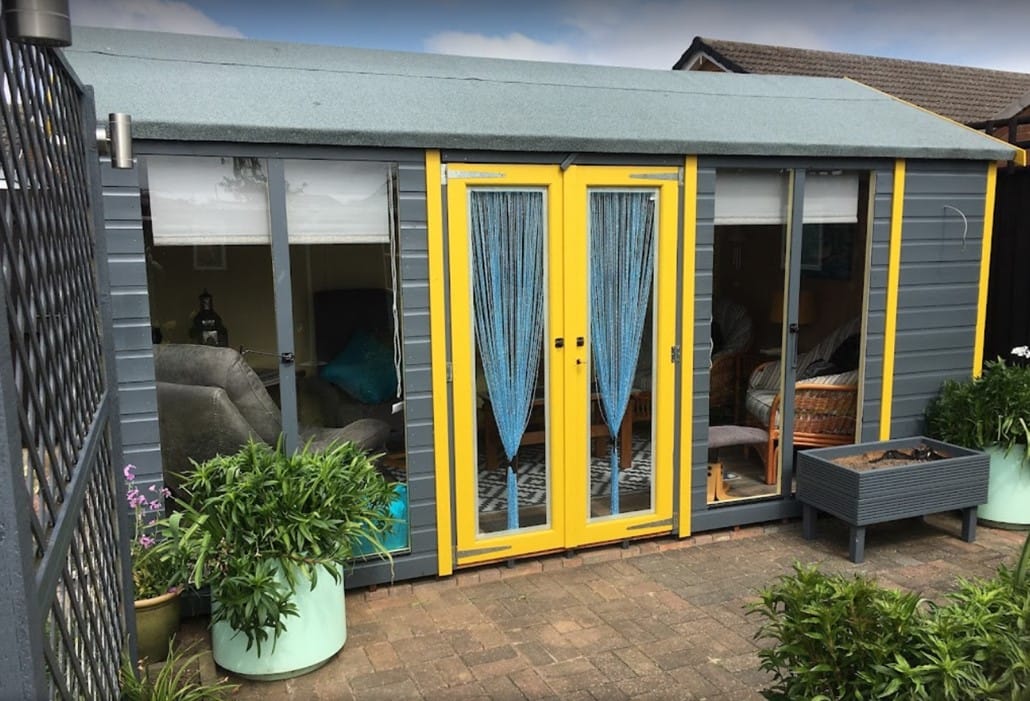
Adaptable to your needs.
Setup a garden office, a workshop, or create a relaxing retreat. Our summerhouses can be assembled with windows and doors in any configuration you like, to fit your space just the way you like it.


DIY or don’t.
We make assembling your Powershed powerfully simple, with tried and tested instructions and videos.
But if DIY isn’t your thing, we can point you in the direction of an expert fitter.
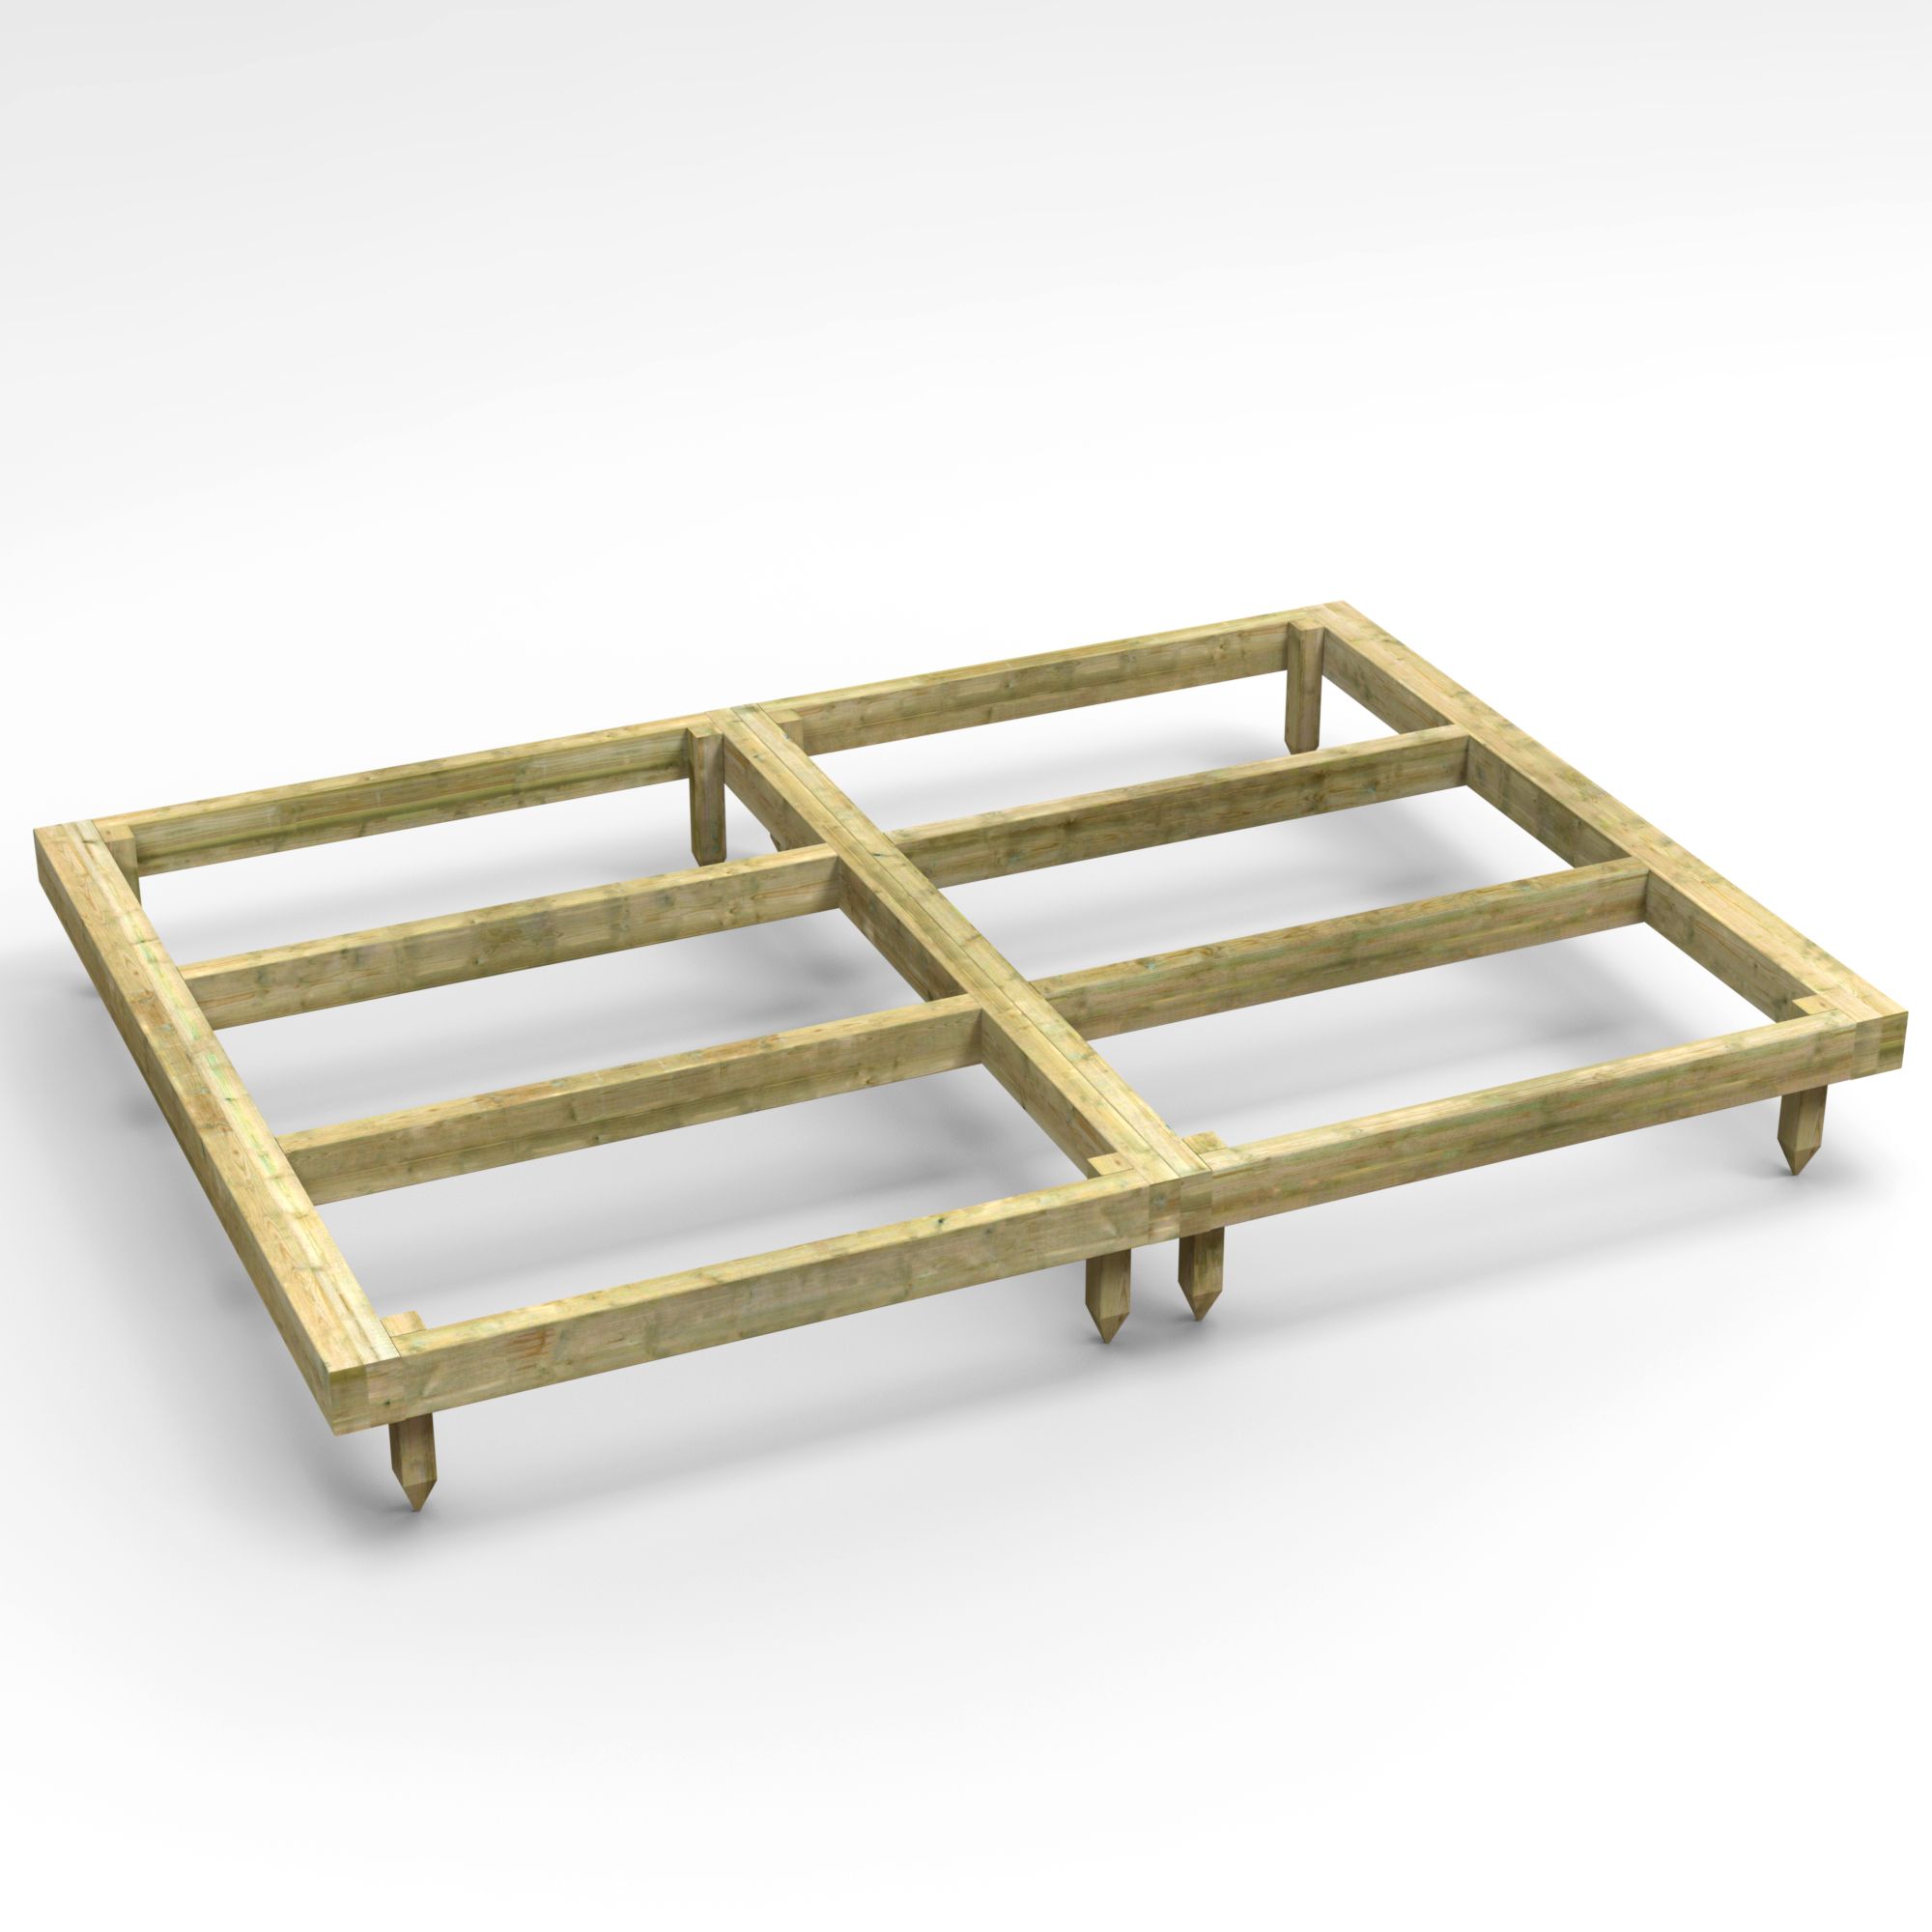
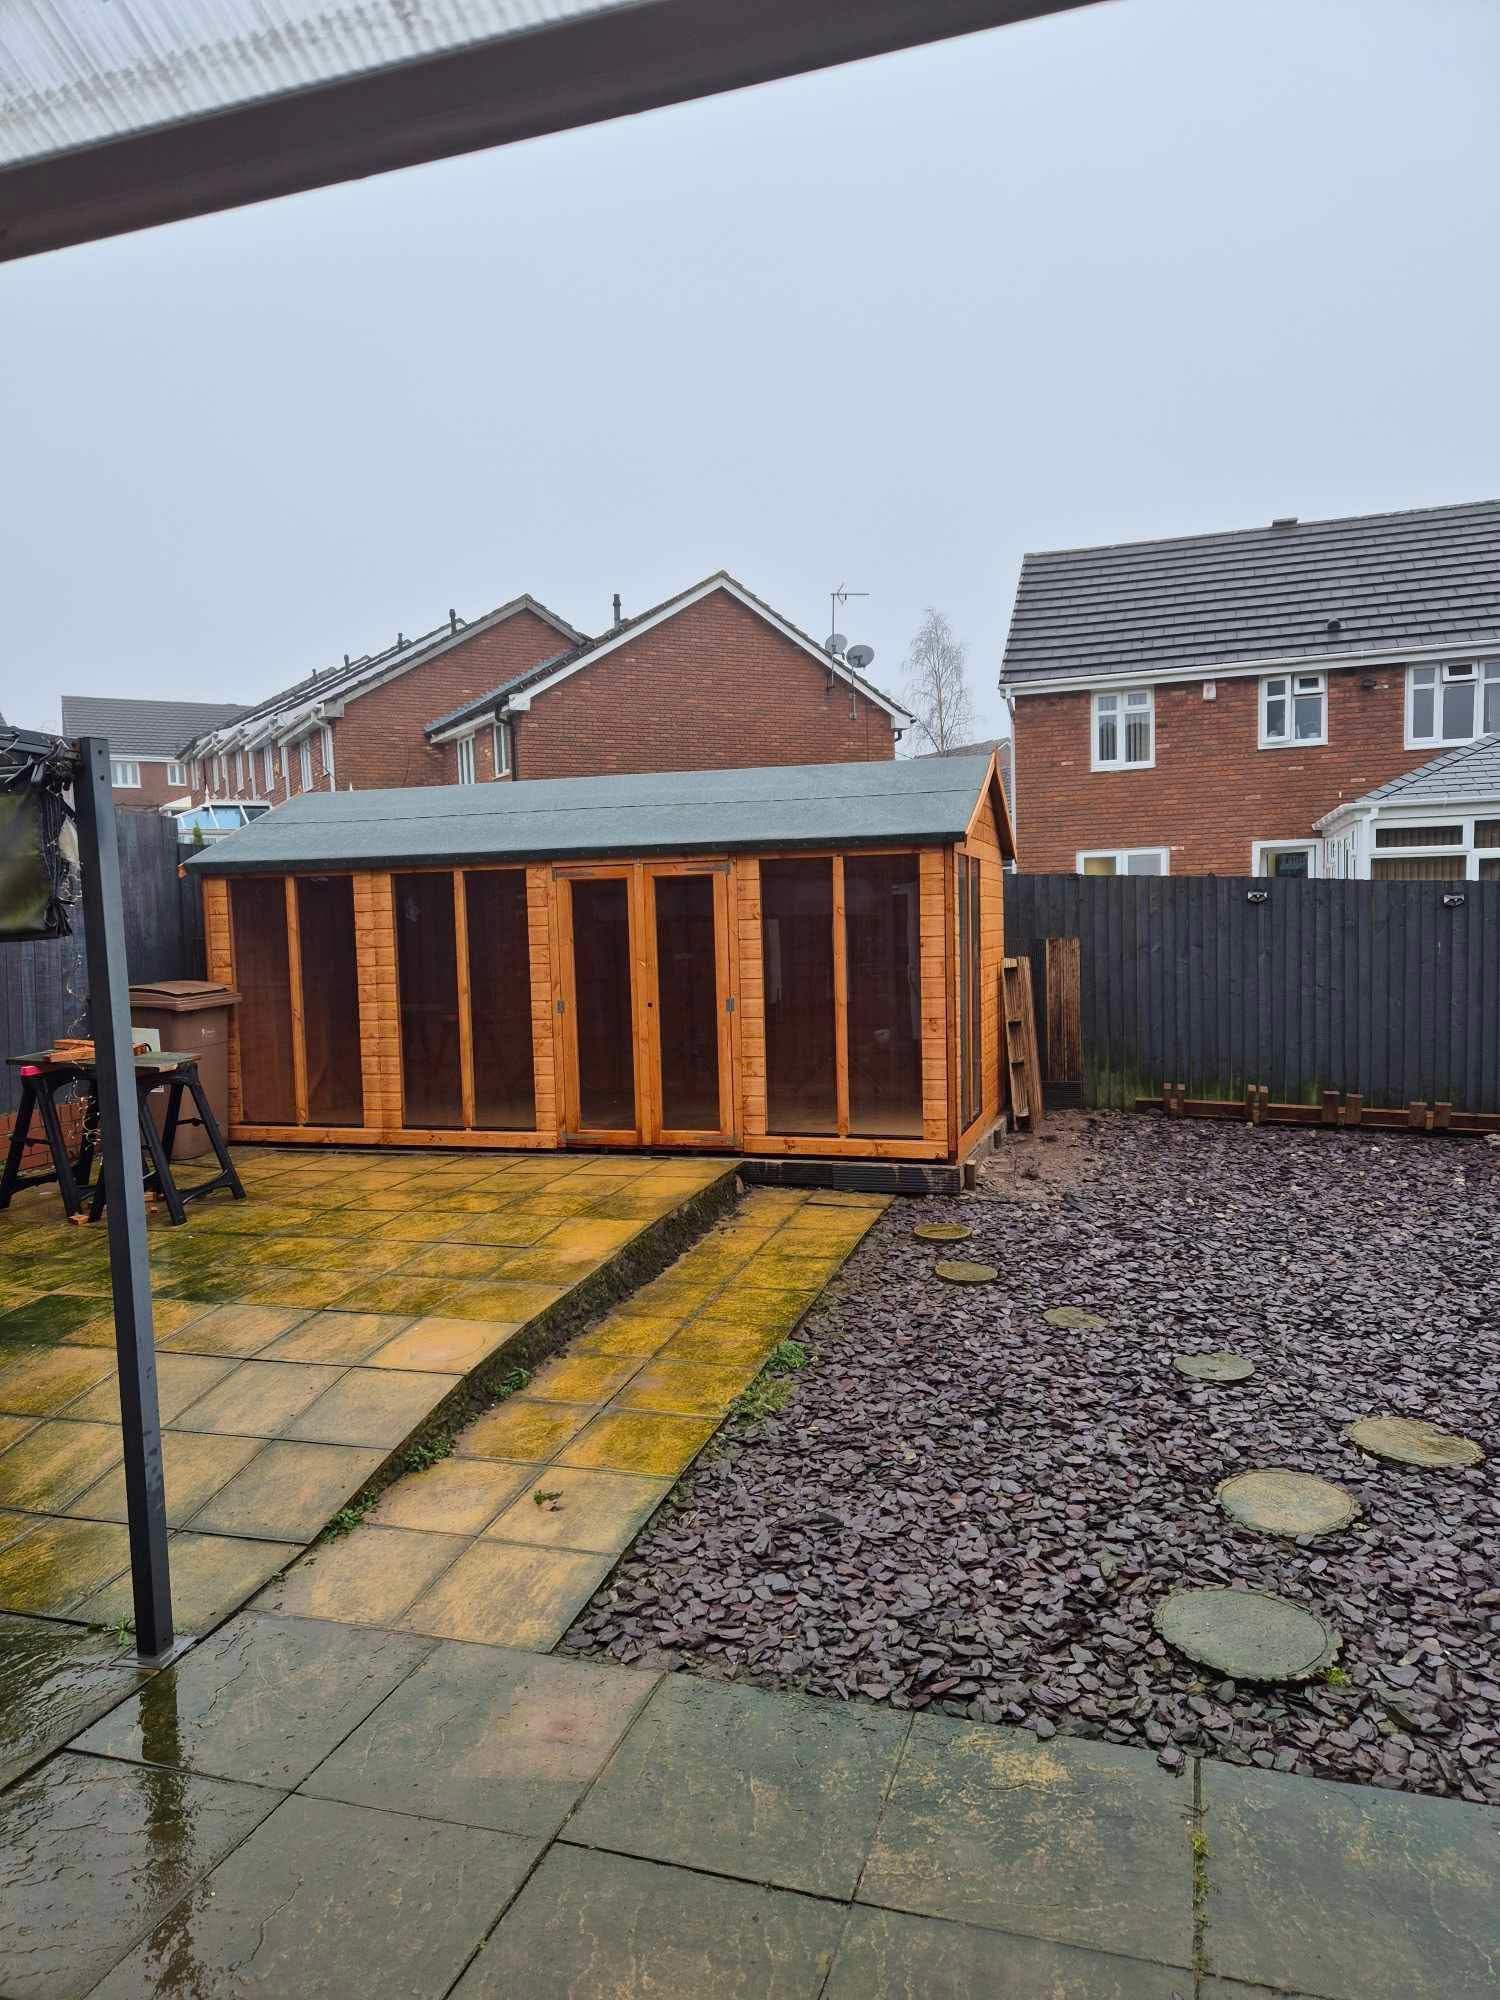
A solid base for a powerful summerhouse.
All summerhouses must be assembled on a firm and level base to give the summerhouse a solid foundation and maximise the longevity of the building. Remember, all our summerhouses come with flooring, unlike some of our competitors.
For information on bases, please visit our build a base guide
Or make things easier with a Powersheds Base Kit
Want someone to do it for you? See our base directory