We’d love to help give peace of mind that you have chosen the right shed, so have a read about all our unique and innovate product features.
Power 10 Year Guarantee
Every Power shed is built to last. All Power Sheds from the powersheds.com website or through an approved Power retailer comes with a free 10 year guarantee, against timber rot, decay or insect infestation.
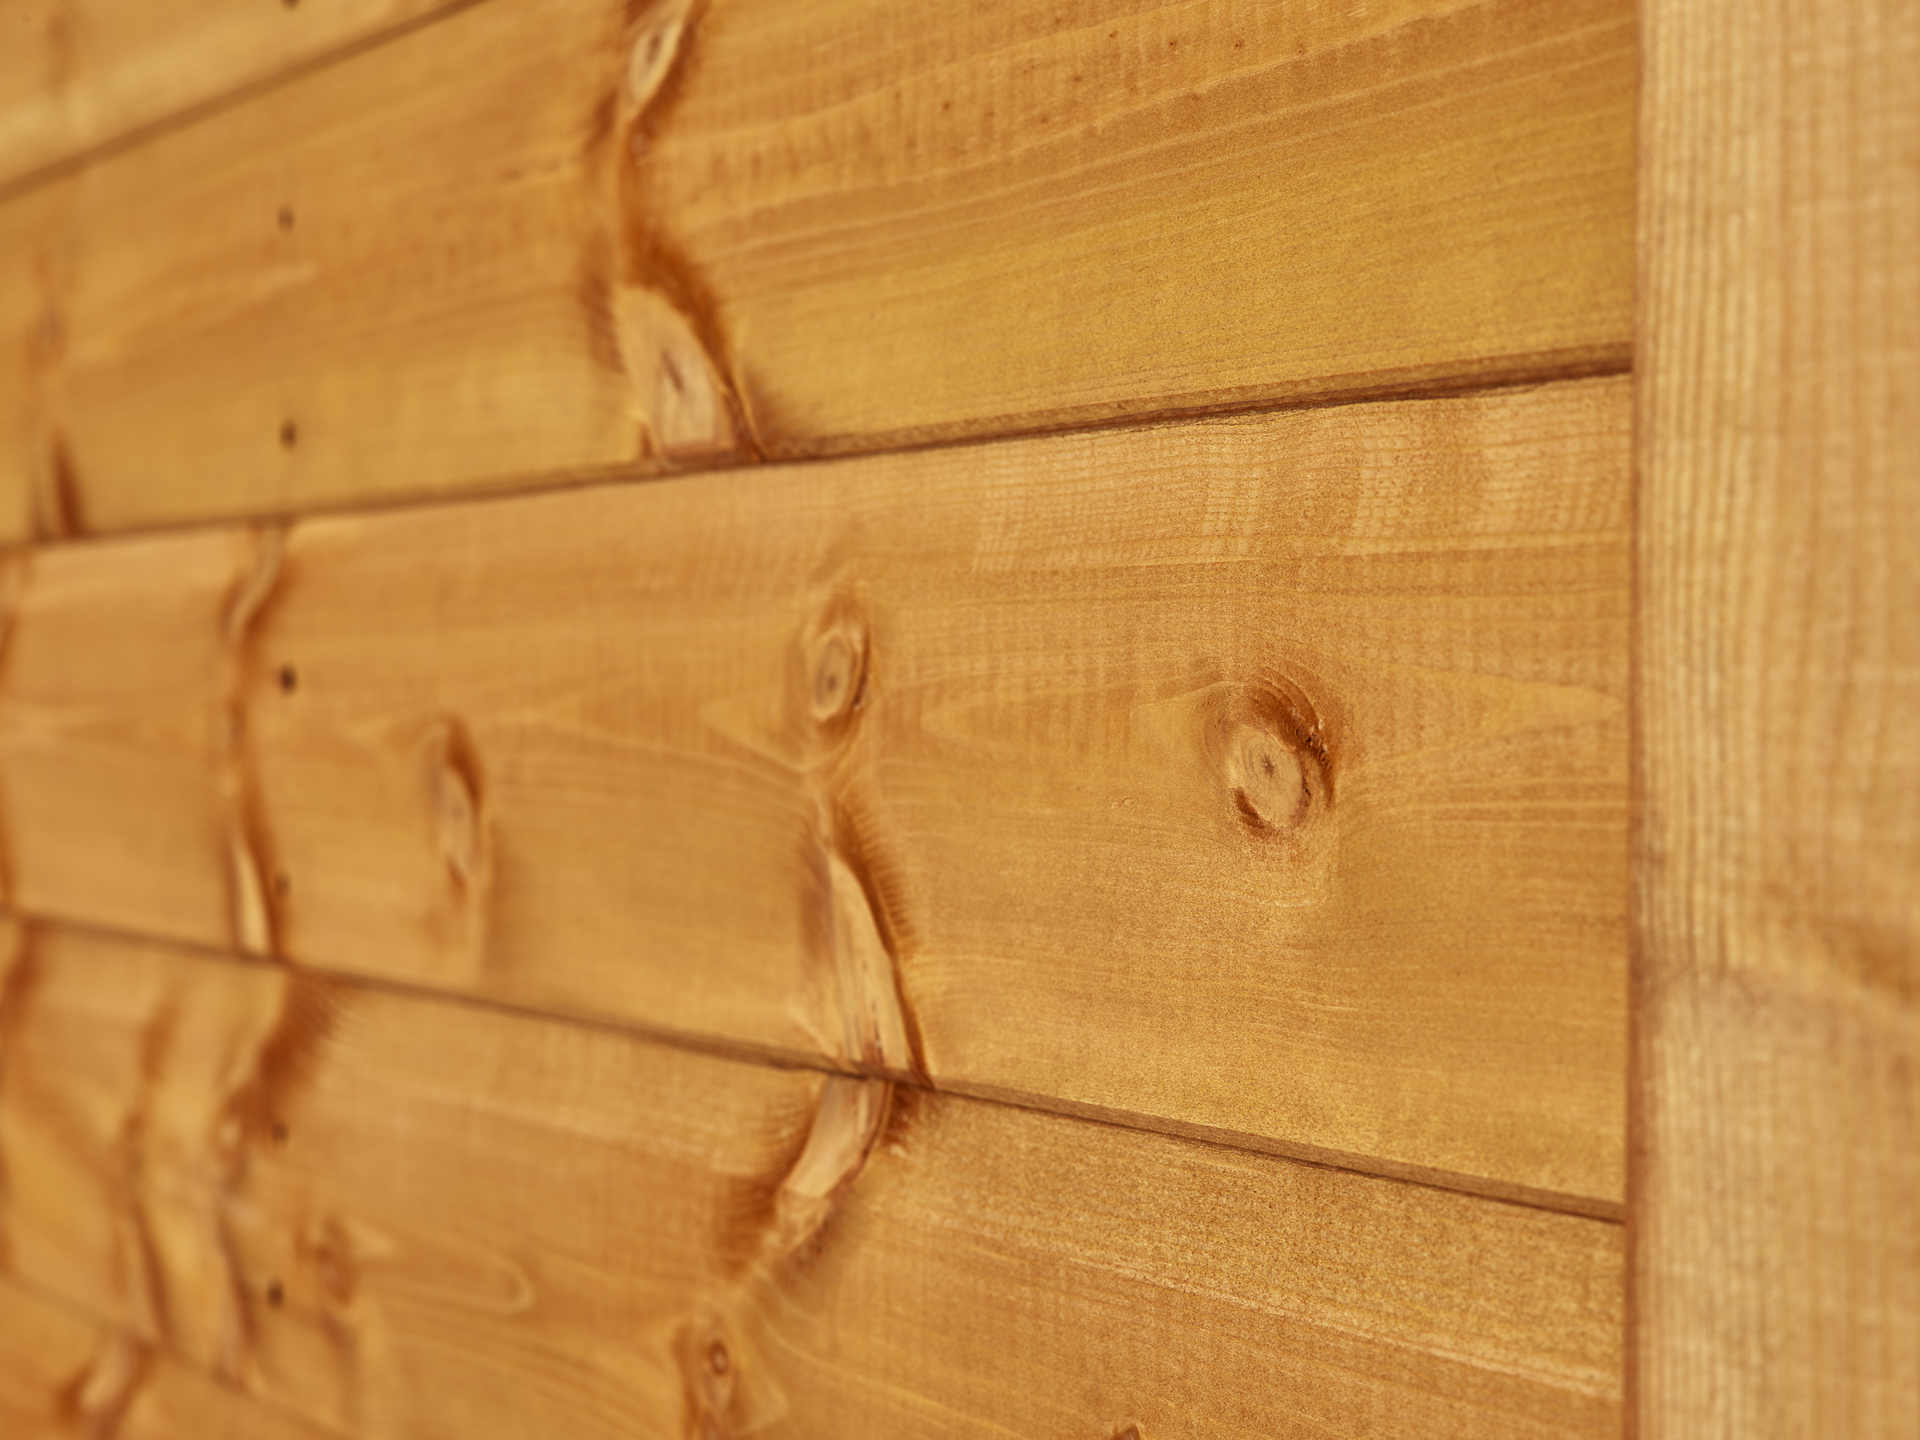
Scandinavian Timber
We source only the finest high grade timber available, suitable for a garden shed. The timber is responsibly imported from forests in Scandinavia in line with our sustainability policy. We select slow-grown timber which means the timber is stronger and resistant to warping.
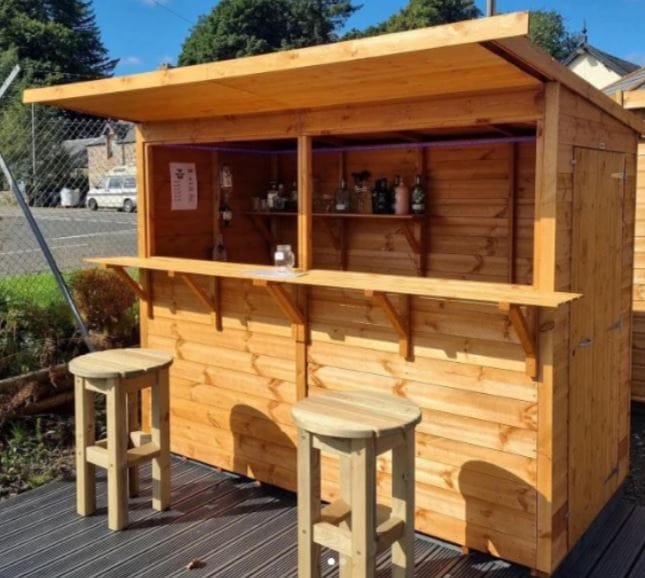
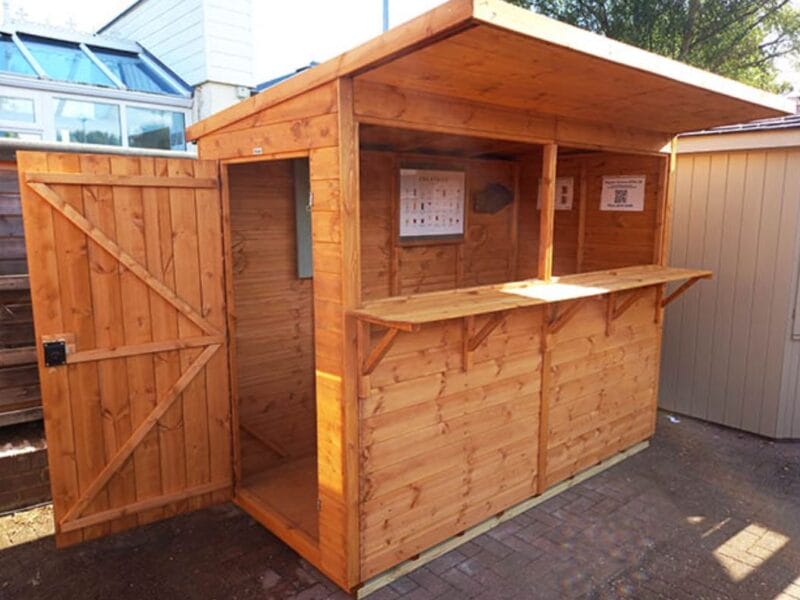
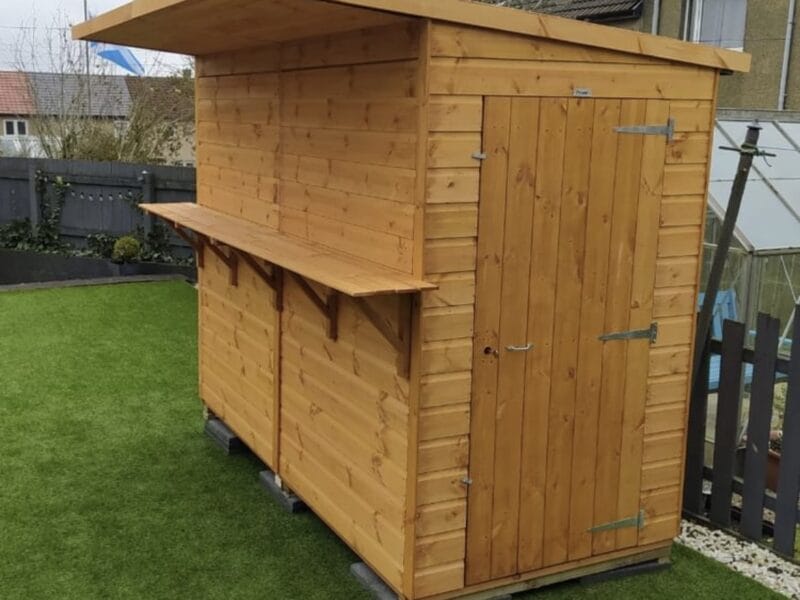
Adaptable Configuration
You can choose where you want the door and window hatches as you assemble it, allowing the pub shed to fit your garden and be the last shed you'll ever have to buy. The door can go on either end of the Pub shed.
Tongue & Groove Throughout
All Power sheds are made from 12mm thick shiplap tongue and groove timber. Even the floor and roof are 12mm tongue and groove to give extra strength and durability. Shiplap cladding has the additional feature of a small profile at the top of each board. This little channel, allows water to run off the shed quicker than normal tongue and groove. This also helps the shed dry quickly after exposure to rain, helping to protect it from any water damage.
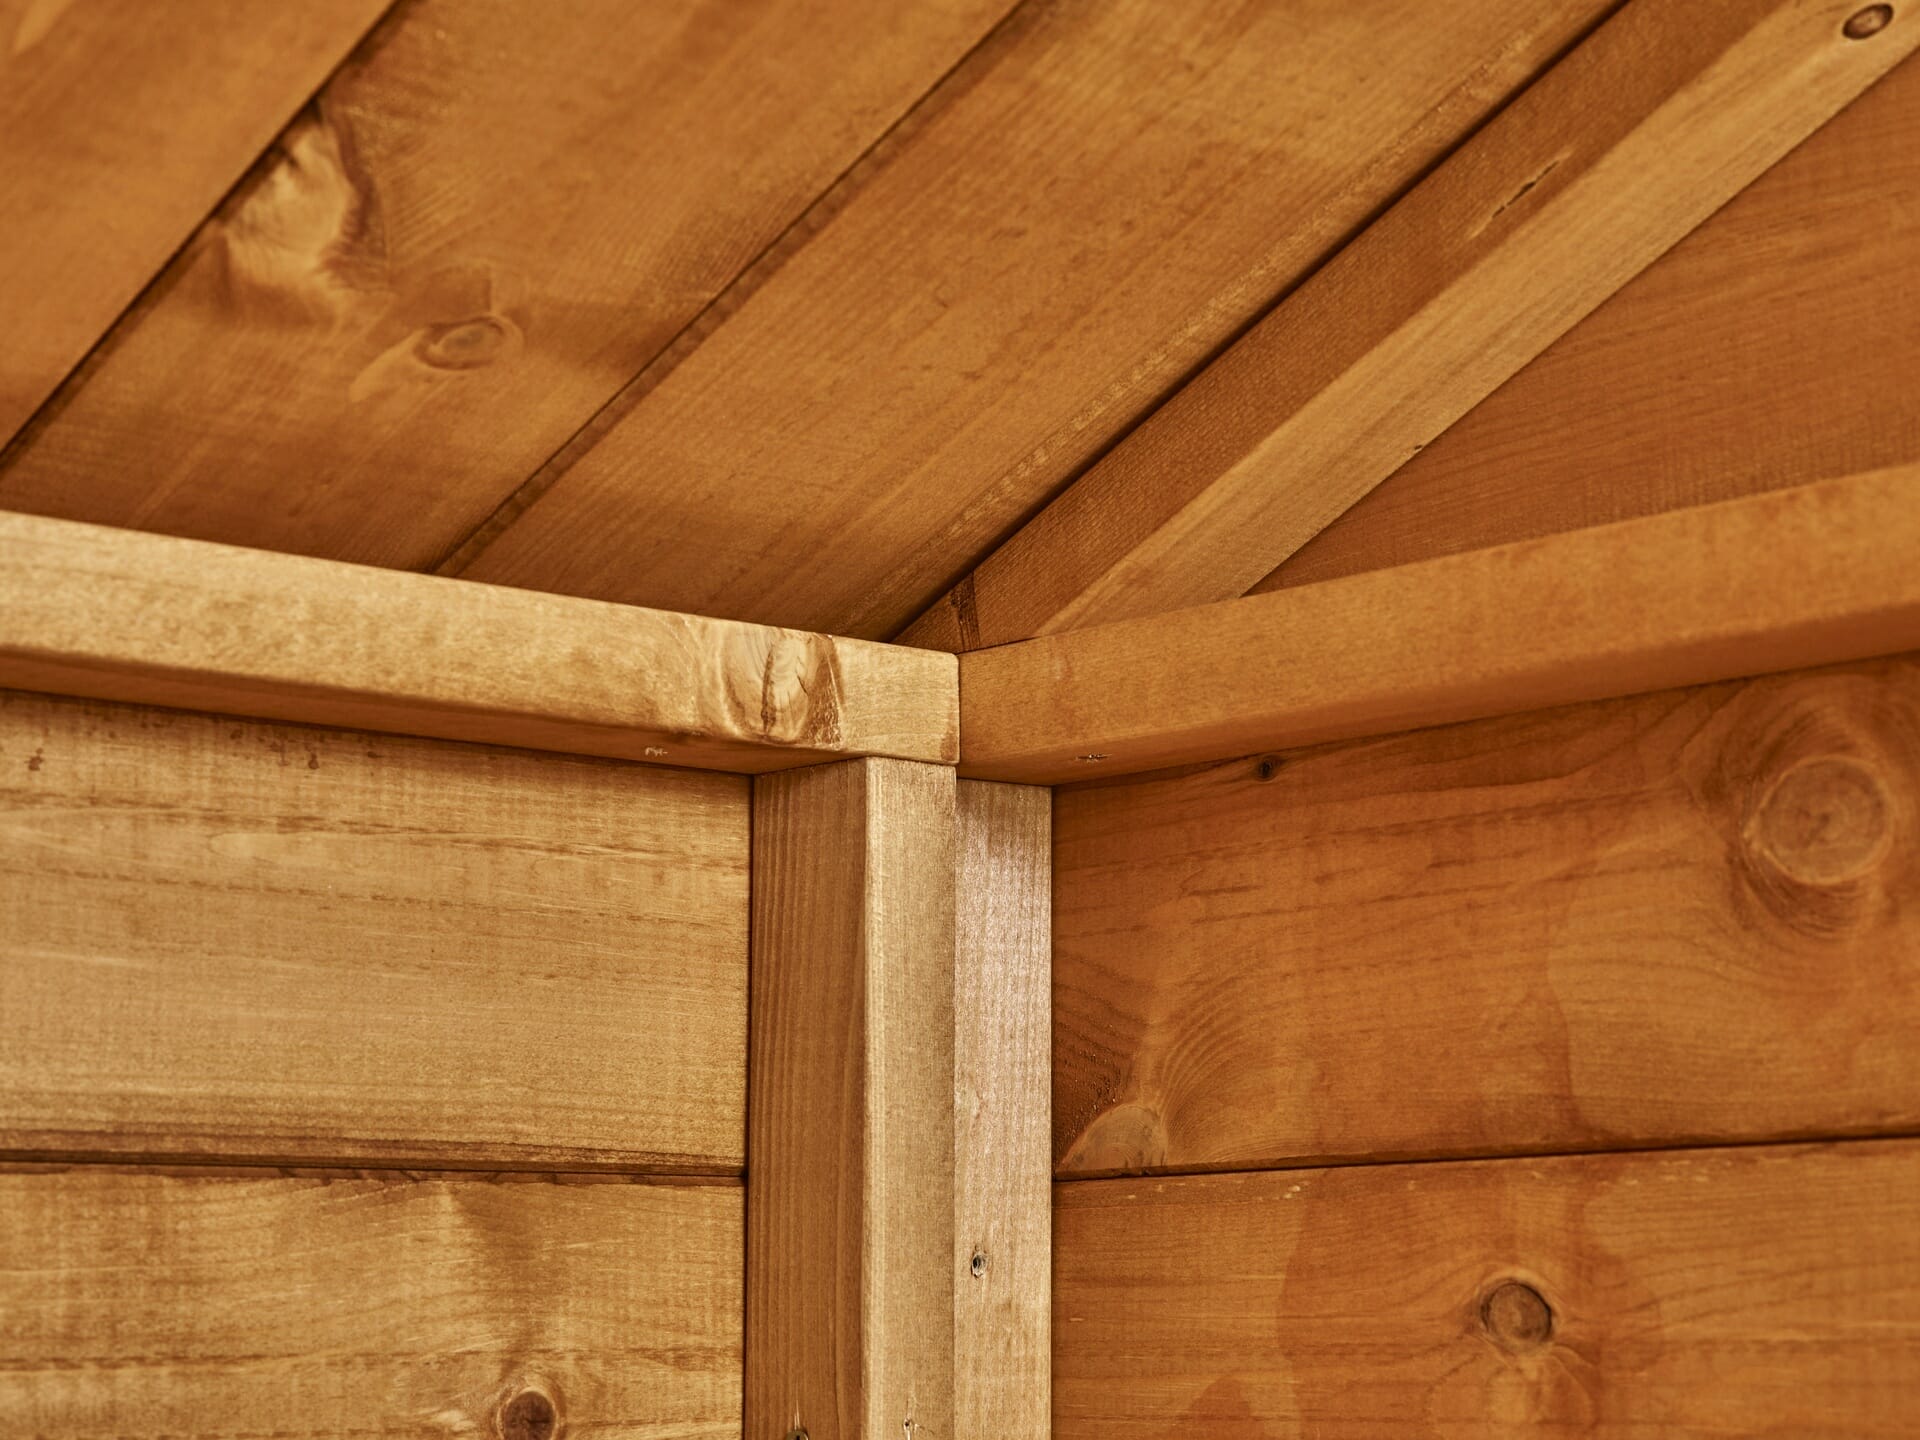
Heavy Duty Framing
The framing on this pent shed is 44x28mm and rounded at each corner to give a stunning finish. The panels are screwed together and so when joined it creates double strength 44x56mm thick framing.
Additional Height
This pent shed really is something our competitors look up to with it being that extra bit taller to give you ample headroom inside.
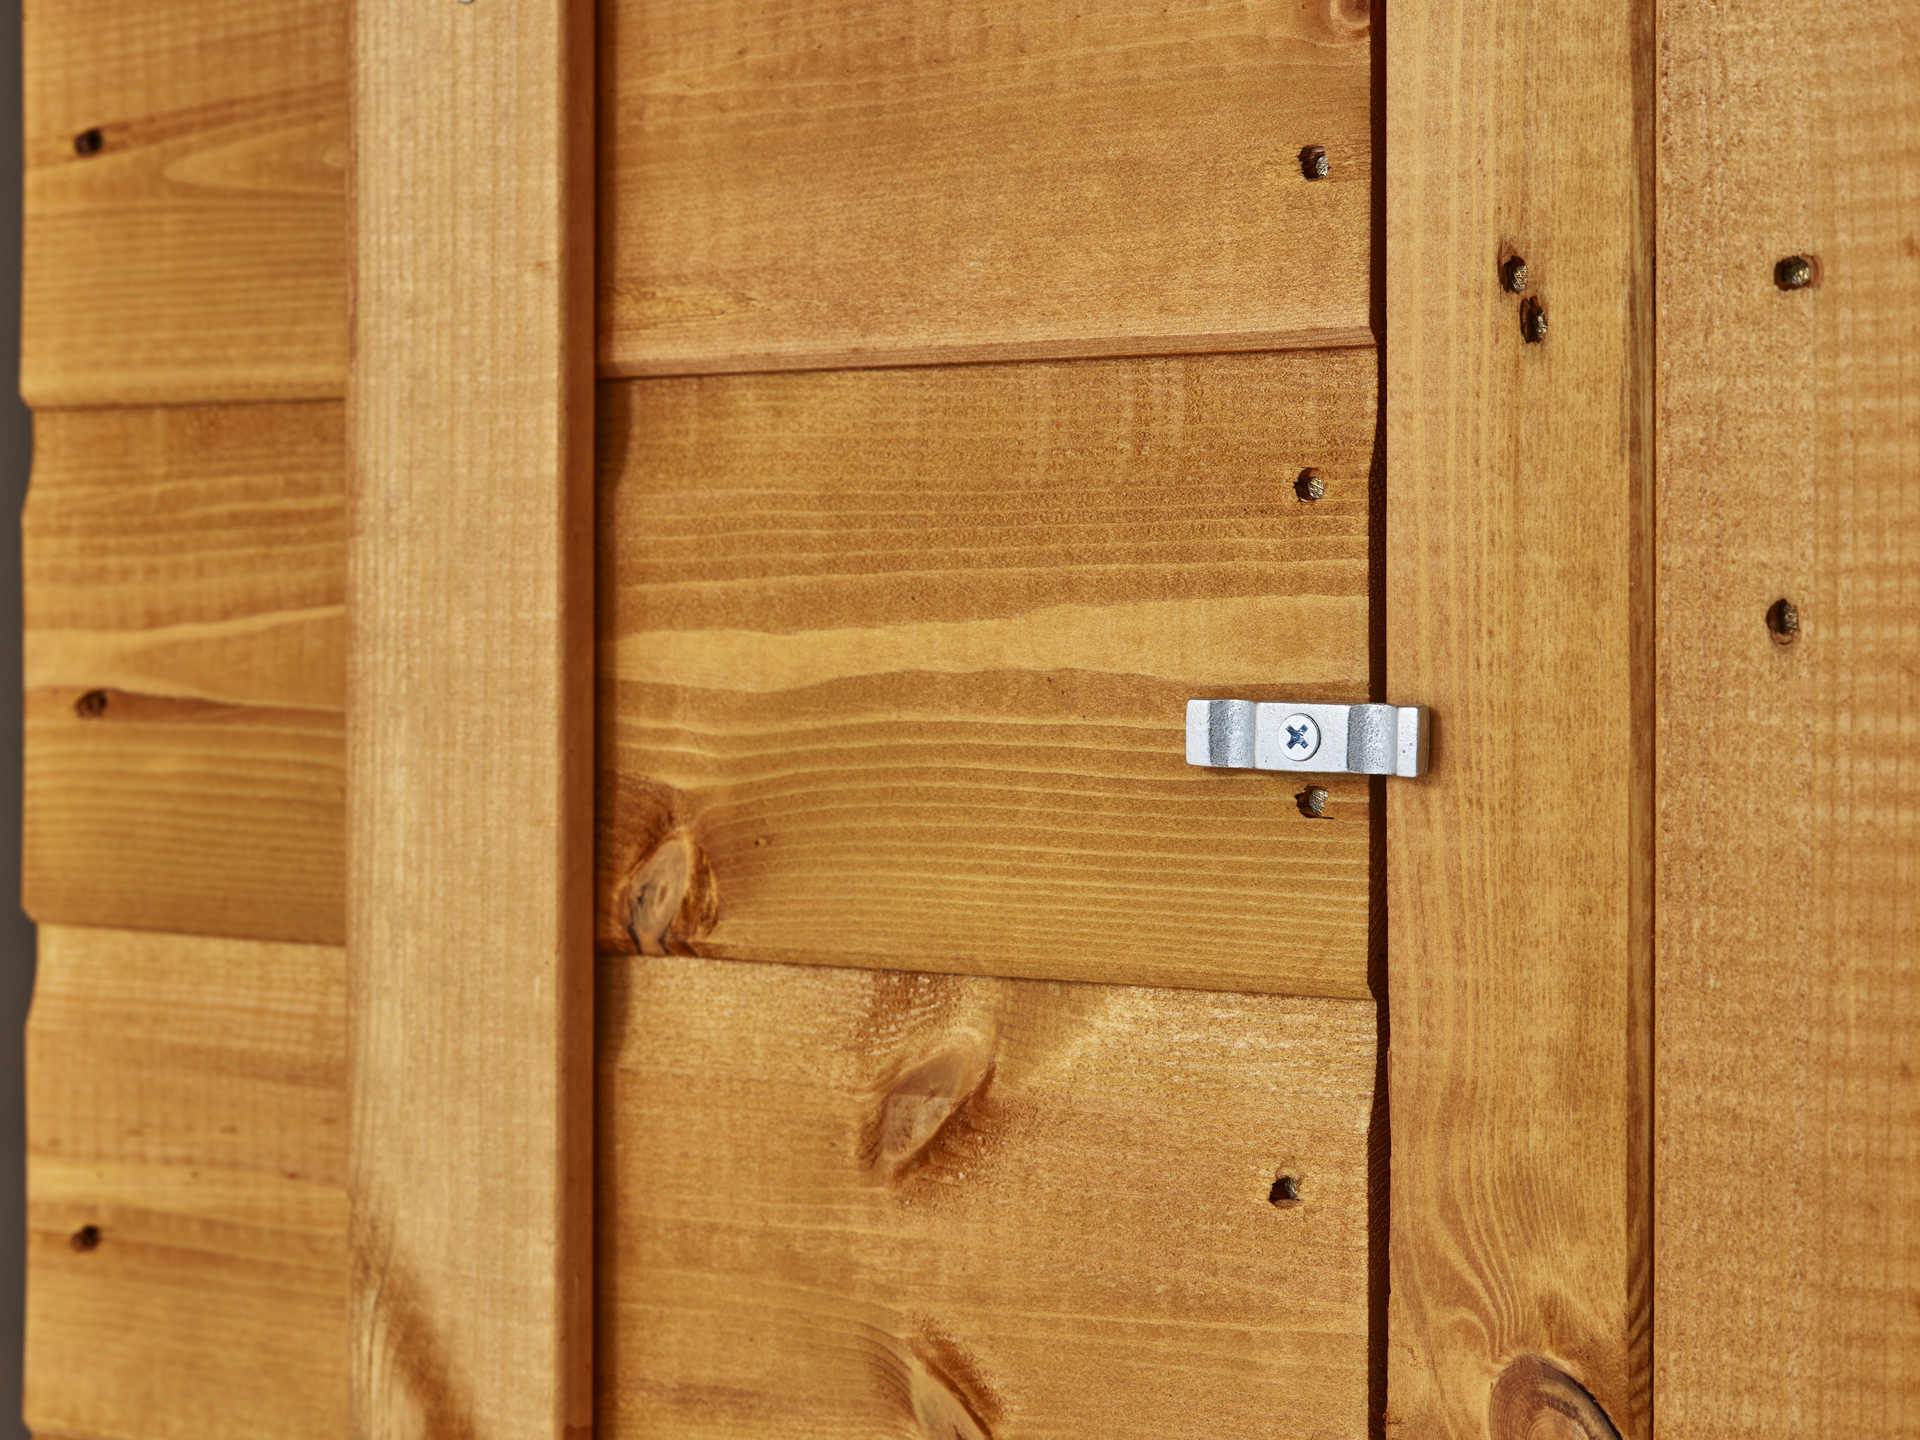
Galvanised Ironmongery
All Power Pent sheds come with galvanised hinges, turn buttons and door pull so the shed lasts longer and minimises oxidisation. Galvanising is coating with a protective layer of zinc in order to protect it from rust and other damage.
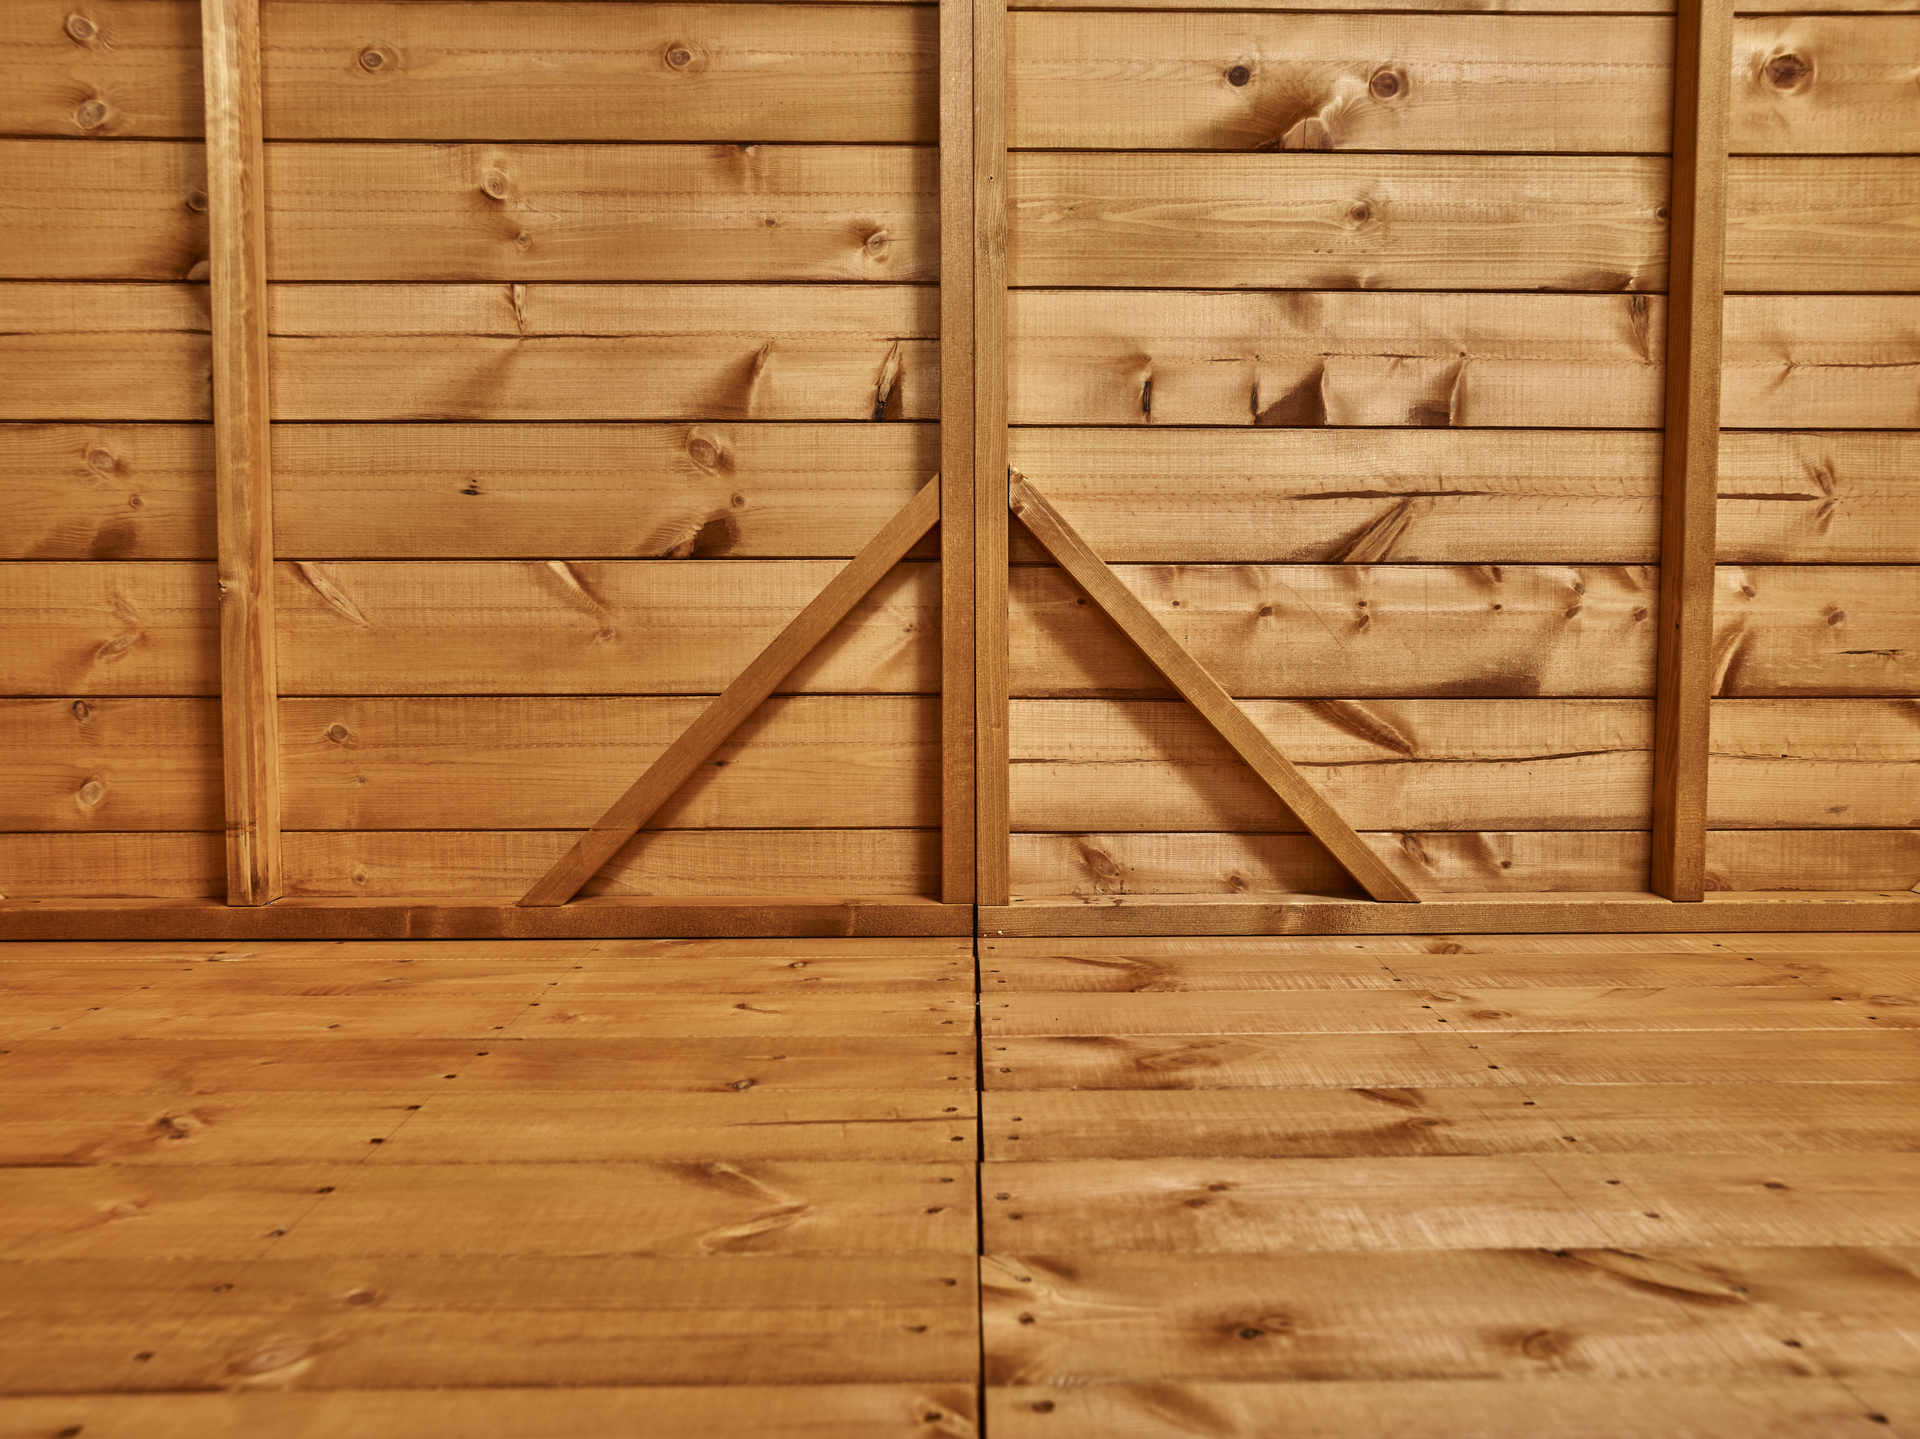
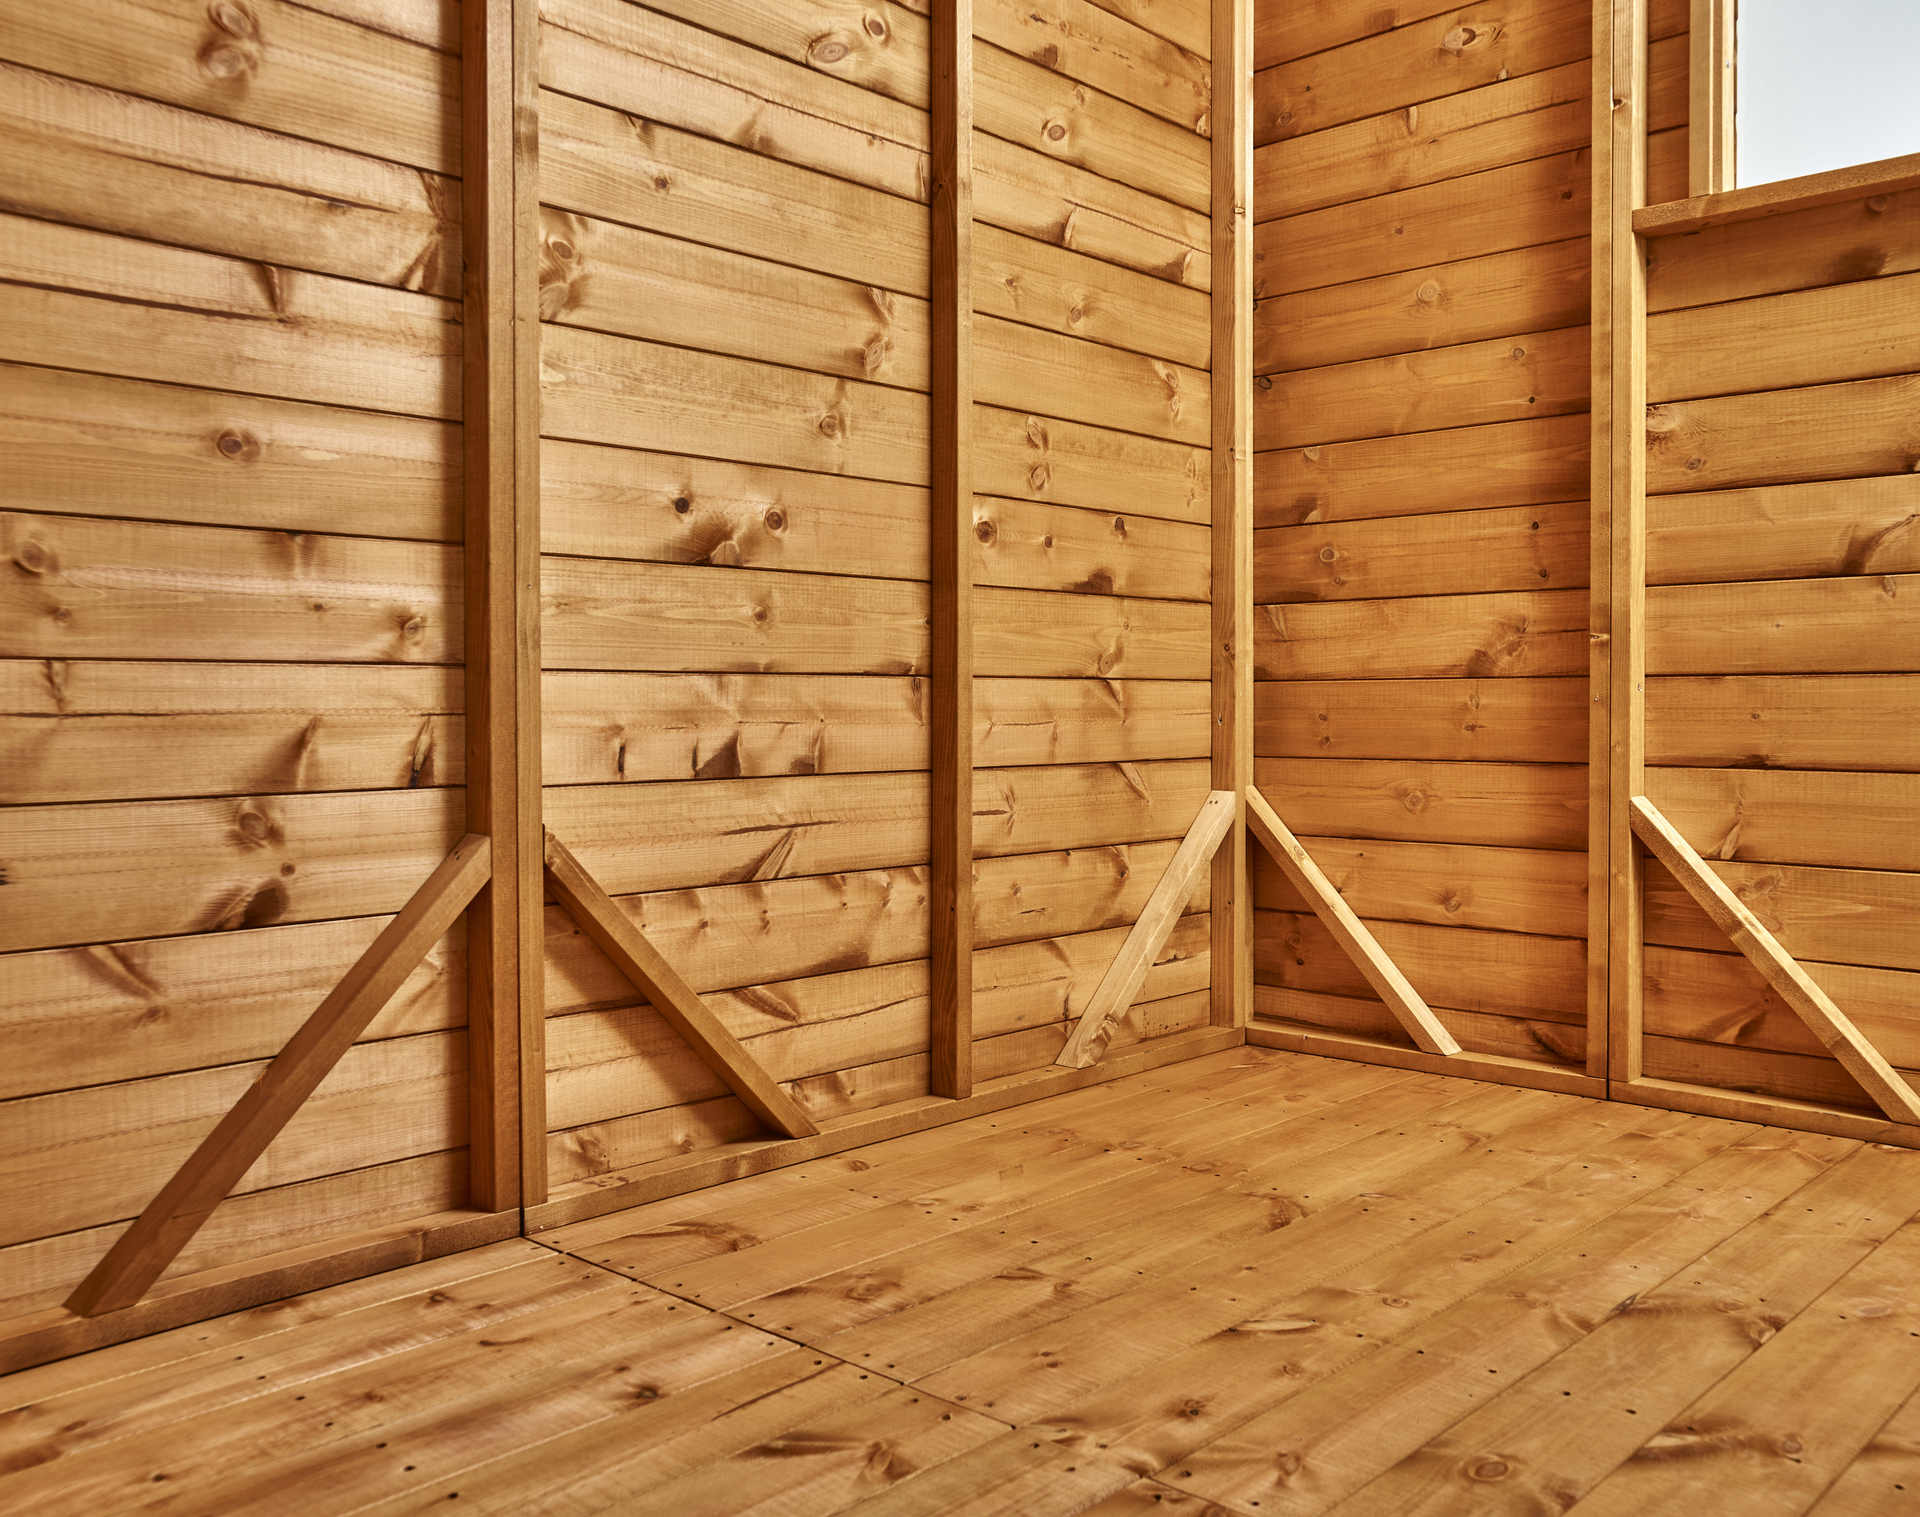
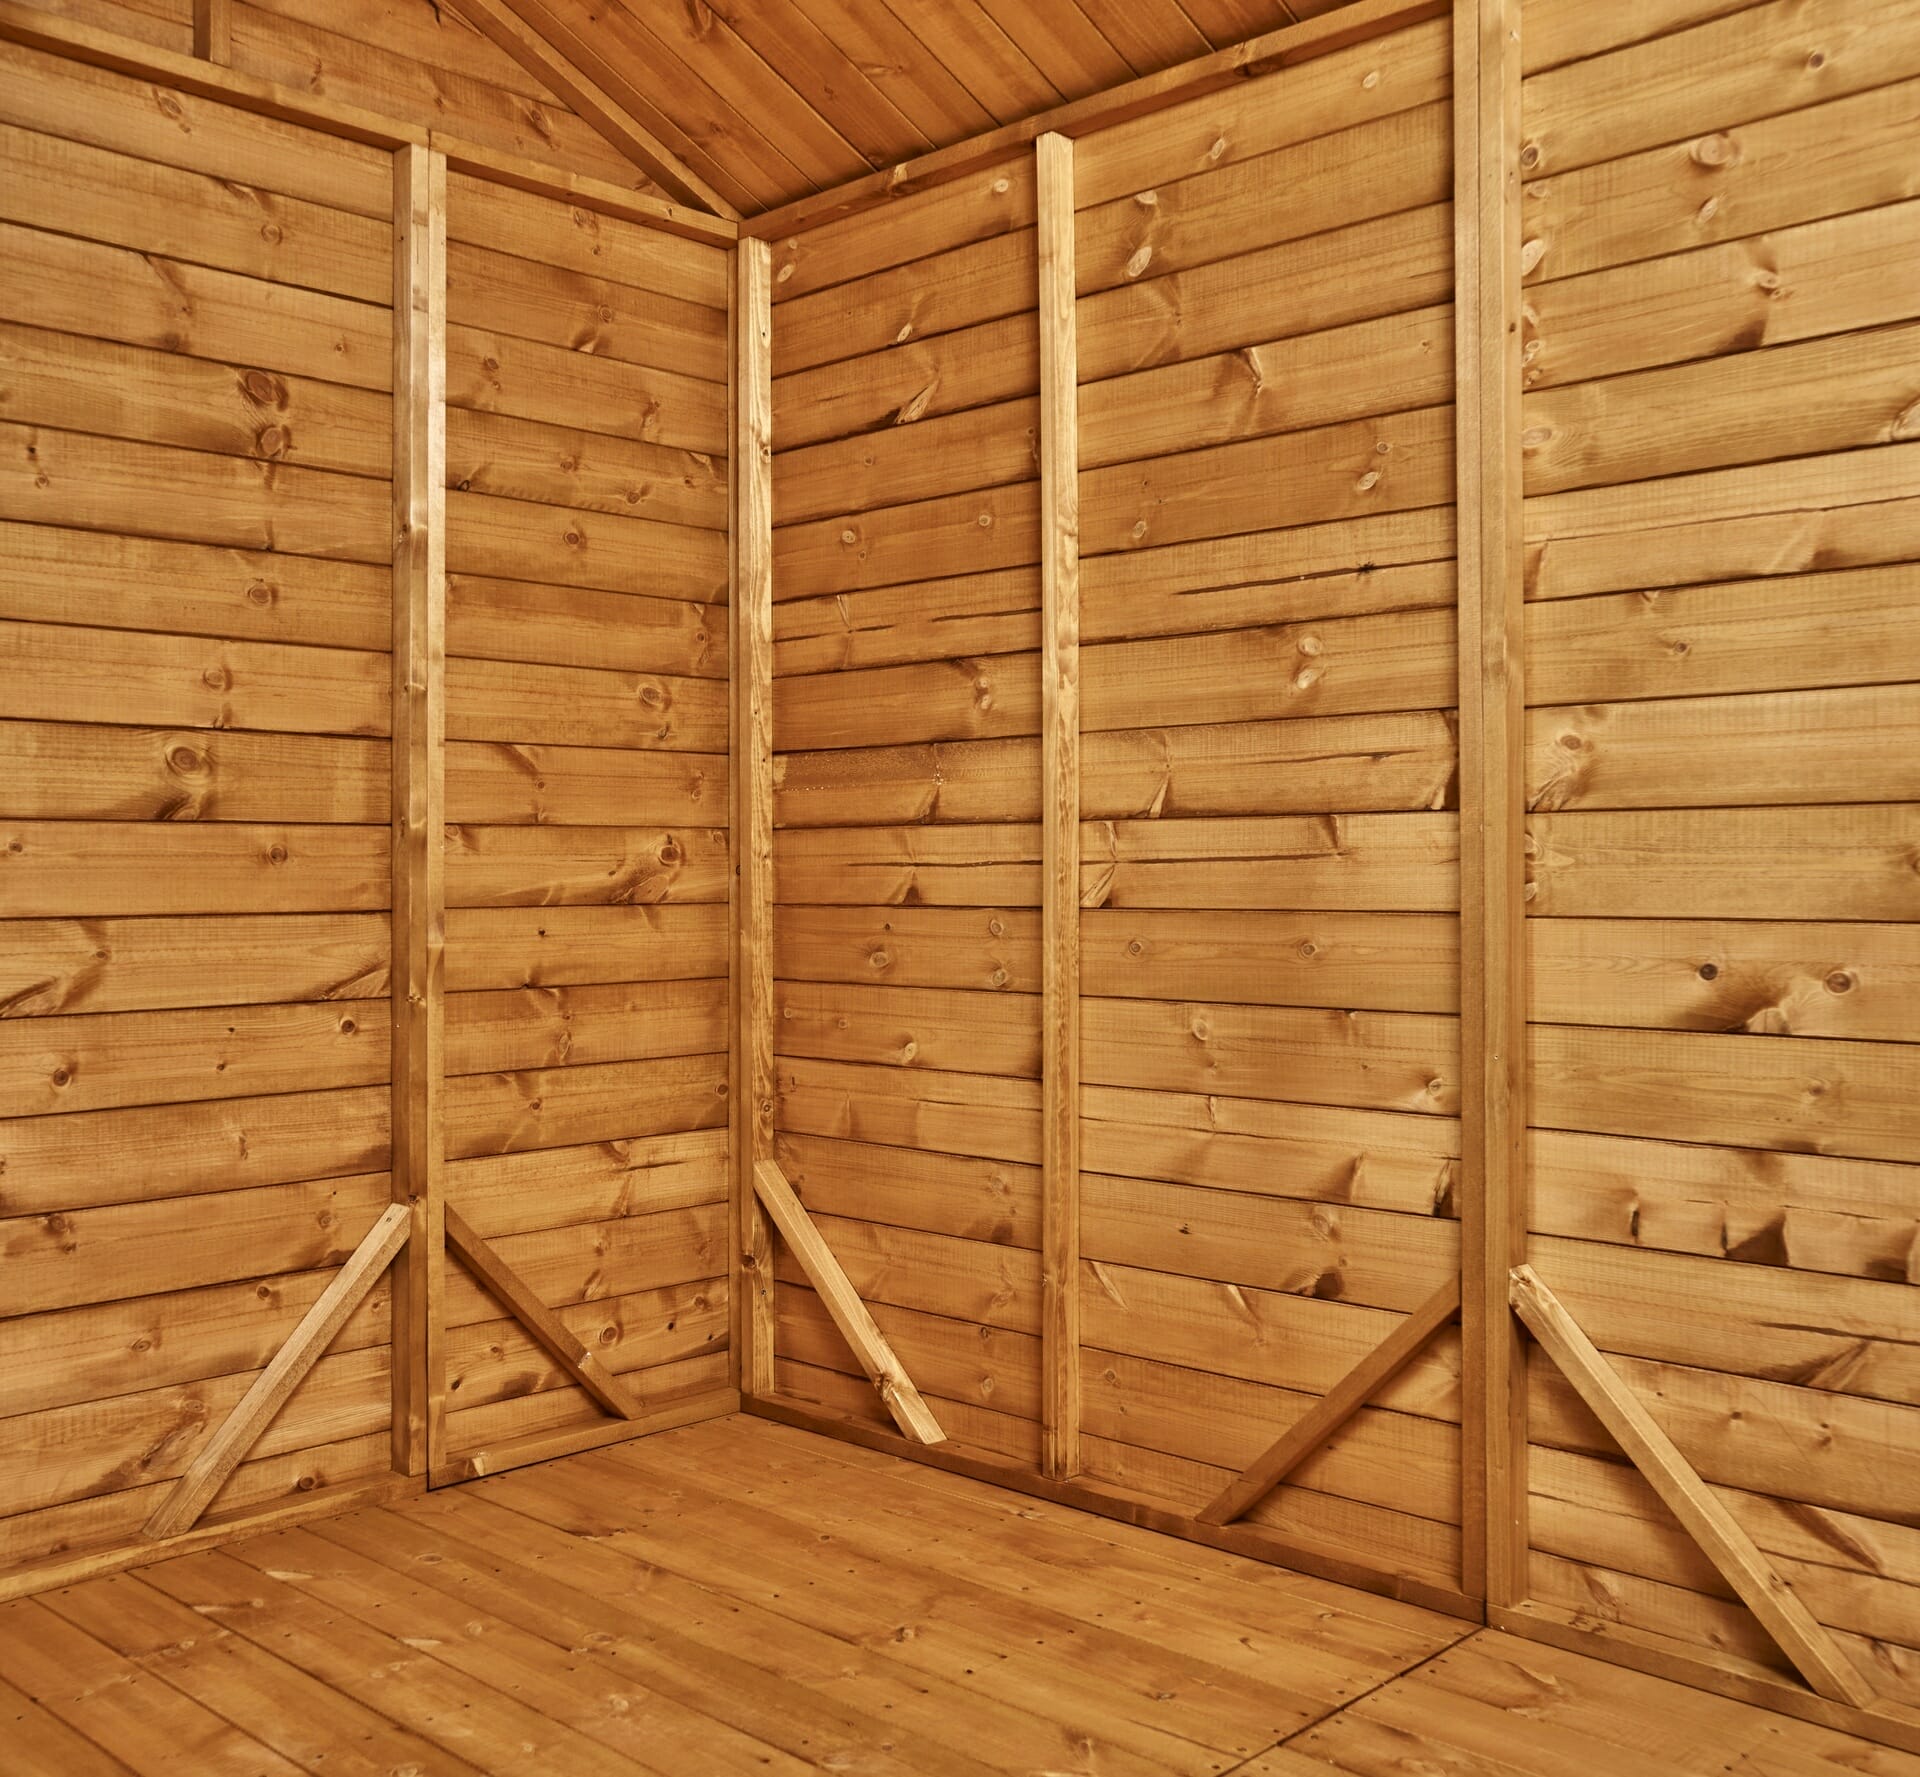
Corner Bracing
Internal corner bracing has been added to every wall panel to maximise strength and rigidity.
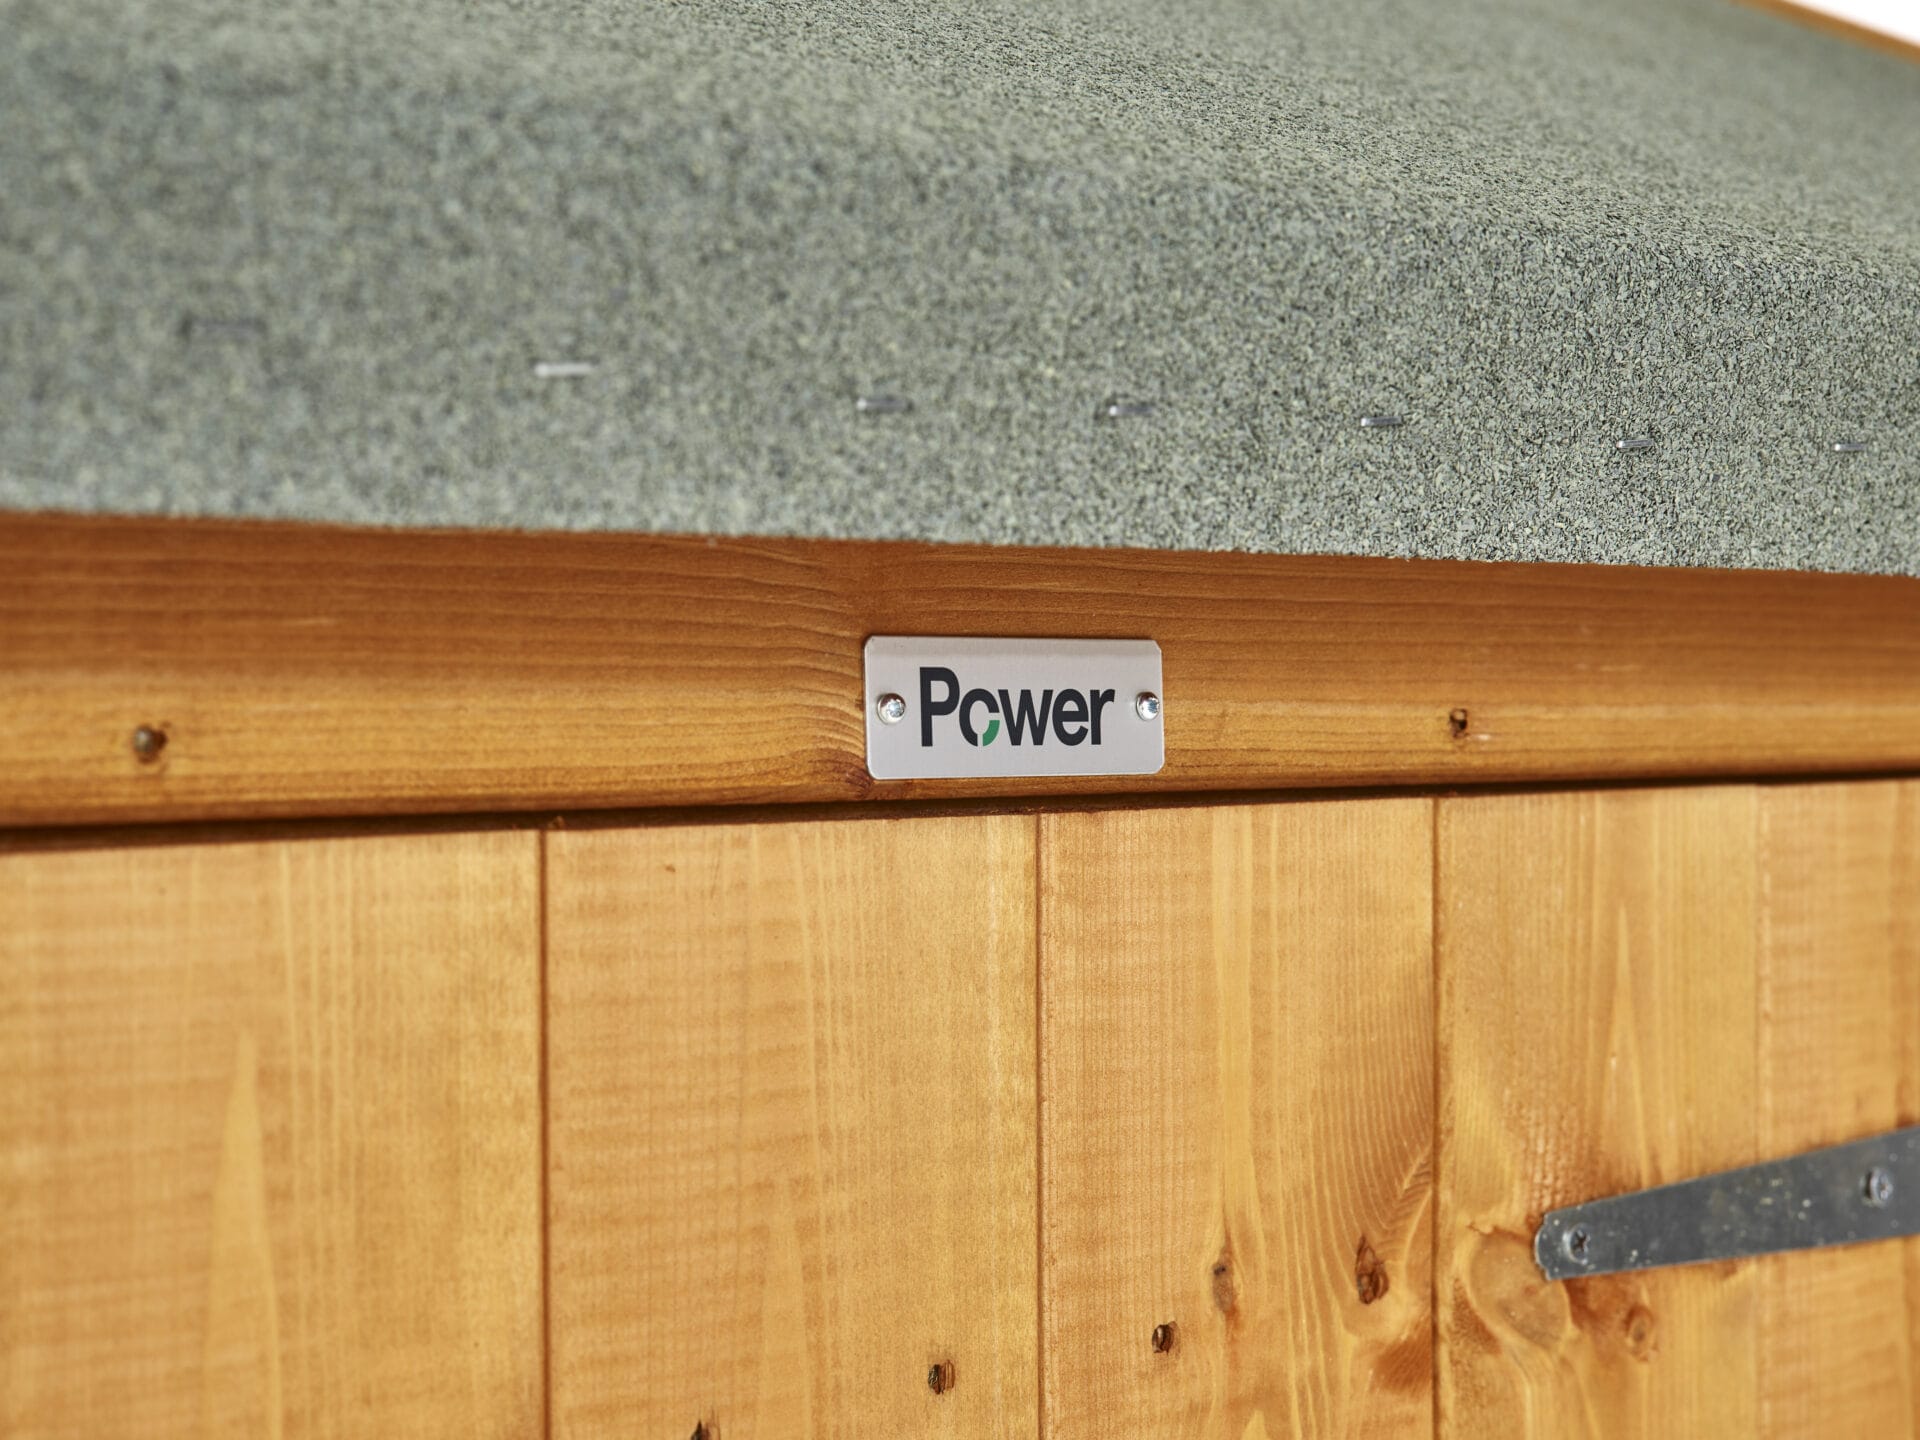
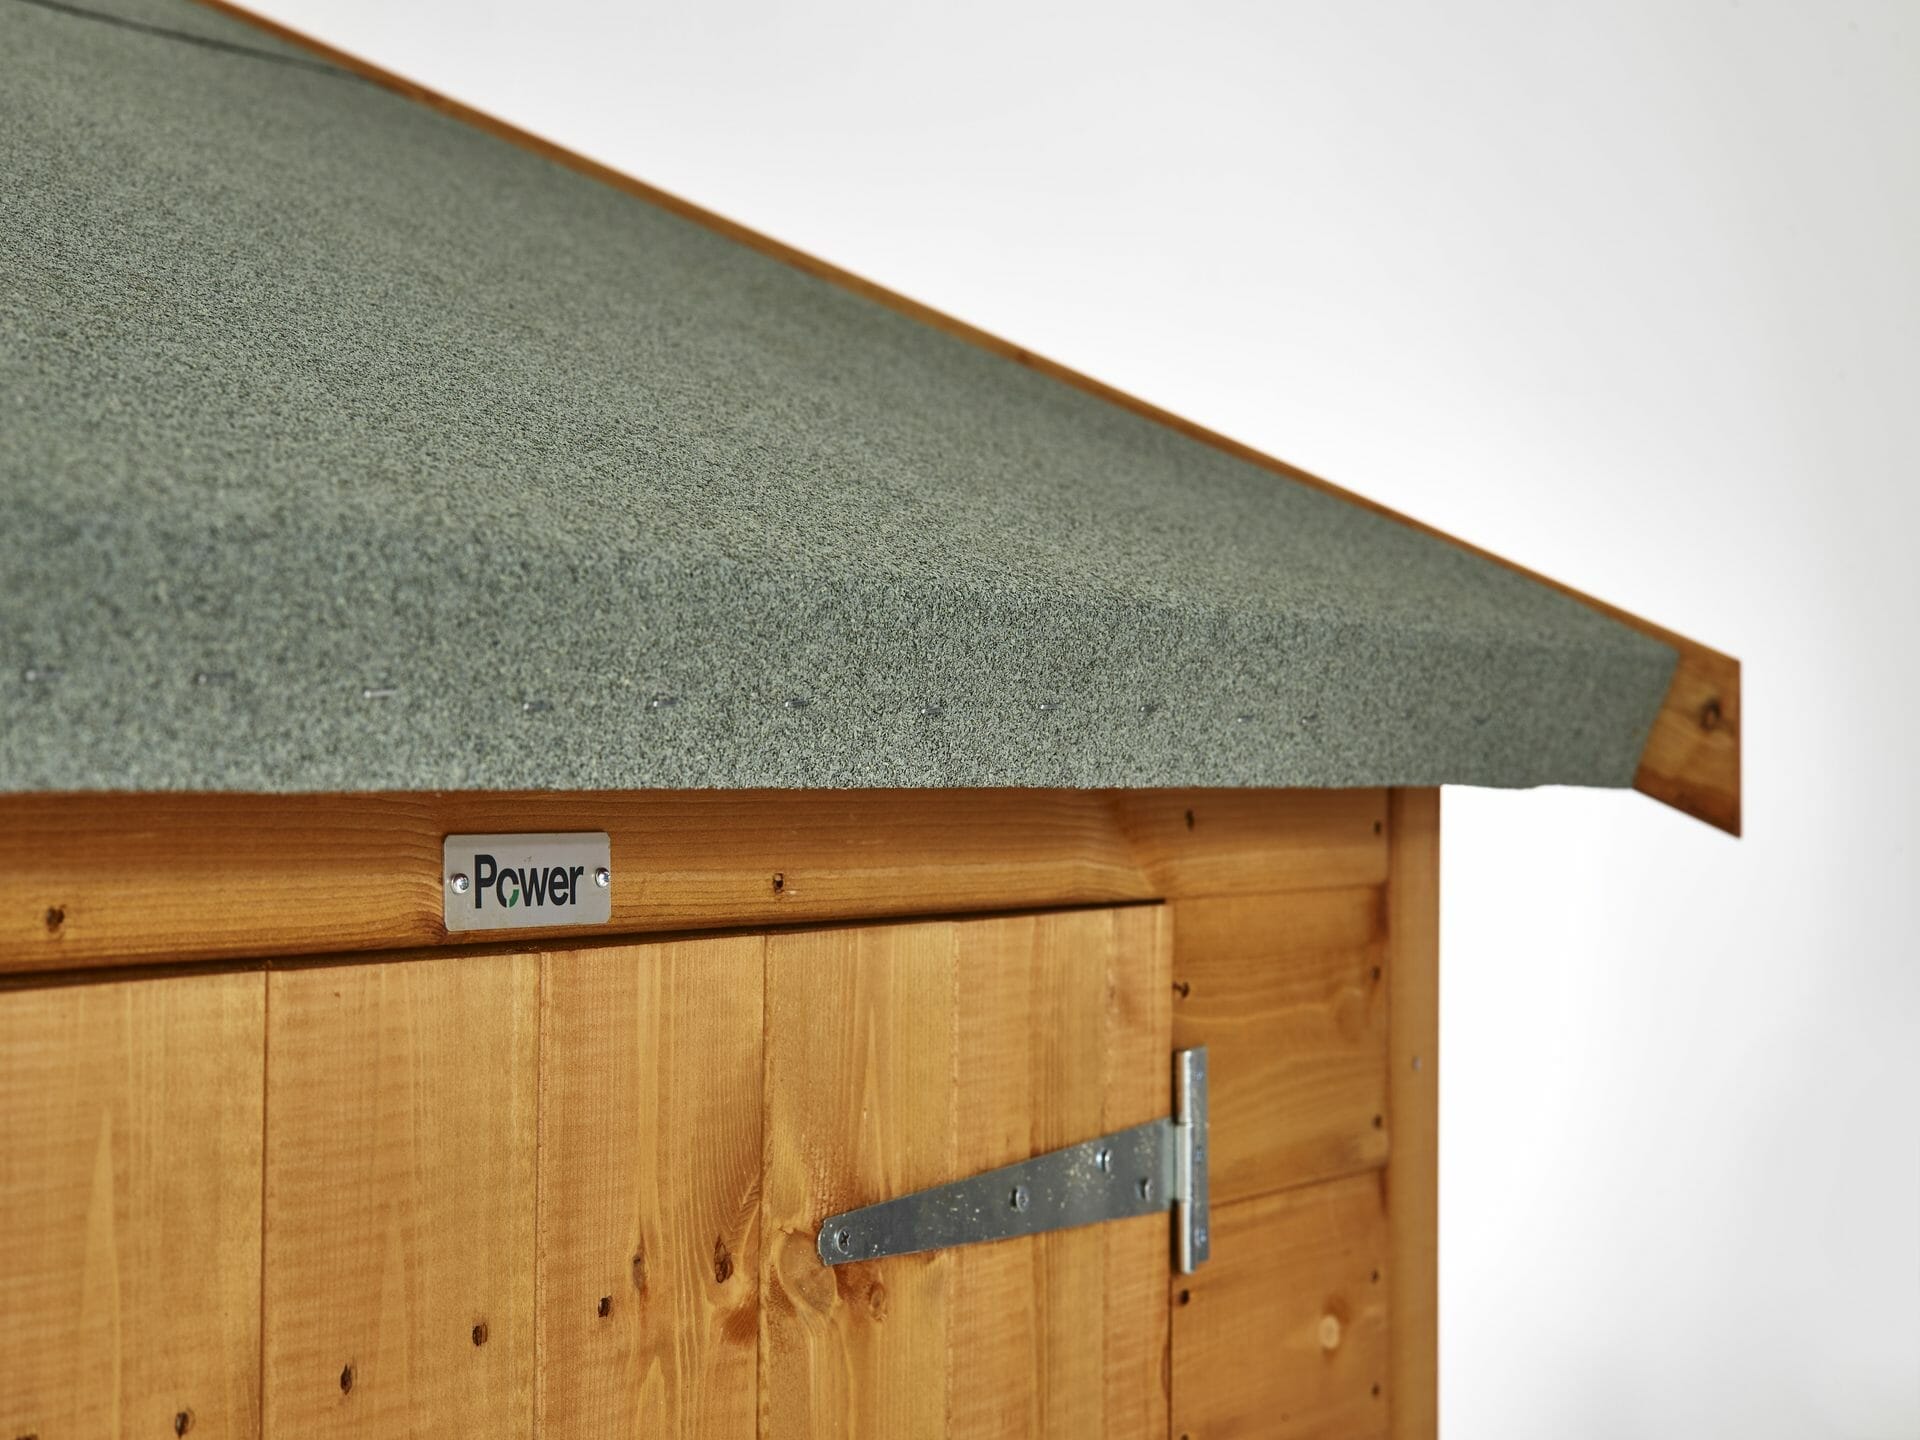
High Performance Felt
The pent shed is complete with a high performing waterproof felt with special 'polyester' backing ensuring it lasts longer and doesn't ripple or tear easily. The felt is saturated with a protective coating called bitumen (asphalt), which repels water but still allows the product to breathe.
Advanced Preserver
Our special formula wood preserver has a wax additive allowing you to go a WHOLE YEAR without the need to re-treat your shed. However, it is water based and has just the right amount of wax so that if you want to paint the shed a different colour, you can. At Power we dip treat shed panels into a tank of preservative fully submerging the panel into the treatment. All surfaces are thoroughly immersed before being removed and dried.
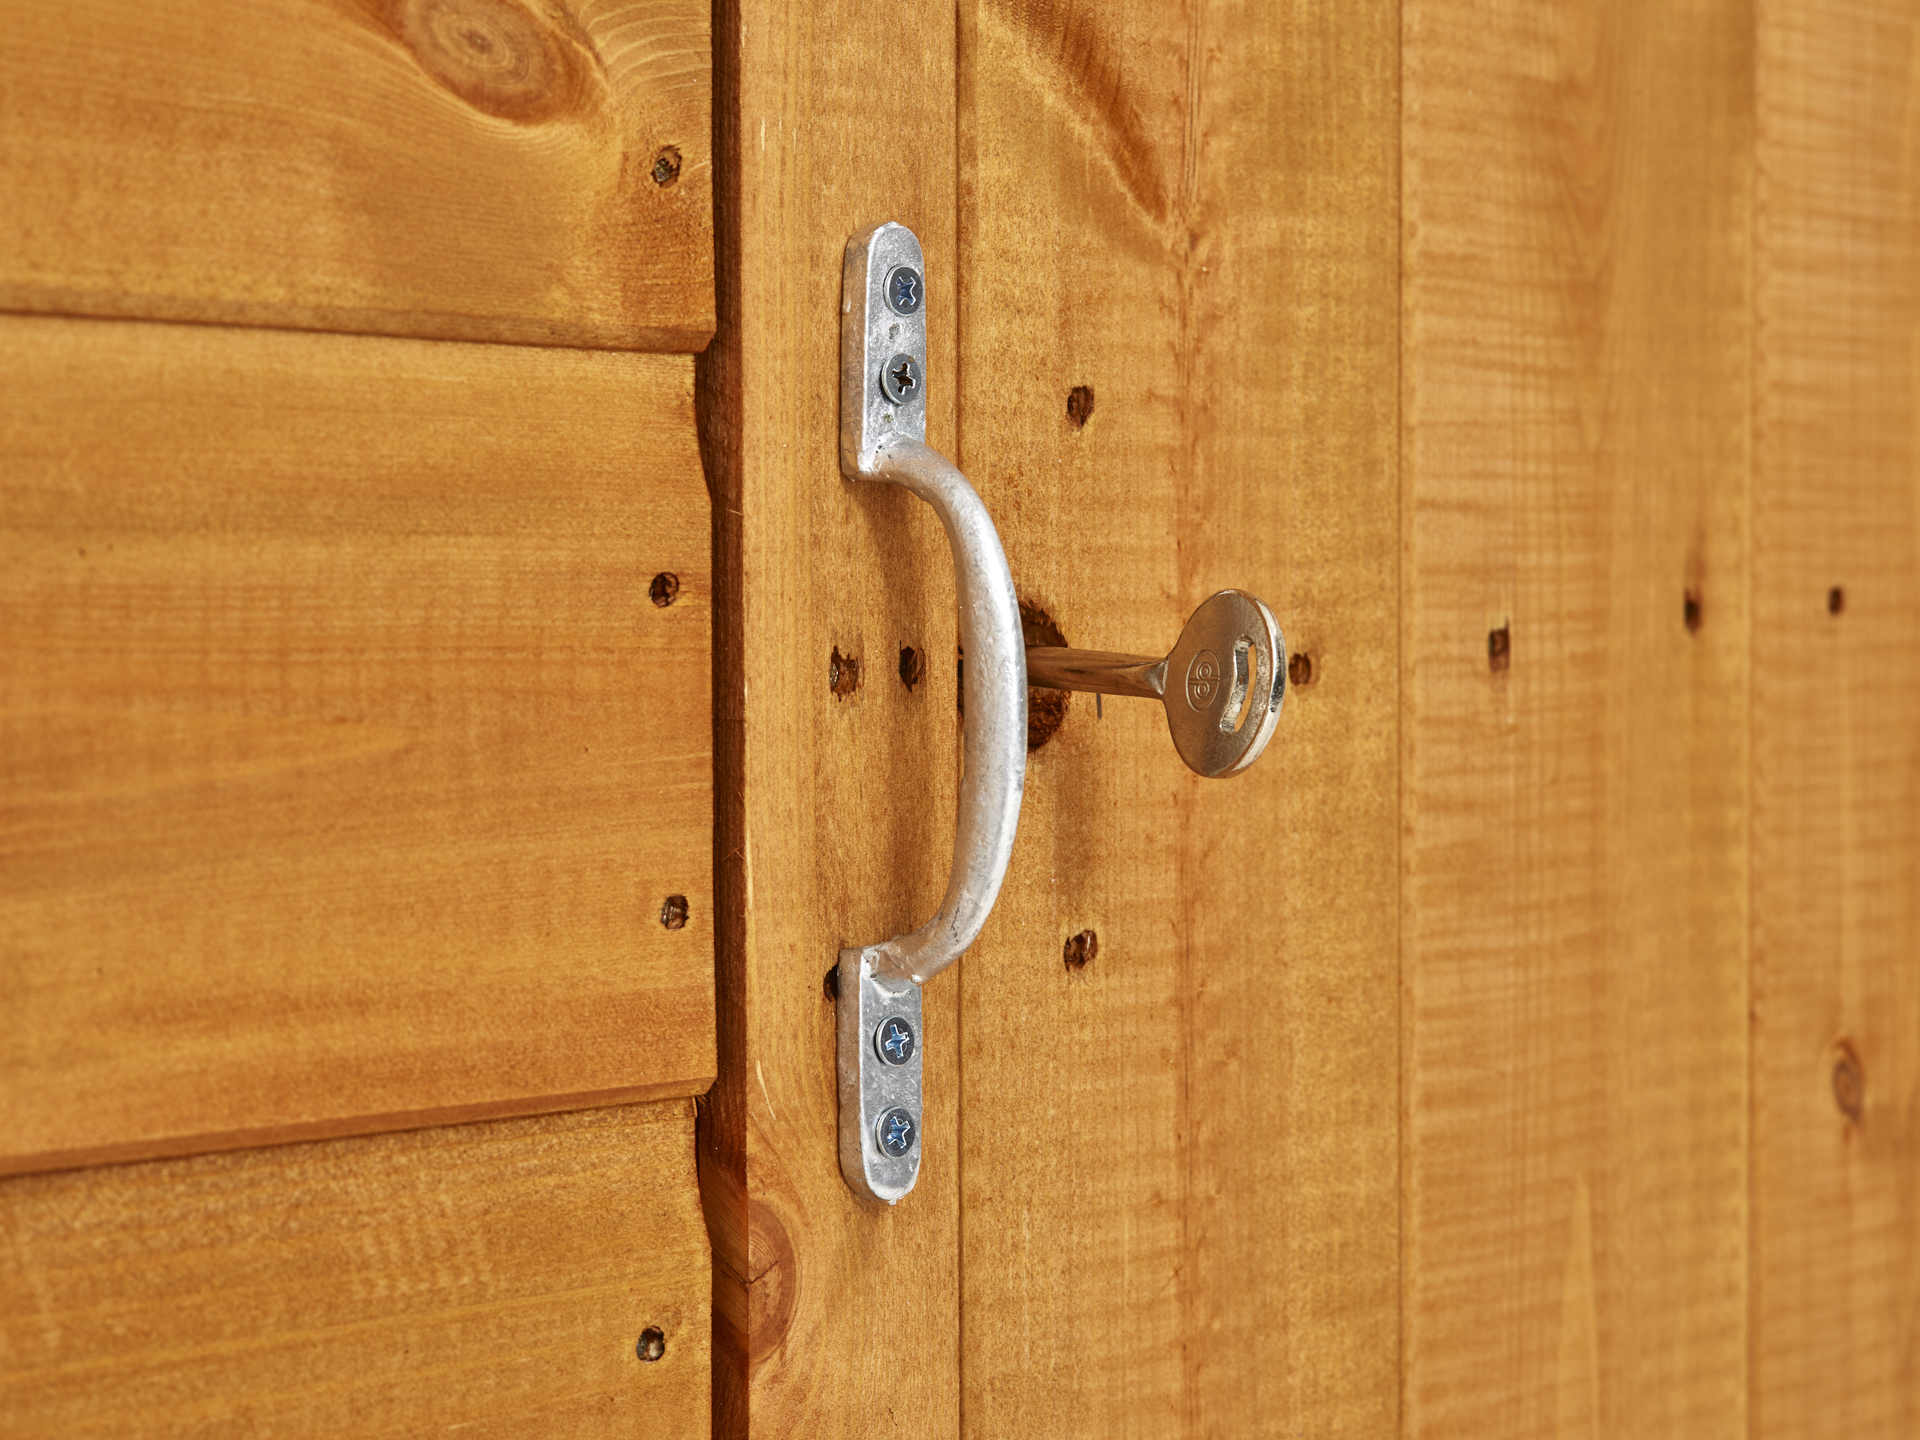
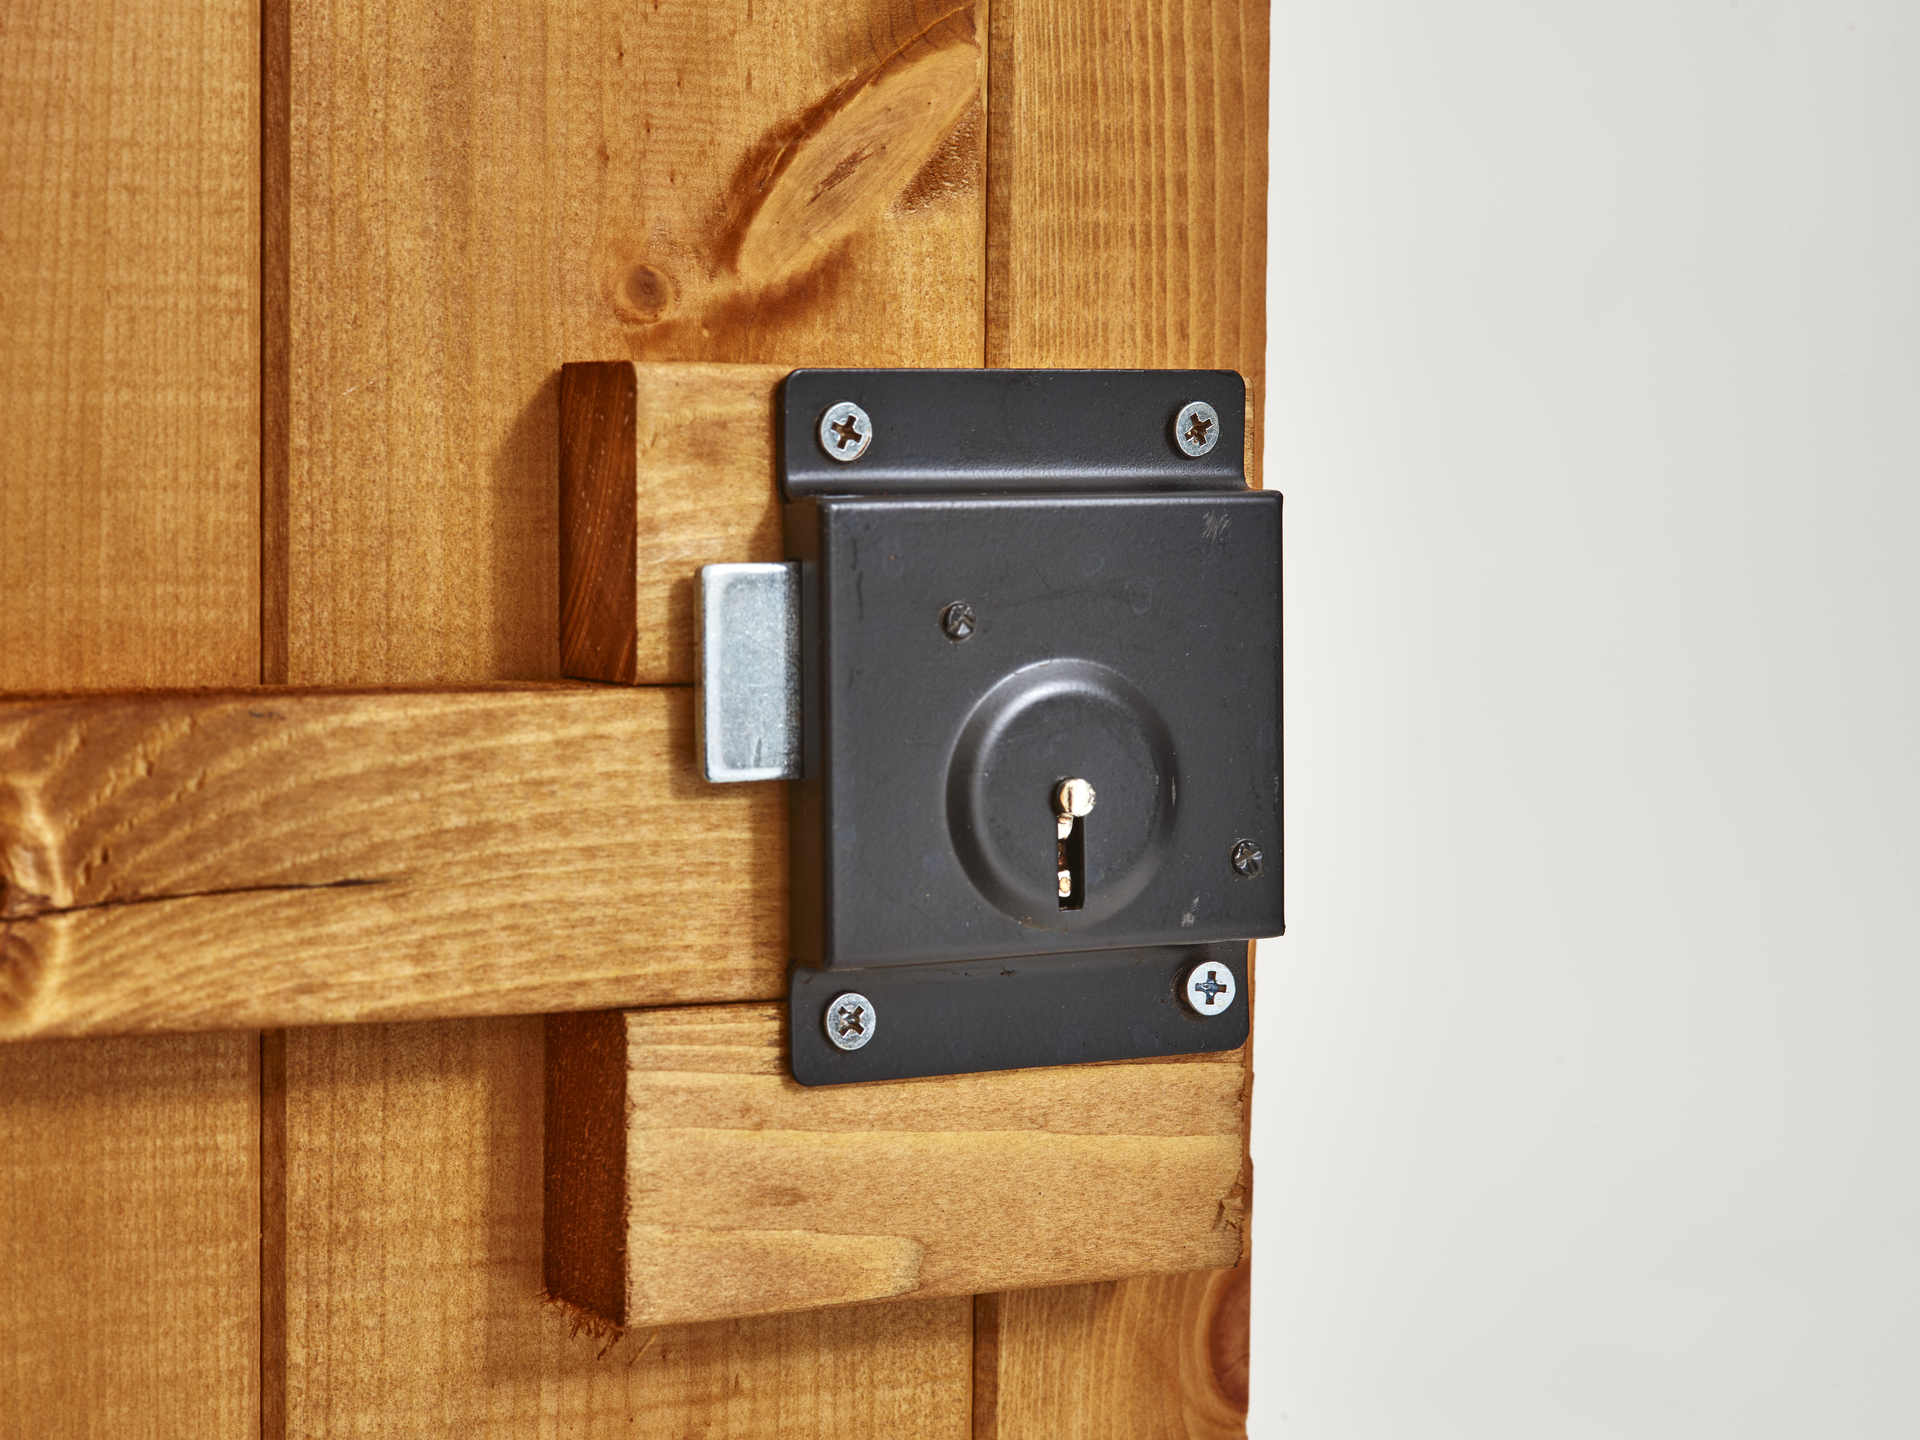
Secure Press Lock and Key
All Power sheds come with a pre-fitted press lock and key to maximise security and give you the confidence that your garden belongings are stored securely away.
20th Fastest Growing Company in the UK according to The Sunday Times
The Sunday Times
Extremely sturdy shed, easier to assemble and looks great in any garden. Award winner!
Real Homes Loves
Two time winners of the Great British Entrepreneur Awards
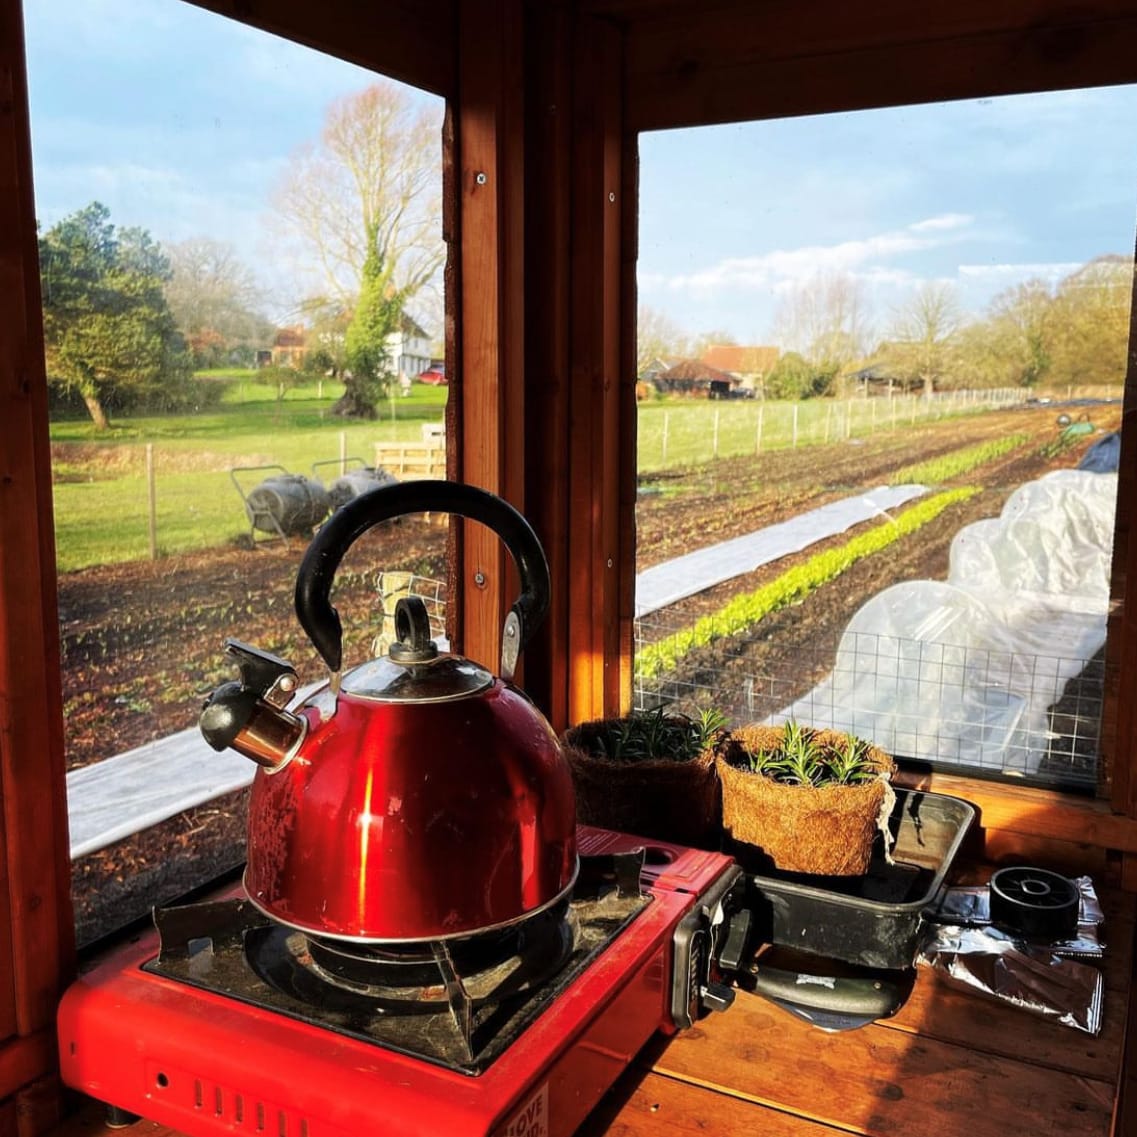
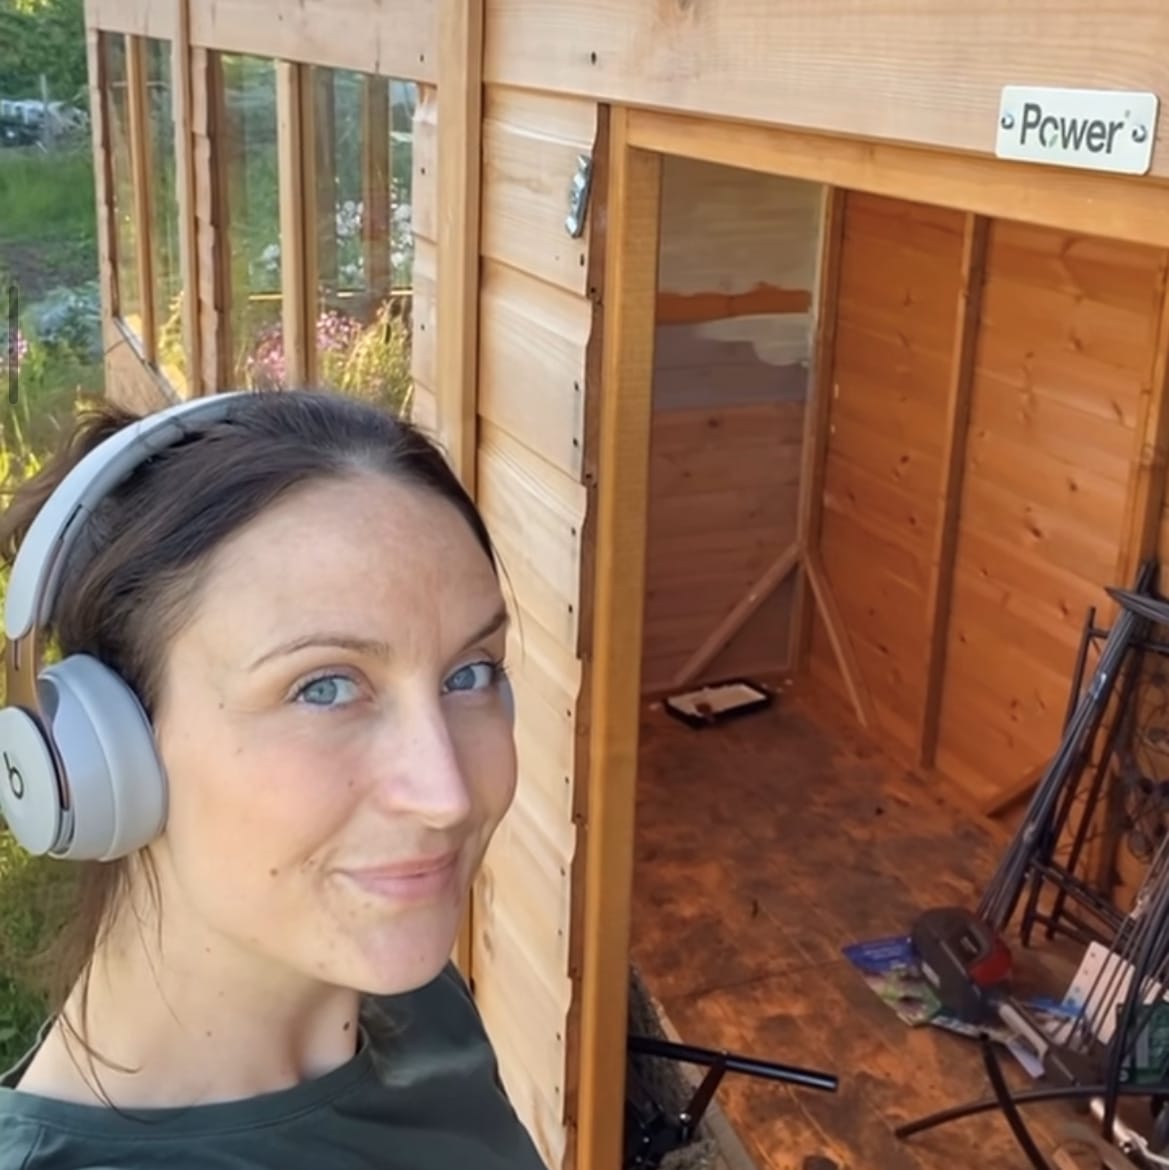
Our garden sheds have been enjoyed by gardening and allotment experts across the UK. We have our own 'Allotment Hints & Tips' group on Facebook which now has over 71K members sharing advice on growing your own. These experts who own a Power Shed are well worth a follow...
Our shed comes with an advance exterior wood preservative. You can install your shed without worrying about the elements and it allows you a year to select a wood preserver and your choice of colour to cover the base preserver. We do recommend you retreat your garden building internally as well as externally annually thereafter. You may re-treat it or change the colour sooner if you wish.
Can we view your garden sheds?
Of course! We have many shed trade agents up and down the UK, who can be found on our store finder page
We advise you call ahead if there is a trader in a reachable distance from you. Some trade agents will not have every building we offer on display but you will be able to see and feel the quality of the shed and order in store.
Our location is a manufacturing site only, and unfortunately we do not have a show site ourselves.
Do you offer bespoke sheds?
Please note that many of our sheds are fully adaptable where you can position the doors and windows on any side as you build it.
If you require a shed with additional or fewer doors or windows etc then this is usually not an issue for us.
If there is anything more complex you would like then please get in touch with your requirements and we can advise through either calling us on 01274 036577 or emailing us at hello@powersheds.com.
Do you offer finance on your garden sheds?
What is PayPal Credit?
Yes, we offer PayPal finance on our garden shed range.
PayPal Credit proves a convenient way to shop our products due to offering 0% interest for 3 months when spending between £30-£2000!
How it works:
It’s quick and easy to apply for PayPal Credit – all you need to do is complete a short application form and they’ll give you a decision instantly. If approved and you accept, you’ll have a credit limit attached to your PayPal account to start using straightaway at Power and thousands of other stores.
For more information view the following video:
Do you offer shed assembly?
Unfortunately we do not currently offer assembly of our products ourselves. Depending on your area we may be able to recommend someone who has previously built one of our sheds. Otherwise we’d recommend finding a reliable local handyman.
Self-Assembly
We’ve set out to make the assembly of the shed as simple as possible for even the most inexperienced. Every shed comes with comprehensive instructions designed to lay out every step as straightforward as possible. If you did attempt to assemble your shed and get stuck, do not hesitate to contact us and we will help over the phone.
If you’re still unsure of whether you’d be able to assemble the shed yourself, please contact us with anything you’re apprehensive about.
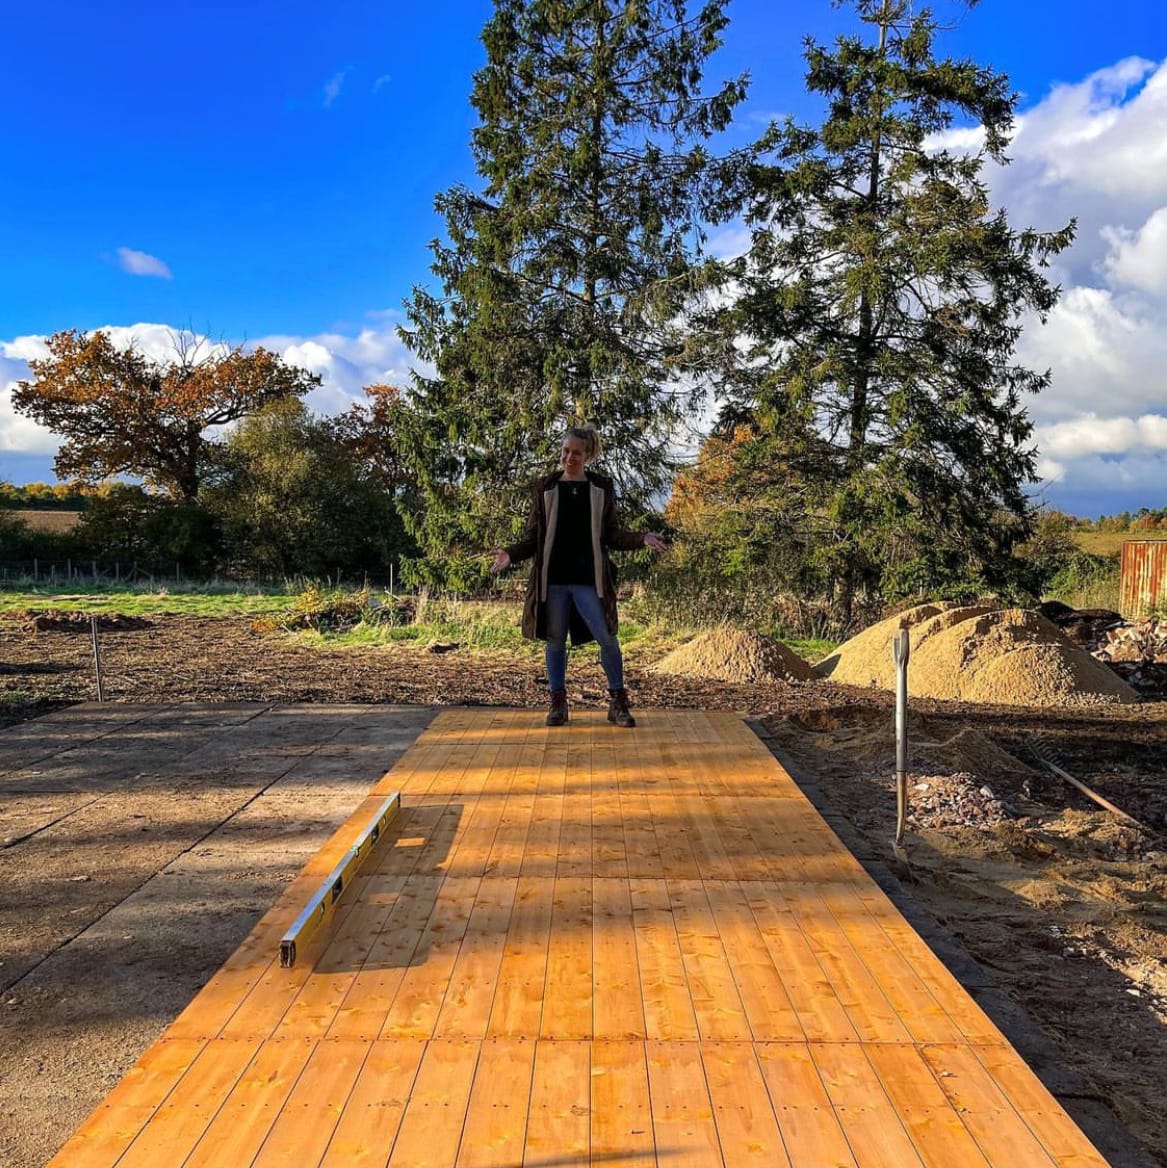
Aboves video features a time lapse of the assembly of one of our sheds.
Does the shed come with a floor?
All Power sheds come with a fully boarded tongue and groove floor with pre attached floor joists which sit on the underside of the floor lifting the shed off the base by 44mm.
The tongue and groove boards are 12mm thick.
Does the shed need to go on a base?
Yes – all wooden sheds need to go on a firm and level base. This could be a concrete base, paving slab base, timber bearers, or any other suitable base solution which is firm and level.
You can purchase a Power Base which fits the Power shed range perfectly making base preparation as easy as possible.
If you provided a mobile number with your order, you may receive an email/text on the delivery day with a two hour arrival time slot. Should your local delivery depot be able to offer this service, this email or text is sent automatically as the shed is scanned on to the vehicle. Unfortunately, we are unable to provide a time slot prior to the delivery date. If you have concerns or questions please do not hesitate to contact us.
How delivery works
We send the shed out 2x days before your specified delivery date (or longer for post codes which are further away / offshore);
The shed will then be in the depot near to you in time for the delivery date you have chosen – the depot can be found here https://www.palletline.co.uk/our-network/depots-and-contacts;
Providing you have given a mobile number, when the item is scanned onto a delivery vehicle you are sent a text from the courier – please note the item can be scanned onto a vehicle at any point throughout the day (it could be on a morning run or an afternoon run) so you may not necessarily receive a text in the morning;
Delivery is typically made on an 26ton or an 18ton truck unless you have specified for a smaller 7.5ton vehicle (therefore if access is an issue please let us know);
The approximate delivery vehicle sizes are as follows –
Height
Width
Length
18 Ton
13.5′
9′
33′
7.5 Ton
12′
8′
25′
We do request that the driver contacts you before arriving as well;
Delivery can be any time between 8am and 6pm (therefore please do not arrange for installation on the same day as delivery);
The courier has a high delivery success rate but in the very unlikely event that we’re unable to deliver or if a problem arises, we will aim to re-arrange delivery for the following morning;
The shed is delivered on a pallet – delivery is moved with a pallet truck and where the driver can take it is down to the driver’s discretion (although they are usually very helpful). The pallet truck cannot take the pallet through a house or up steps for example;
Delivery is contactless and so the driver cannot take the shed off the pallet and move it for you.
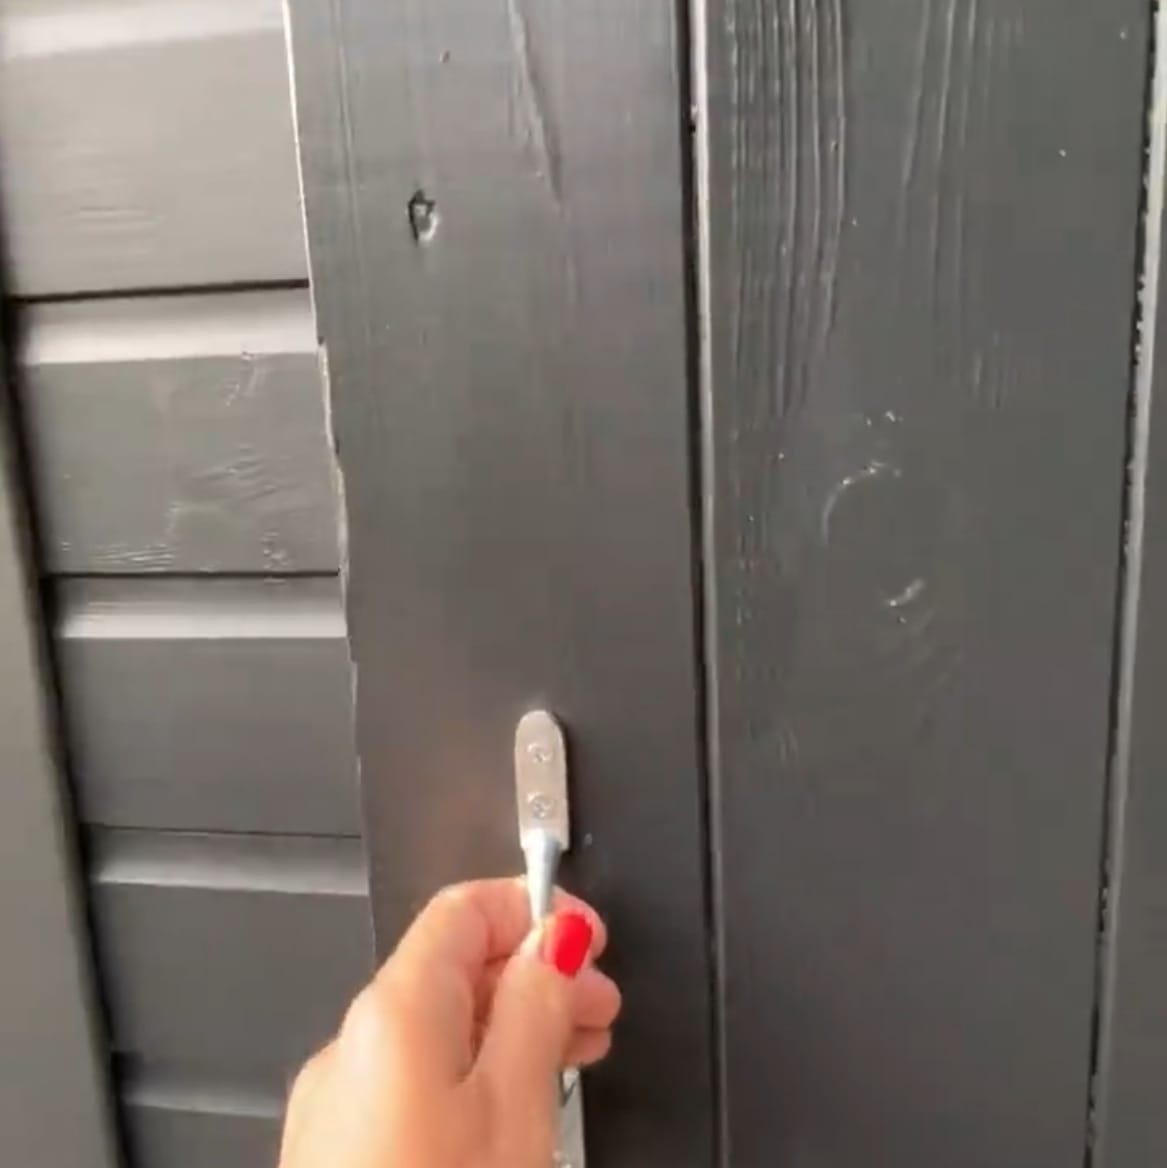
Can I Replace Components After The Building Has Been Constructed?
Yes, it is possible to replace components after installation of your garden building has taken place. Please see our range of tutorial videos below for guidance on how to go about this. Before commencing any repairs, please contact our helpful Customer Care team by email at hello@powersheds.com who will be happy to offer advice on what materials may be needed for your repairs.
You do receive written instructions with your Power Shed. However, please also take a look at our installation videos to see how you can install a Power Shed.
So, your new Power Shed has arrived, and the chances are you’re probably excited to get it constructed and taking pride of place in your garden as soon as possible. All of our garden sheds come with detailed instructions to help you build your shed and ensure it’s a safe and solid structure. However, we’ve put together a few tips and some advice to help you along the way.
How to Install a Power Garden Shed
Installing your Power Shed should be an easy process – that’s what makes our sheds so special. Following the steps below will help you ensure your shed is put up safely and securely, leaving you to enjoy your new garden building to its full potential.
Preparing to Build a Shed from Power Sheds
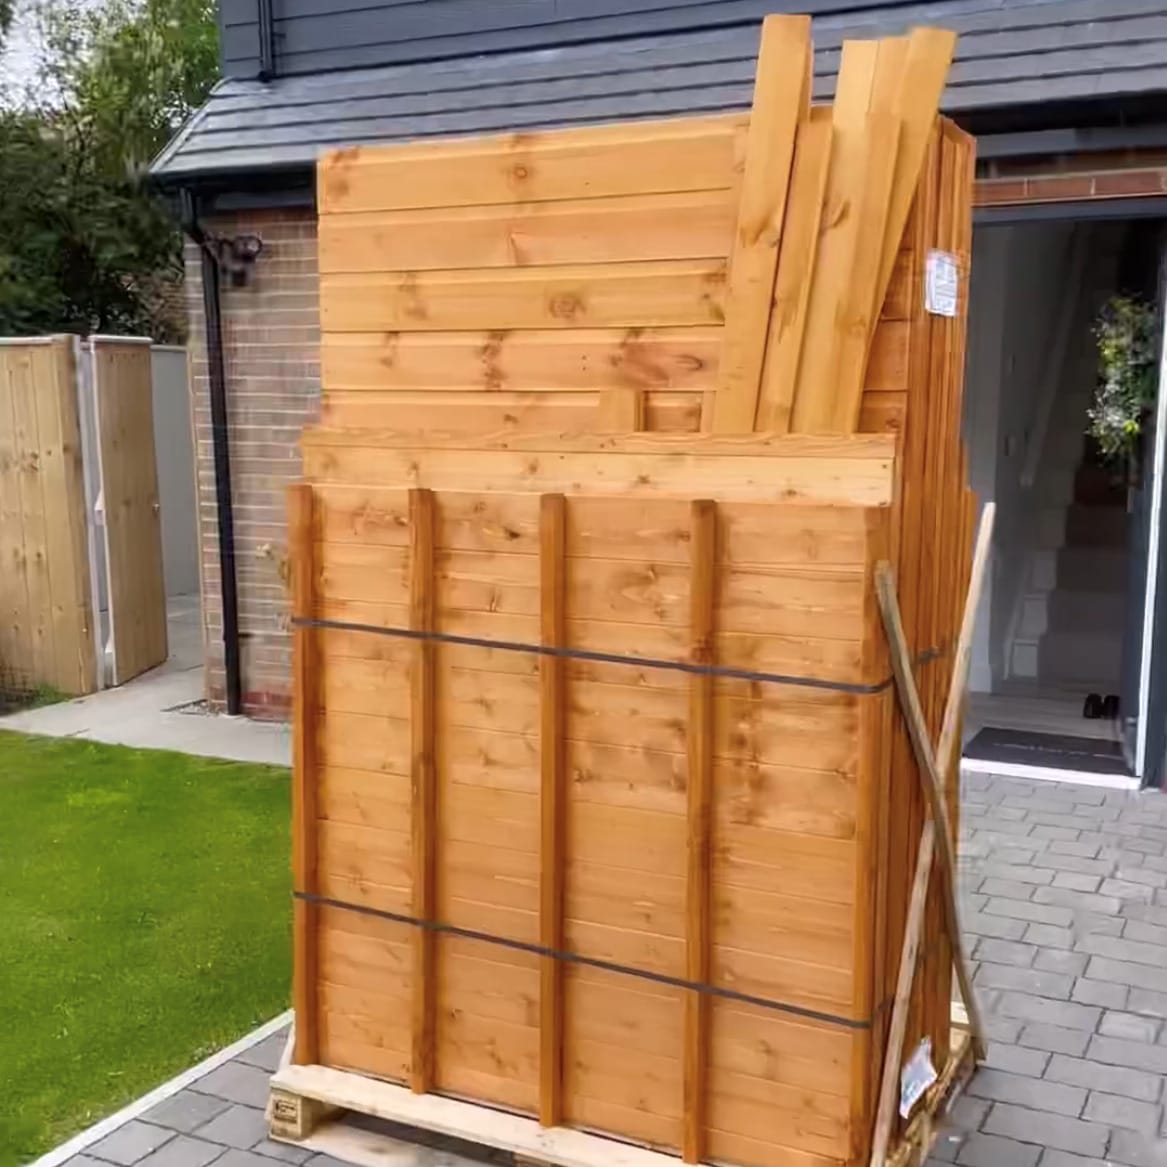
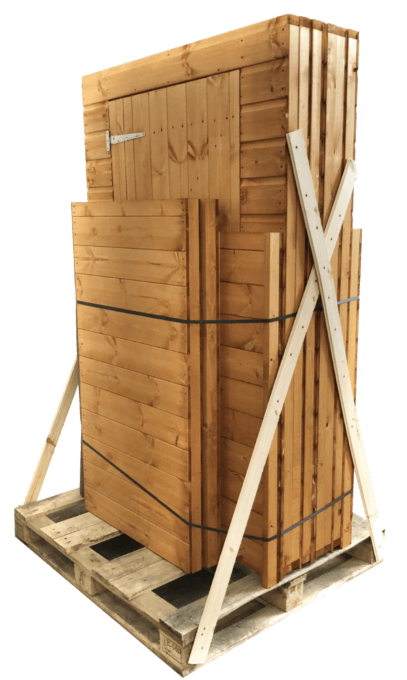
Unpacking your garden shed safely is important. Once your pallet arrives, you might be keen to get stuck in as quickly as possible but taking care and using the following steps will help you avoid damage to your shed and, more importantly, injury to yourself or those working with you.
A minimum of two people should unpack your shed
Ensure that you place the pallet on firm level ground
Cut the plastic banding
Remove each panel by removing screws one column at a time as indicated in the instructions
Check all the components against the instructions/check list
How to Make a Shed Base
All of our garden sheds require a firm and level base. When thinking about where the garden building and base is going to be constructed you should:
Ensure that there will be access to all sides for maintenance work and annual treatment.
Remember not to place the base too close to any walls or fences, as there may be a slight overhang on the roof of the garden building which may come into contact with the wall or fence.
Ensure the base is level and is built on firm ground, to prevent distortion. Refer to powersheds.com for base dimensions.
Consider when placing the base next to trees or large bushes as this could cause problems from overhanging branches, especially if these are likely to grow and come into contact with the building in the future and could cause the felt to rip.
The base is slightly smaller than the external measurement of the building, i.e. the cladding should overhang the base, creating a run for water. It is recommended that the floor is at least 25mm above the surrounding ground level to avoid flooding.
If you have not chosen to purchase our Power Base then other suitable bases would include a concrete base (75mm of concrete on top of 75mm of hardcore) or a paving slab base (slabs laid on top of 50mm of sharp sand).
Preparing the Shed for Assembly
Within the delivery of your new shed you’ll find a fixing pack; this contains the screws and nails that are required for the actual construction of the shed. Your fixing pack will include:
25mm screws (silver)
35mm screws
50mm screws
70mm screws
Clout nails (for the felt)
40mm galvanised nails
Before beginning assembly, remove any transport blocks from the bottom of the blank and window panels. These are there to offer further protection to the bottom board of the panel.
Pre-drilling is also important at this stage. In the instructions we’ll talk about screwing panels together. We recommend this is done with a drill. Here, we suggest that you pre-drill the timber with a 3mm drill bit before inserting the screws. This will minimise the chance the timber will split.
Shed Floor Assembly
Lay down your floor panel(s) onto your firm and level base into the desired position of your shed. Be sure to consider any overhangs on the shed when deciding the correct position.
Join the floor panels together using the 50mm screws provided, using around three screws per join. At this stage you can also screw the two ‘heavy-duty bearers’ which are two pieces of framing joined together, to each gable end (the end where the triangular ‘gable tops’ will go later’). Join the bearers by screwing through the floor joists first so the screw goes as far into the bearer as possible.
Assembling Your Shed Door: How to Make a Shed Door
Your shed will either come with a single door or a double door depending on what you selected when ordering. Double doors are already hung on the door panel. However, for a single door you will need to hang the door.
For a single door you can choose which way round to hang it – left hand or right hand. (note – if you choose a left hand hinged door then the lock has to be unscrewed and positioned the correct way round as it will be upside down)
For a single door, lay the door panel on the floor (you can lie it on the shed floor if you wish). Line up the door onto the framing so that it is square. The door should be positioned closer to the side where the hinges go. Make sure the lock is on the inside of the shed when the door is closed. Secure the hinges in place using the 25mm screws provided.
Choose two places on the door to secure your two turn buttons – one towards the top, one towards the bottom. For double doors a turn button will already be secured. Be careful not to screw this too tightly or it will not turn.
Shed Wall Panel Assembly
Please ensure you have removed the transport blocks before progressing any further.
Your shed will come with a number of wall sections. The quantity of these will be dependant on which type and size you ordered – there could be 4ft Blank Panels, 2ft Blank Panels, 4ft Window Panels (unless you have selected the windowless version), and a door panel (which could be a single door or double door). Please see the components table in your instructions to confirm which panels you should have for your Power shed.
Lay out the wall panels in the configuration you want for your garden building. The blank panels, door panel and window panels can go in any position.
Start with the 4ft panel that will be part of your gable end – position this on top of one of the heavy-duty bearers which you attached in the previous section. Ensure the side of the panel is flush with the side of the floor.
Place another wall panel again secure using the 50mm screws provided. Important! – When securing panels together ensure they line up at the top (so the building is square) and that only the ends of the cladding are shown, which will later be covered with corner strips. This is only in the corner where the side meets the gable. You can choose the position of the doors and windows as you build the shed.
Continue doing this to place all remaining wall panels in position.
When you have secured all the wall panels you then need to secure these to the floor using 70mm screws provided. Screw into the floor with 2x screws for every wall panel (internally) ensuring the screws are driven through the framing at the bottom of the side/gable walls, through the floorboards and into the floor joists. Ensure all panels line up at the top.
Assembling an Apex Shed Roof
If you have ordered an apex shed, follow these steps to get the roof installed.
Gable Tops
Line up the gable tops with the panels at the gable ends (the ends where you attached the ‘heavy-duty bearers’).
Secure them to the wall panels with 50mm screws from the inside, screwing upwards through the framing.
Trusses
The trusses should be attached to the side wall panels with 40mm galvanised nails. The trusses will line up with the joins in the side wall panels. Ensure the end of the truss goes to the outer edge of the framing on the side walls and not the cladding (so the roof will sit right). Nail down through the truss and into the top of the side walls. Please note: You will not receive a truss for a 4×4, 4×6 or 4×8 shed.
Apex roof panels
Depending on the size of the building you have ordered, your roof panels will be 600mm, 1190mm or 1302mm long (note – the roof panels are not handed, it does not matter which way round they go, and the tongue and groove do not need to interlock).
For 8ft wide sheds you may get other roof sizes with specific instructions for an 8ft wide roof. Therefore, these roof instructions will not apply to 8ft wide sheds.
In general, the 1302mm roof panels will go at each end of the roof with the other roof panels central. This will ensure the joins in the roof panels line up with the joins in the wall and the roof trusses and the slightly longer 1302mm roof panels will mean there is an overhang at each end (except on the 4×4 and 4×6 Power Apex where there is no roof overhang). The only time the roof panels won’t line up with the truss and join inside walls is if you have positioned a 2ft side wall panel at one end – in this occurrence, the truss will line up with the join in the side walls panels but the join in the roof panels will be slightly offset to the truss.
There are batons to help join the roof panels together. Start by joining the batons to the roof panels with 50mm screws as per the diagram below, and then place the roof panels in position (the roof panels are universal so can go on either side).
Start at one end placing a roof panel at each side and screw the roof panels together (internally) using 70mm screws.
You can then work down the roof adding and joining roof panels to the baton on the adjoining roof panels with 50mm screws and joining the roof panels to each other with 70mm screws until all the roof panels are on. There should be 6x screws joining the roof panels together every 4ft.
Ensure the roof panel overhang at each end of the shed is even – there should be an approx. 56mm overhang at each end. (note – there will be no roof overhang at the gable end on the 4×4 or 4×6 Power Apex). Then, screw the roof panels to the side wall panels with 50mm screws (ensuring you screw down into every upright piece of framing on the side walls) and screw the roof panels into the gables at each end with 35mm screws (4x screws for each gable)
The roof now needs attaching to the trusses (if there are trusses). To do this, screw down through the roof panels and into the truss from the outside with 35mm screws ensuring there are 8 screws per truss (4x on each side).
Installing the apex roof shed felt
Roll out the mineral roofing felt along the lower part of one side of the roof. Allow for sufficient overhang to fold down onto the roof framing (but not the underside of the roof).
Use clout nails to tack along the top edge of the felt and into the roof boards. Repeat this process on the other side of the roof.
If you have ordered a Power Shed which is 6ft wide (4×6, 6×6, 8×6, 10×6, 12×6, 14×6, 16×6, 18×6, 20×6) then you will receive an additional piece of felt to then go on the ridge of the roof. This can be secured to the roof using clout nails. If you have an 8ft wide shed, you will receive another length of felt as well.
Fold the overhanging felt at the gable ends under the roof boards and tack into place. Note – The 4×4, 4×6 and 4×8 Power Apex roof panels will finish flush with the gables and so the felt will not tuck under.
Assembling a Pent Shed Roof
If you have ordered a pent shed, follow these steps to complete the construction of your shed roof.
Front pent top and gables
Add the pent front top to the side you want to be higher and screw to the panels below with 50mm screws.
Line up the gable tops with the panels at the gable ends (the ends where you attached the ‘heavy-duty bearers’) and secure them to the wall panels with 50mm screws from the inside, screwing upwards through the framing.
Pent roof panels
Depending on the size building you have ordered, your roof panels will be 2ft, 3ft, or 4ft wide. Place the roof panels in place so that the framing on the roof panel runs parallel with the gables i.e. from the front high side to the back low side.
Make sure the framing on the roof is in line with the framing on the gable top so that the overhang on the front and back is correct.
Join the roof panels to each other and to the gables using 50mm screws, going through the framing from the inside of the building.
Then, screw the roof panels to the side wall panels with 50mm screws (ensuring you screw up through the framing from the inside of the building into the framing on the roof panels).
Installing the pent roof shed felt
Before laying the felt, you will need to attach the back bargeboards with the 40mm galvanised nails. As you can see there are two for the back – one at the edge of the roof and one on the underside. These soffits may come in more than one section and may need cutting down to size with a saw depending on which size shed you have chosen. Be sure not to mix these up with the corner strips and cover lats which are to go vertically around the shed in corners and covering joins (explained later).
Roll out the mineral roofing felt along the lower part of one side of the roof. Allow for sufficient overhang to fold down onto the roof bargeboard (but not the underside roof bargeboard).
Use clout nails to tack along the top edge of the felt and into the roof board and the bottom edge of the felt into the back bargeboard.
Repeat this process along the higher part of the roof.
Fold down the overhanging felt on the gable ends and tack this into place. Front and side bargeboards will cover any untidy edges.
Applying the Finishing Touches
Using the 40mm galvanised nails, fit the bargeboards to the foot and sides of the roof. Again, these may need cutting down with a saw depending on what size building you have.
Secure corner strips at each corner of your Power Shed with 40mm nails (at least four per strip). Extra strips are provided to cover any joins between side wall panels.
Secure the door pull to the door with 25mm screws.
Peel the protective blue sticker off the Power branding plate above the door.
Once your shed is assembled in your garden, you’re ready to begin enjoying your new garden space. If you’re looking to customise your shed, our How to Paint Your Shed guide will help you add a splash of colour. Alternatively, head to our Sheducation section for more information on looking after and getting the most from your shed.


